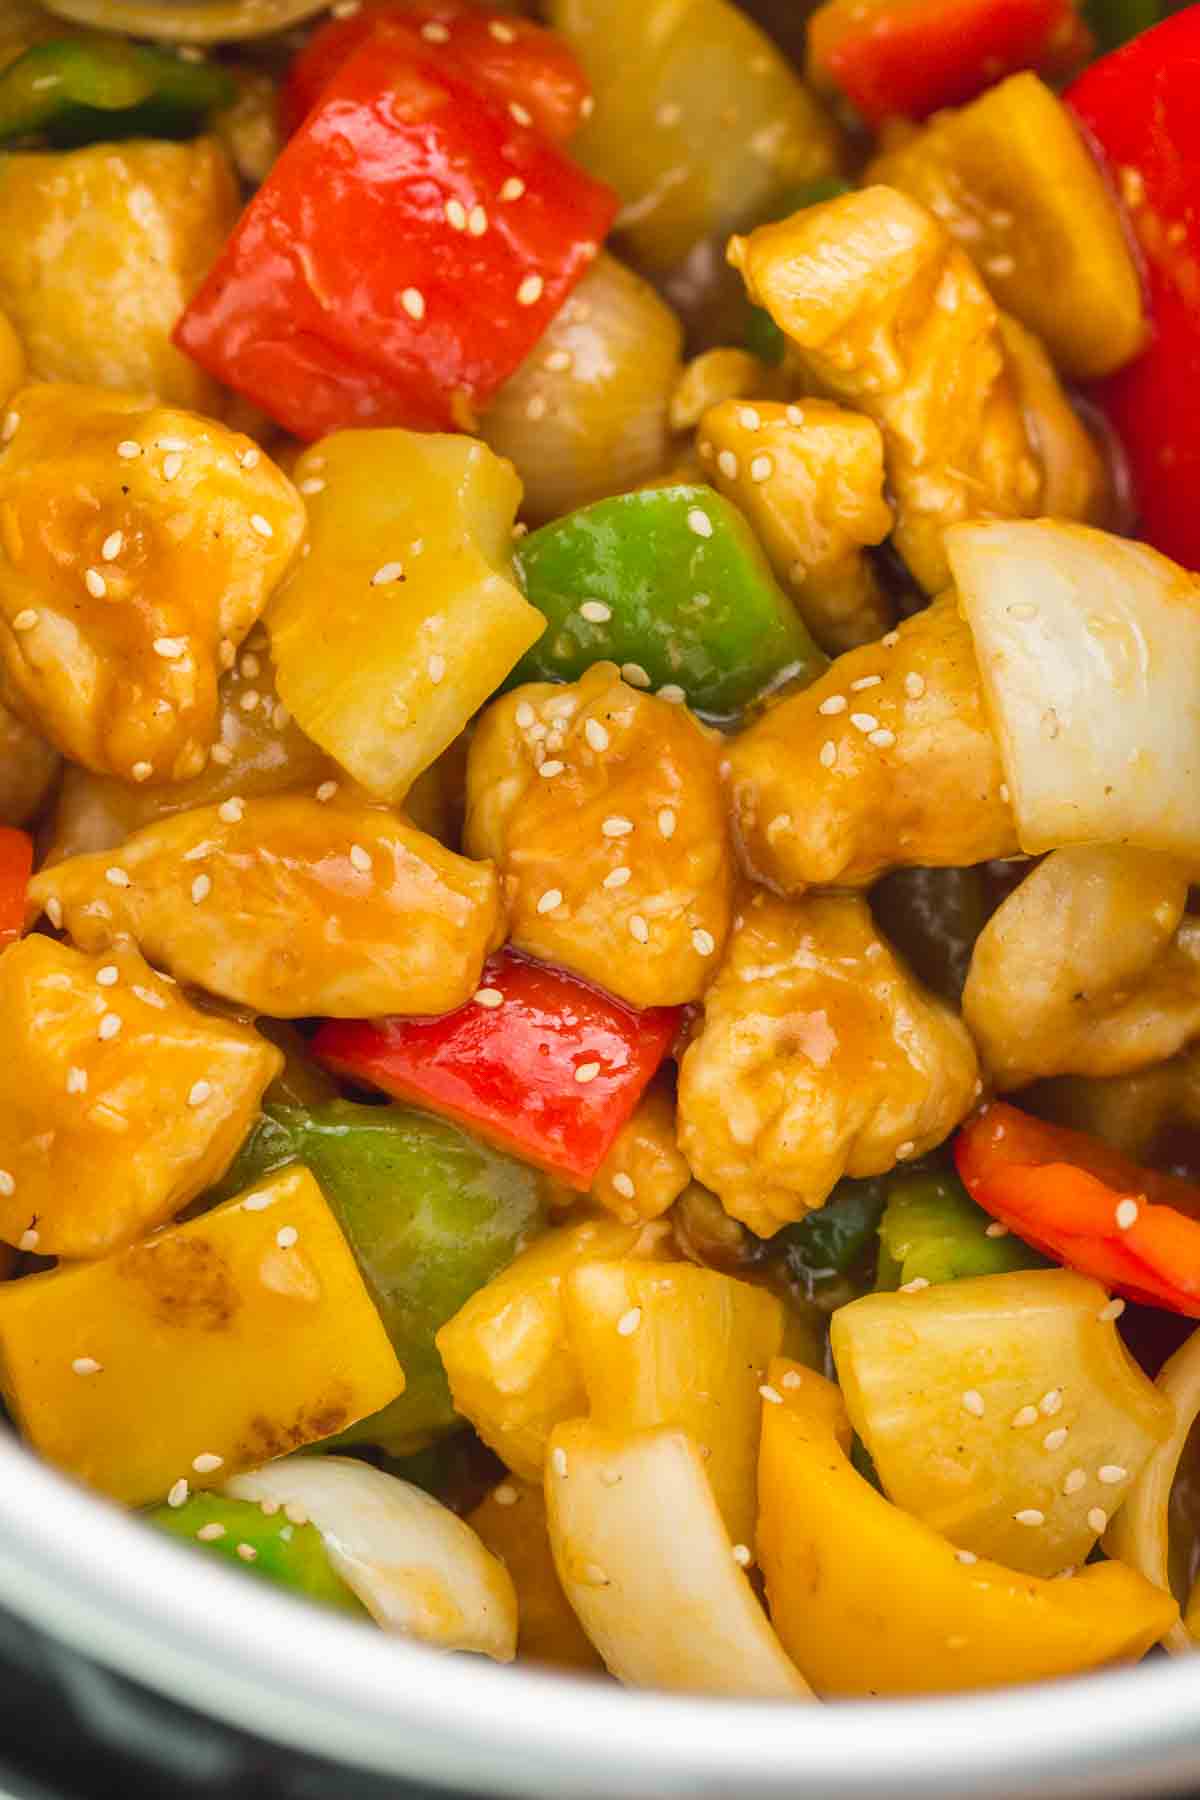
Instant Pot Sweet and Sour Chicken made healthier, and flavorful in under half an hour! Delicious chicken, pineapple, and bell peppers in a sweet glaze-like sauce served over jasmine rice.

Takeout recipes are very popular in our house, as both kids and adults love them. When we cook takeout recipes at home, the result is healthier homecooked meals that taste as amazing as the takeout! And we end up saving a ton of money like that. Getting my Instant Pot, made it way easier to make delicious dinners at home with little cleaning afterward.
So believe it or not, we very rarely get a takeout now. I mean, the same healthier meal can be cooked at home in the Instant Pot, and it tastes as good, isn’t that just amazing?
I cook most dinners in the Instant Pot, and these are our current favorite: Honey Garlic Chicken, Chicken Fajita Pasta and Chinese Chicken and Broccoli.
The reason why I love this Instant Pot sweet and sour chicken recipe is, of course, the taste, but it’s also great because on days when I have time I do it properly with all the sauteing and everything. But on busy weeknights, I just do it as a dump and start recipe and it works great!
I’m not gonna say that the dump and start method gives me the same results (duh!), but it’s good enough and we love it.
How to Make Instant Pot Sweet and Sour Chicken?
To make this tasty recipe you will need an Instant Pot (obviously!). This is my favorite Instant Pot that I love and use almost every day to make all kinds of meals; including breakfasts, lunches, dinners, and even desserts.
You need the following ingredients to make Sweet and Sour Chicken with Pineapple. For best results, try to use fresh ingredients as much as possible as they taste better and contain more nutrients. However, if pineapple is not in season, feel free to use canned pineapple (that’s what I usually do).
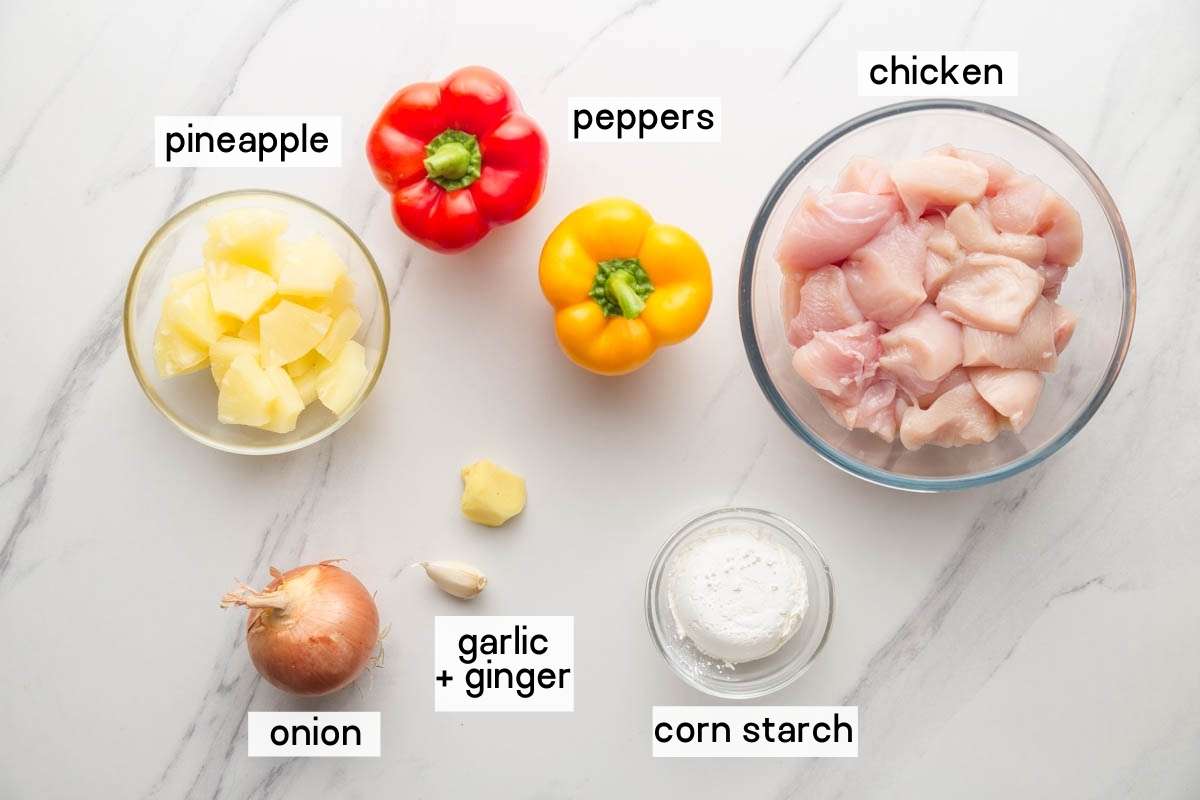
I recommend using cornstarch instead of flour in this recipe for crispier coating, which also makes it a gluten-free recipe. If you can’t do corn starch, then substitute with arrowroot powder.
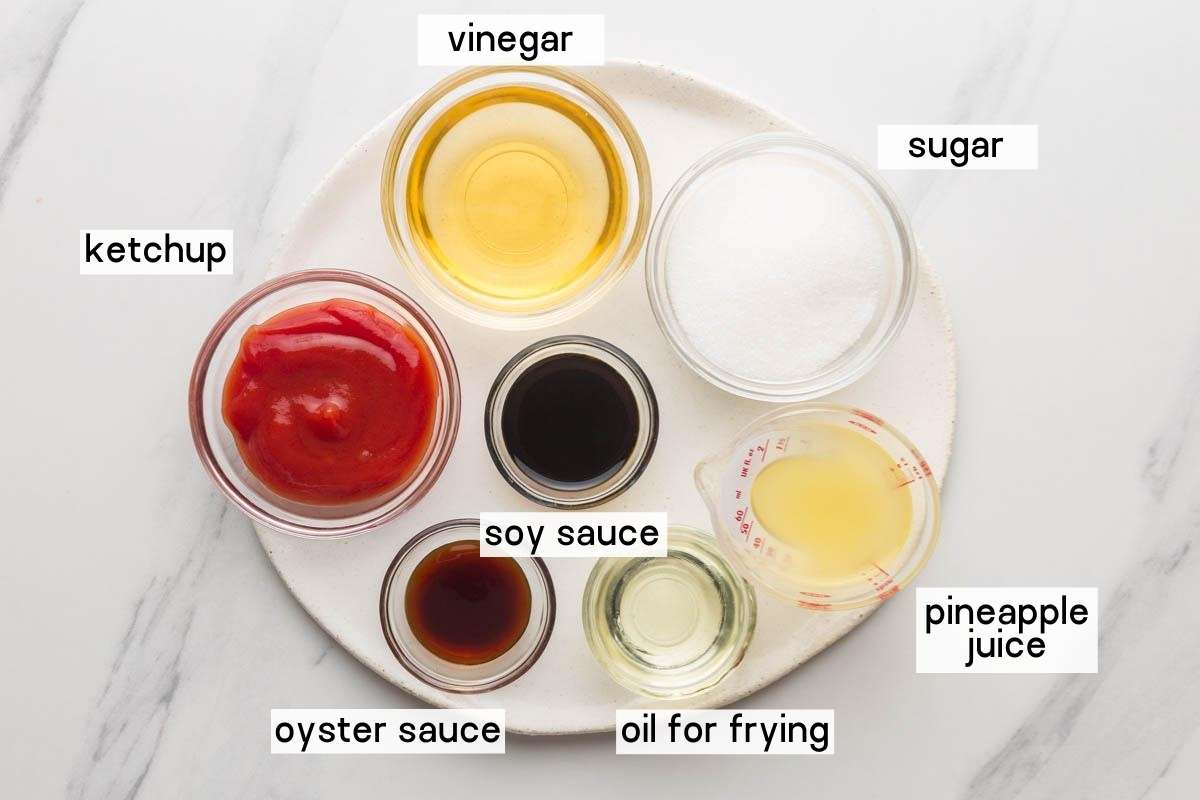
And these are the ingredients to make the sweet and sour chicken sauce (+the oil for frying):
The Directions
This recipe includes 2 methods to cook sweet and sour chicken in the Instant Pot. You can follow the dump-and-start method, or you can sauté the chicken first, then the onions and peppers (optional) then add the rest of the ingredients. Both methods will give delicious results, however, the texture will be a bit different. So choose what works for you best given your time constraints and your taste preferences.
For the dump-and-start method:
- Simply add the chicken, garlic, ginger, and the sauce ingredients to the Instant Pot.
- Secure the lid and select the PRESSURE COOK/MANUAL setting and set the cooking time for 4 minutes at high pressure. Then quickly release the steam and carefully remove the lid.
- To thicken the sauce, press on SAUTÉ if the sauce is no longer hot, add the cornstarch mixed with water, and whisk until the sauce is thickened (it thickens very quickly).
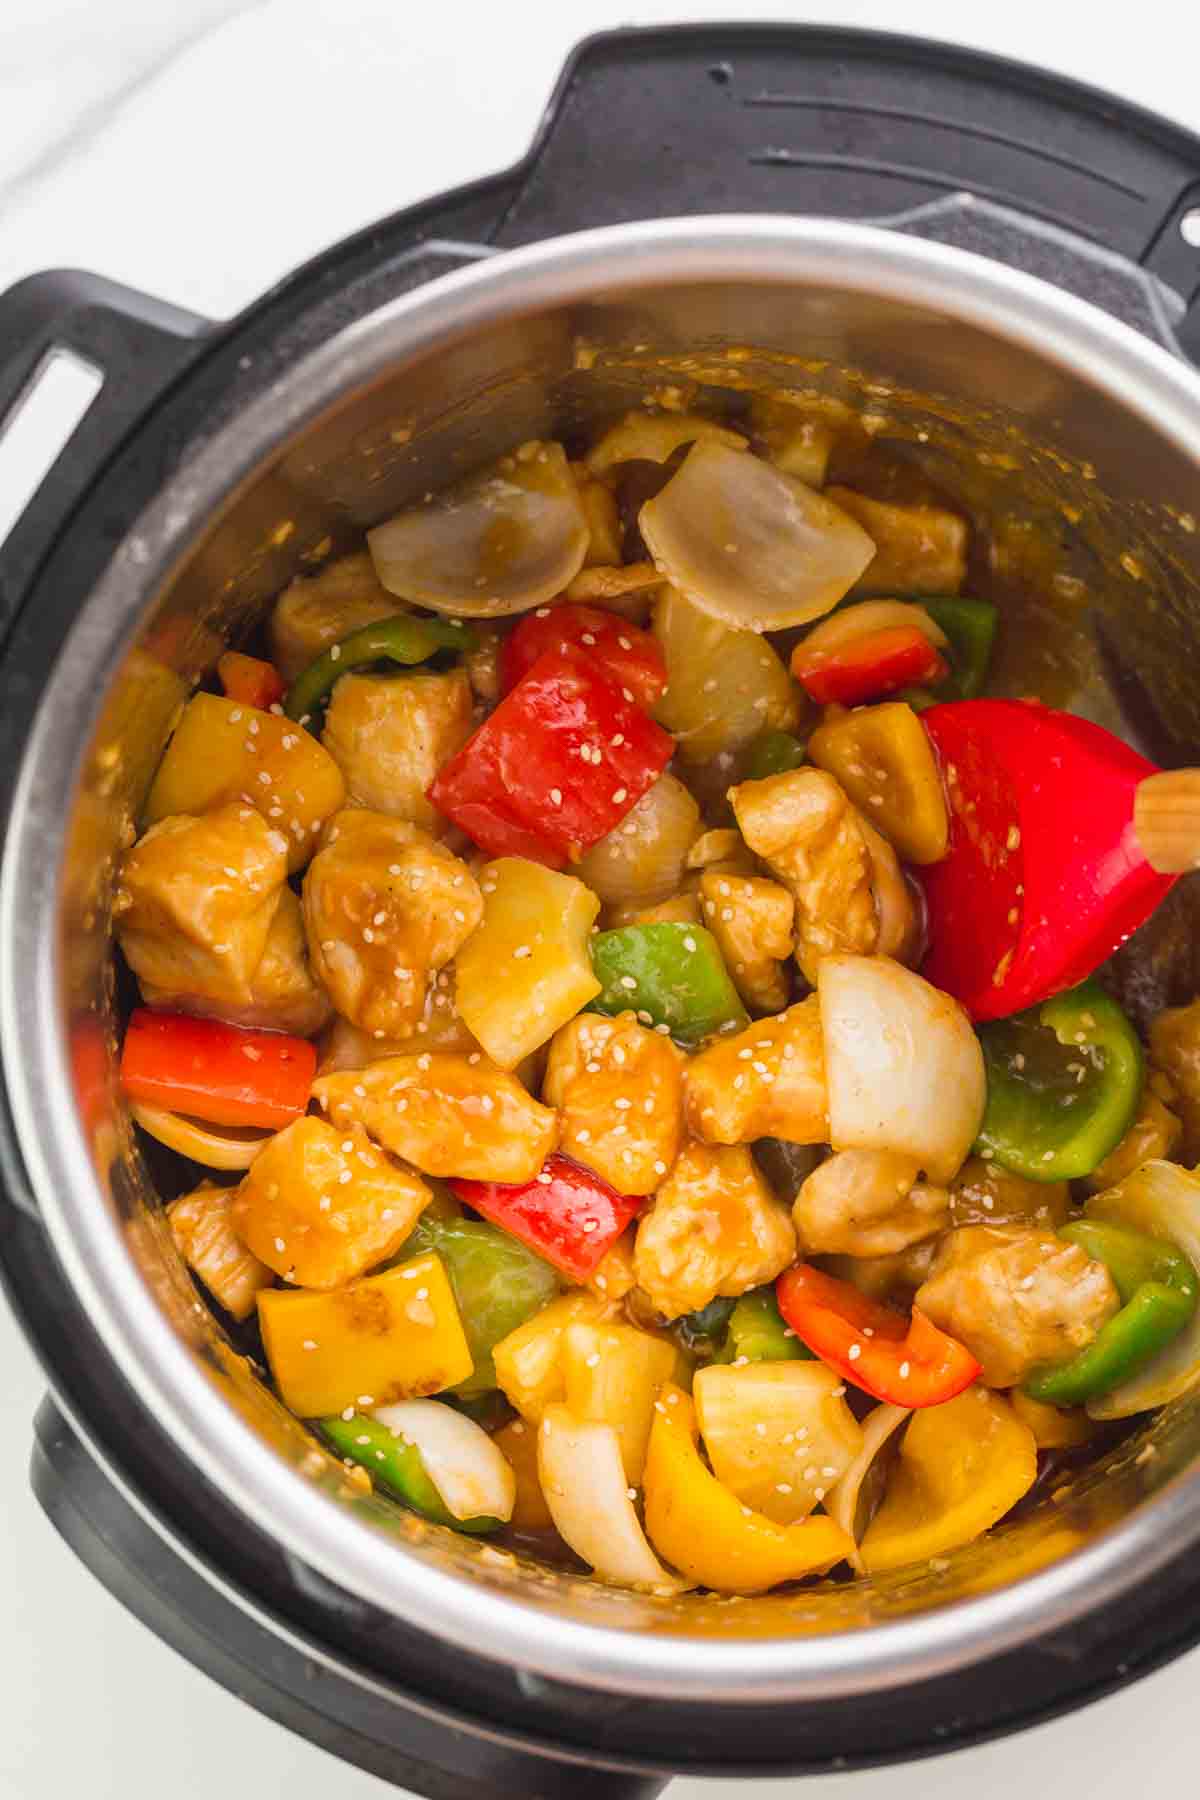
- Add the onion, bell peppers, and pineapple, and give everything a good stir. Cover the lid for 5 minutes to allow the peppers to soften.
For the sauté method (my preferred method):
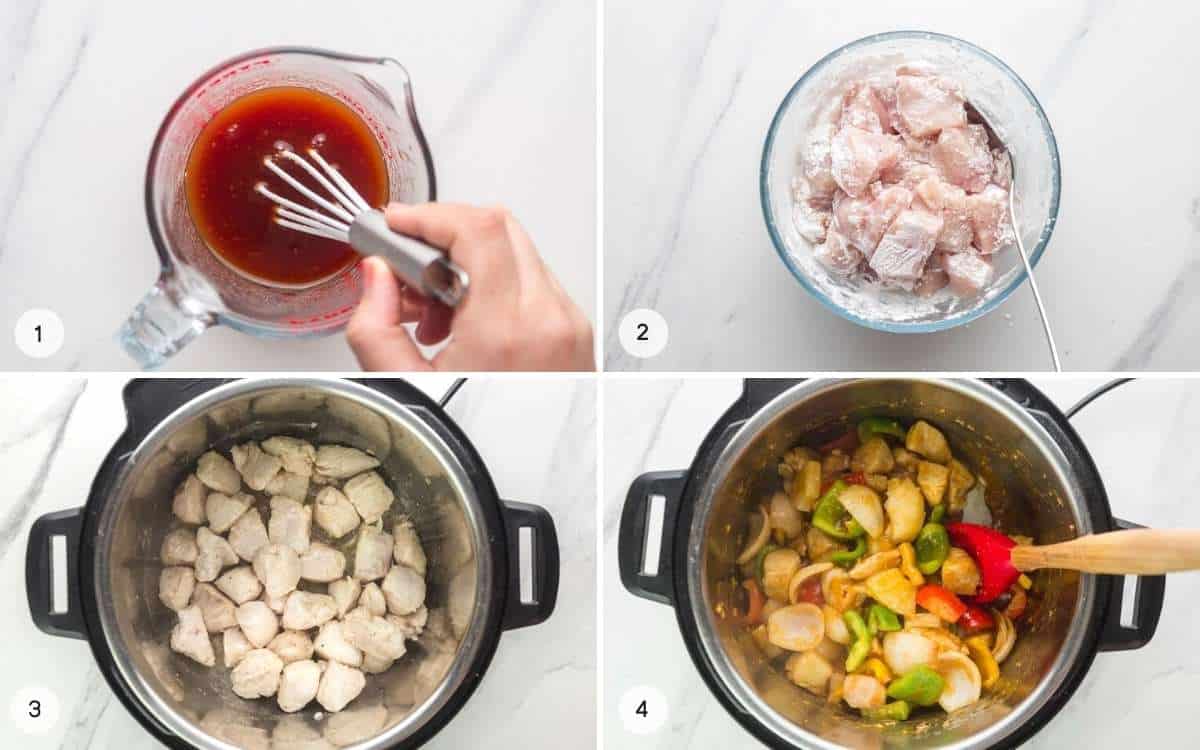
- Make the sweet and sour sauce by mixing the sauce ingredients in a bowl or jug and set aside.
- Mix the chicken with cornstarch in a bowl until it’s well coated.
- Press on SAUTÉ (on normal) and heat the oil. Cook the chicken until lightly browned but pale in color. Set aside.
- Deglaze the pot and discard the liquid and any browned bits that were stuck to the pot to get a smooth sauce.
- OPTIONAL: Add oil and sauté the onion and the peppers for a couple of minutes until they’re cooked but still firm, then set aside.
- On the SAUTÉ setting, cook the garlic and ginger for 20-30 seconds. Then add the sauce ingredients, put the chicken back in and give everything a mix.
- Secure the lid and select the PRESSURE COOK/MANUAL setting and set the cooking time for 4 minutes at high pressure. Then quickly release the steam and carefully remove the lid.
- To thicken the sauce: add cornstarch mixed with water to the sauce and whisk until the sauce is thickened (it thickens very quickly). Then add the onion, bell peppers, and pineapple, and give everything a good stir. Cover the lid for 5 minutes to allow the peppers to soften if you didn’t sauté them earlier.
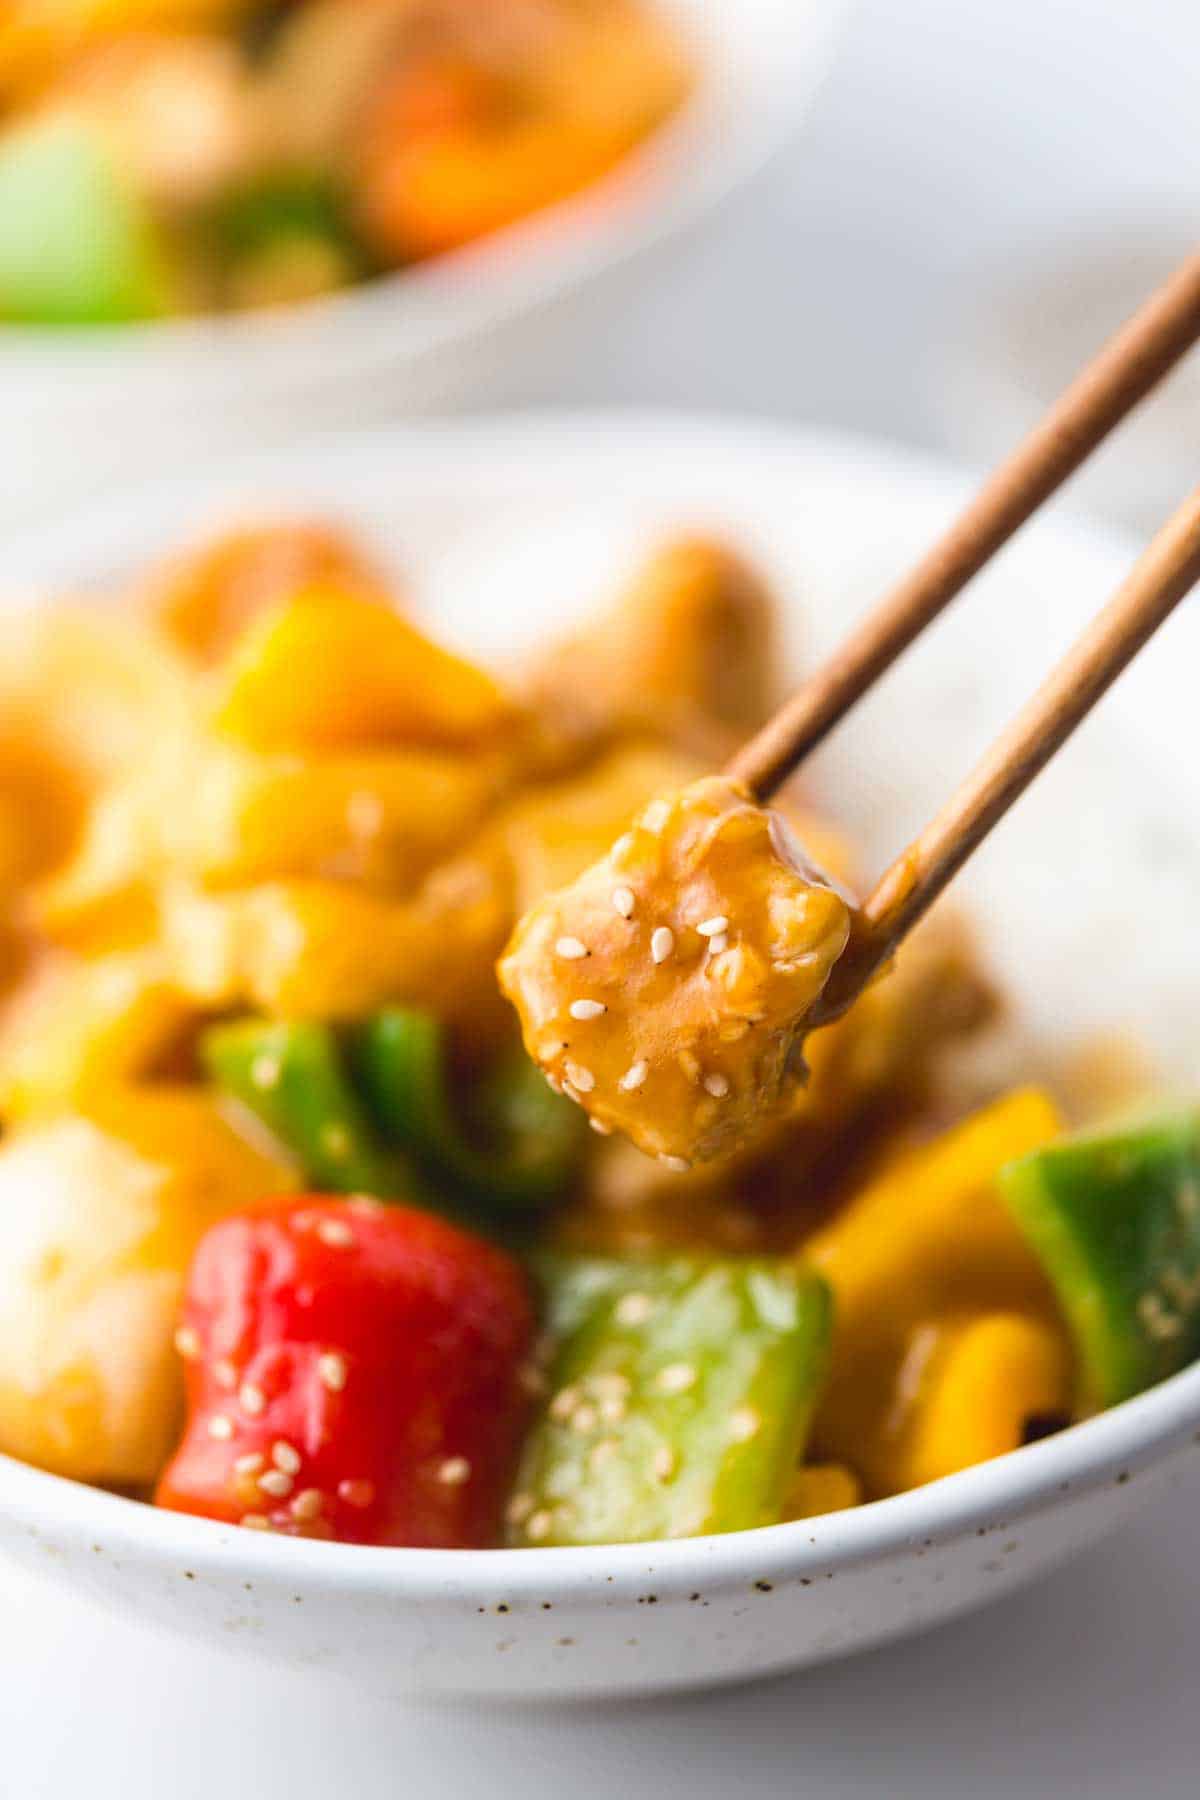
Serve the sweet and sour chicken over plain/jasmine rice or fried rice to make a complete meal. Garnish with toasted sesame seeds and enjoy!
Storing Tips
If you have any leftovers, you can store them in the fridge to enjoy later. Just place the sweet and sour chicken in an airtight food container and consume within 3 to 5 days.
For other recipes using pineapple, check my Virgin Piña Colada, Kale Pineapple Smoothie and Pineapple Salsa.
Did you make this recipe? Be sure to leave a review below and tag me on Facebook, Instagram, or Pinterest!
Instant Pot Sweet And Sour Chicken
Equipment
Ingredients
- 1 and ½ pounds chicken breasts cut into 1-inch chunks
- ¼ cup corn starch
- 2 tablespoons canola oil for frying
- 1 cup pineapple chunks fresh or canned
- ½ red bell pepper cut into 1-inch chunks
- ½ yellow or green bell pepper cut into 1-inch chunks
- 1 medium yellow onion cut into 1-inch chunks
- 1 clove garlic minced
- 2 teaspoons ginger minced
For the sauce
- ⅓ cup granulated sugar
- ¼ cup apple cider vinegar
- ¼ cup ketchup
- 1 tablespoon soy sauce
- 1 teaspoon oyster sauce
- 3 tablespoons pineapple juice from the can
Instructions
- If you're going for the dump and start method; add the chicken, garlic, ginger, and the sauce ingredients to the pot, and skip to step 7.
- If you decide to do the sauté steps; mix the sauce ingredients in a bowl or jug and set aside. Then mix the chicken with cornstarch in a bowl until it's well coated.
- On the Instant Pot press on SAUTÉ (on normal) and heat the oil. Add the chicken, and cook it until lightly browned but pale in color. Remove the chicken from the pot onto a plate and set aside. Work in batches if necessary.
- Deglaze the pot by adding ¼ cup of water, and with a wooden spoon or a heat resistant spatula scrape off any bits stuck to the bottom of the pot. I recommend discarding the liquid and the chicken cornstarch bits that were stuck to the pot to get a smooth sauce.
- OPTIONAL: On the SAUTÉ setting, add oil and saute the onion and the peppers for a couple of minutes until they're cooked but still firm, then remove them from the pot and set aside.
- On the SAUTÉ setting, cook the garlic and ginger for 30 seconds. Then add the sauce ingredients, put the chicken back in and give everything a mix.
- Secure the lid and set the vent to SEALING. Select the PRESSURE COOK/MANUAL setting and set the cooking time for 4 minutes at high pressure. The Instant Pot will take around 4 minutes to come to pressure and start cooking. When the cooking program ends, quickly release the steam and carefully remove the lid.
To Thicken the Sauce
- Add the cornstarch mixed with water. Whisk until the sauce is thickened (it thickens very quickly). Then add the onion, bell peppers, and pineapple, and give everything a good stir. Cover the lid for 5 minutes to allow the peppers to soften.
- Serve over jasmine rice, and garnish with toasted sesame seeds.
Notes
- The method that you choose to cook sweet and sour chicken in the Instant Pot depends on your time and preferences. You can either make it as a dump-and-start recipe or by sautéing the ingredients first then adding the sauce. Both ways will end up delicious, however, the sautéing method gives crispier results, although it won’t stay crispy for long when coated in sauce.
- For best results, try to use fresh ingredients as much as possible as they taste better and have more nutrients. However, if pineapple is not in season, feel free to used canned pineapple.
- You can use skinless boneless chicken thighs that are cut into 1-inch pieces instead of chicken breast.
- If you don’t have oyster sauce, you can skip it, but it adds a great flavor to the sauce.
Nutrition
This website provides approximate nutrition information for convenience and as a courtesy only. Nutrition data is gathered primarily from the USDA Food Composition Database, whenever available, or otherwise other online calculators.
did you make this recipe?
Make sure to follow on Pinterest @nourishplate and on Instagram @nourishplate





Comments & Reviews
MIke says
Sorry …that’s 3 Tbsp cornstarch to 1/4 cup water
MIke says
Very good. Response for erika… if you follow the saute steps there is no measurement for the cornstarch and water. I would start with 3 Tbsp cornstarch with 2 Tbsp cold water. Mix well with a fork and add slowly until the desired consistency is achieved. Hope it helps
Erika says
It had good flavors but way too thick. I think too much cornstarch? It came out like a paste consistency instead of a nice sauce. I did the sauté first method mentioned, so I think that’s why it ended up so thick. Oh well—lesson learned
Brandy Jaques says
This was good!
I made this tonight and for the most part followed the instructions and ingredients (added a few different veggies). For me this was a little too sweet, do you know what I could add to cut the sweetness but not take away from the yummy sauce flavor much? I am the only one who eats chicken in my household so I made quite a bit extra to enjoy later in the week!
Thank you for the easy recipe, and your response, I can’t wait to try this again!
Brandy
Debbie says
I don’t have an instant pot. Could I use a crockpot instead? If so, how long and what setting please
Patricia Walls says
I was wondering if this could frozen and reheated again?
Diana says
Yes, and you can reheat in the microwave but stir it halfway through.
harry says
Great recioe. We are gluen-free so and so used Tapioca flour. No need to thicken sauce at the end and we did get a ‘burn noitice’ so just added more water. Will make this again!
Brittany says
Keep getting the burn message on my instant pot! Tried adding more liquid and still got message?
Diana says
Hi Brittany, what IP model and size are you using?
Amber says
I do t have ACV on hand but have white wine and plain distilled. Would one be better thank the other?
Diana says
Hi Amber, you can use either but white wine vinegar will taste better.
Deb says
I just finished making and eating this and it was absolutely fantastic! I can’t say enough good things about it! Delicious! Thanks for sharing!!
Diana says
I’m glad to hear you enjoyed it, Deb! Thank you for taking the time to leave this review!
Cheri says
This was just excellent. I couldn’t believe how good it was! Thanks for the recipe.
Sheila Gossen says
Did the dump method & was not disappointed. Was for a guest meal, so very pleased it was such a success. Added a few more veggies – broccoli, zuccini, snow peapods. Same liquids & cook time & full NR. Also did it pork tenderloin medallions 1/2″ thick
Sonja says
Hubs said “this is a recipe to make again, and make often.”
Diana says
I’m glad to hear you enjoyed it, Sonja! Thank you for taking the time to leave this review!
Kathi says
Yummy