Halloween Dirt Cups are a hit with kids and grown-ups alike. They’re super easy to make and perfect for your Halloween party. With a mix of chocolate pudding, whipped topping, and Oreos, these cups are a fun treat that everyone will enjoy.
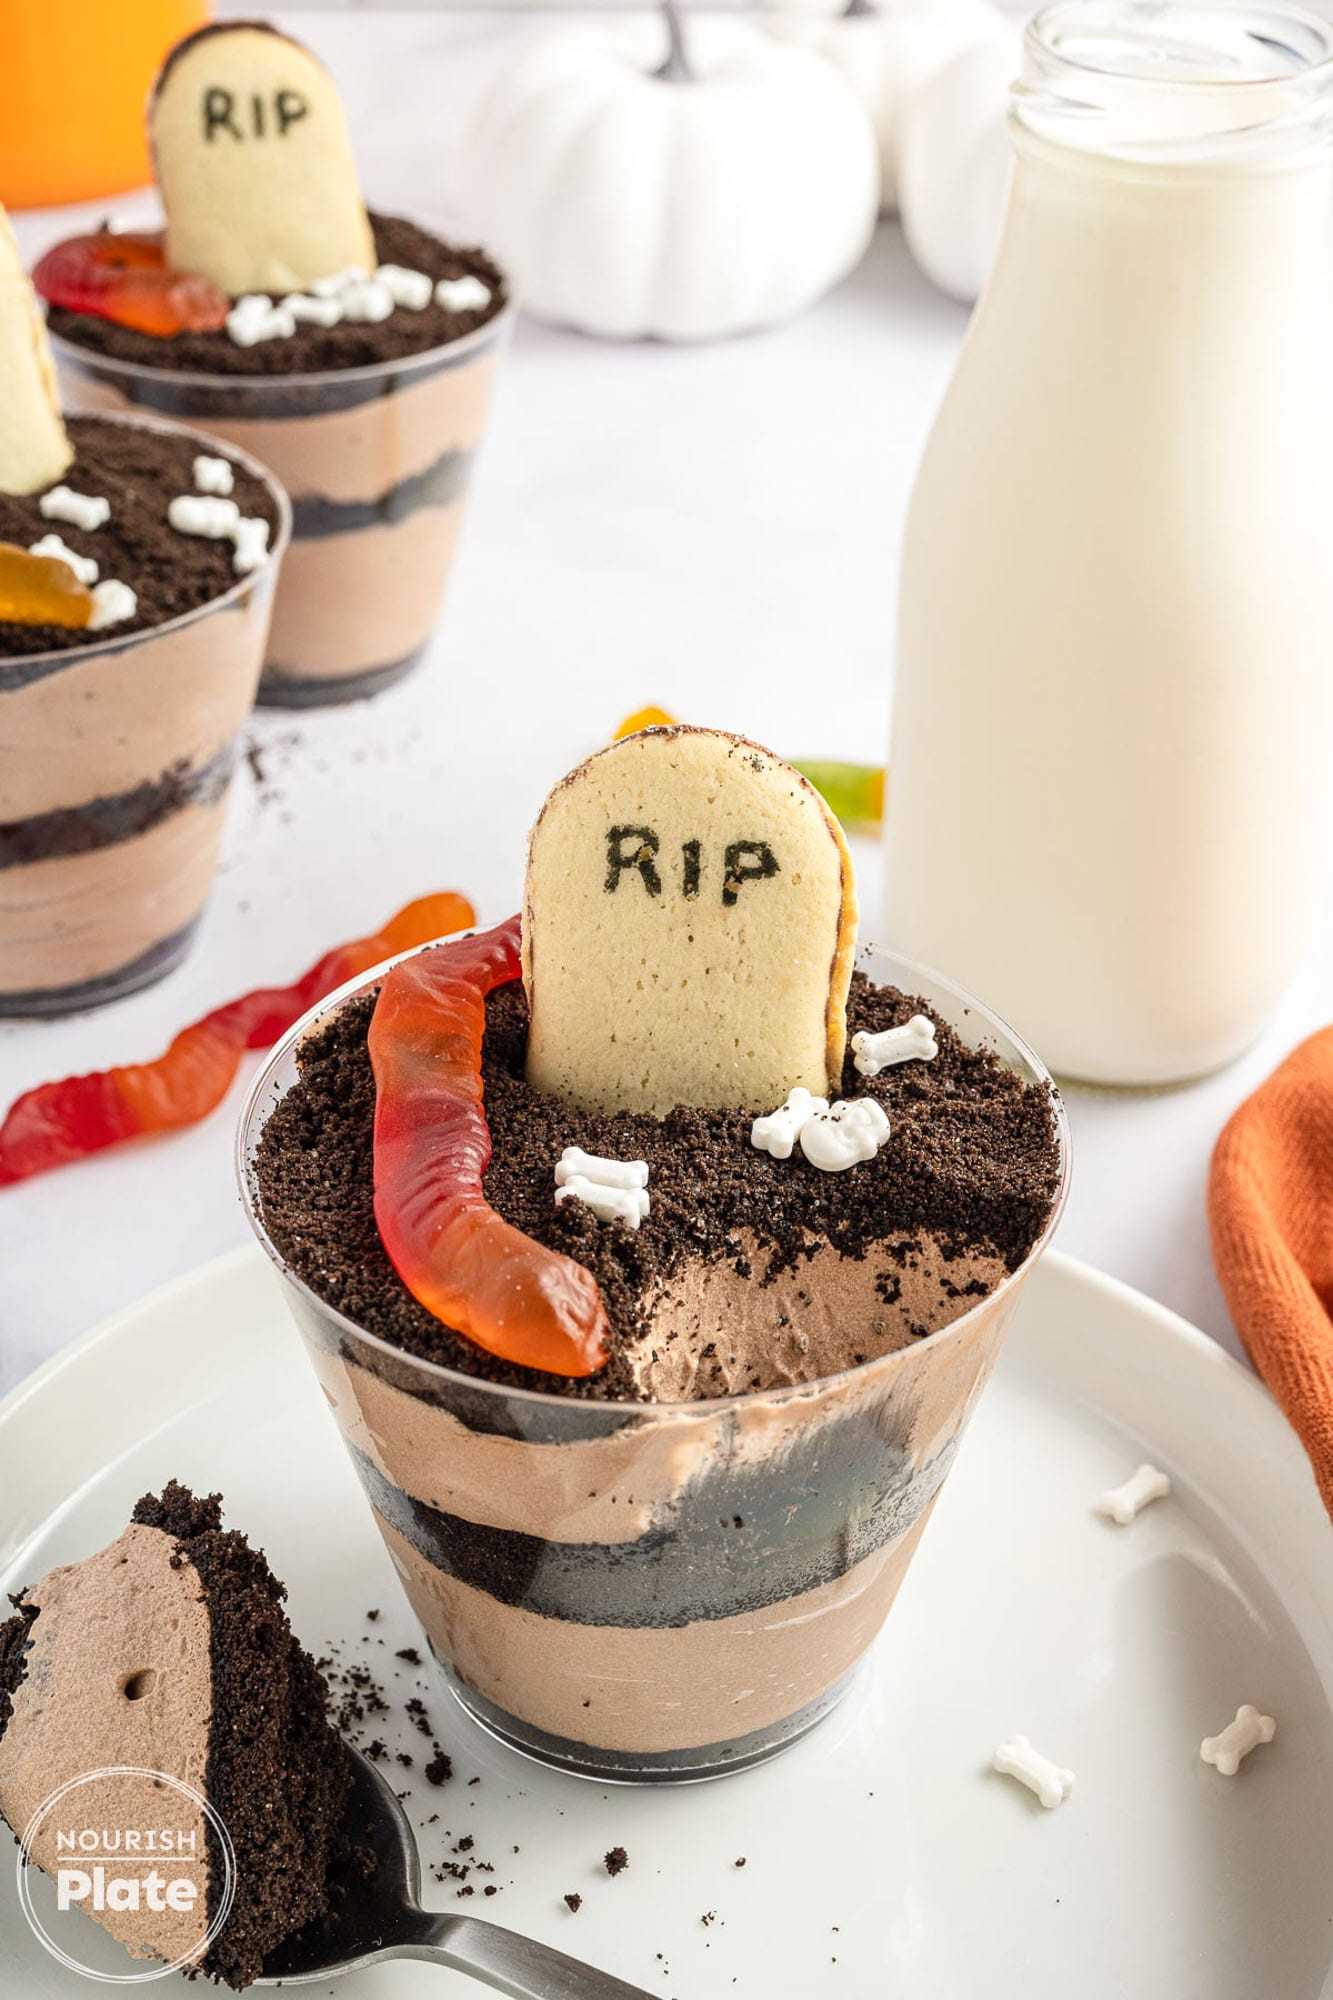
Dirt cups are a classic dessert that’s great for any holiday. They’re especially fun for Halloween, giving you a spooky yet tasty treat. If you’re interested in a springtime version, check out our Easter Dirt Cups.
Believe it or not, dirt cups have been around for quite some time. They became popular in the ’90s as a fun and interactive way to get kids involved in the kitchen. The concept is simple but genius: create a dessert that looks like a cup of dirt but is actually a delicious mix of pudding, whipped topping, and crushed cookies. Over the years, dirt cups have evolved, and now you can find all sorts of variations, including our Halloween-themed version.
If you’re looking for more fun and easy Halloween treats, we’ve got you covered. Head over to our Halloween category page for a variety of recipes perfect for the spooky season. Don’t miss out on our Halloween Rice Krispie Treats, a simple and fun treat that kids love. If you’re a fan of puppy chow, our Fall Puppy Chow is a must-try. For cheesecake lovers, our Candy Corn Mini Cheesecakes are a festive twist on a classic dessert. And let’s not forget our Halloween Air Fryer Brownies; they’re quick to make and super tasty.
Why Dirt Cups Are Perfect for Halloween
Halloween is all about spooky fun, and what could be more fitting than a dessert that looks like dirt but is actually delicious? The crushed Oreos give the illusion of dirt, making it a perfect fit for a Halloween theme. Plus, kids love the idea of eating “dirt” that’s actually yummy. It’s a win-win for everyone!
Ingredients Needed
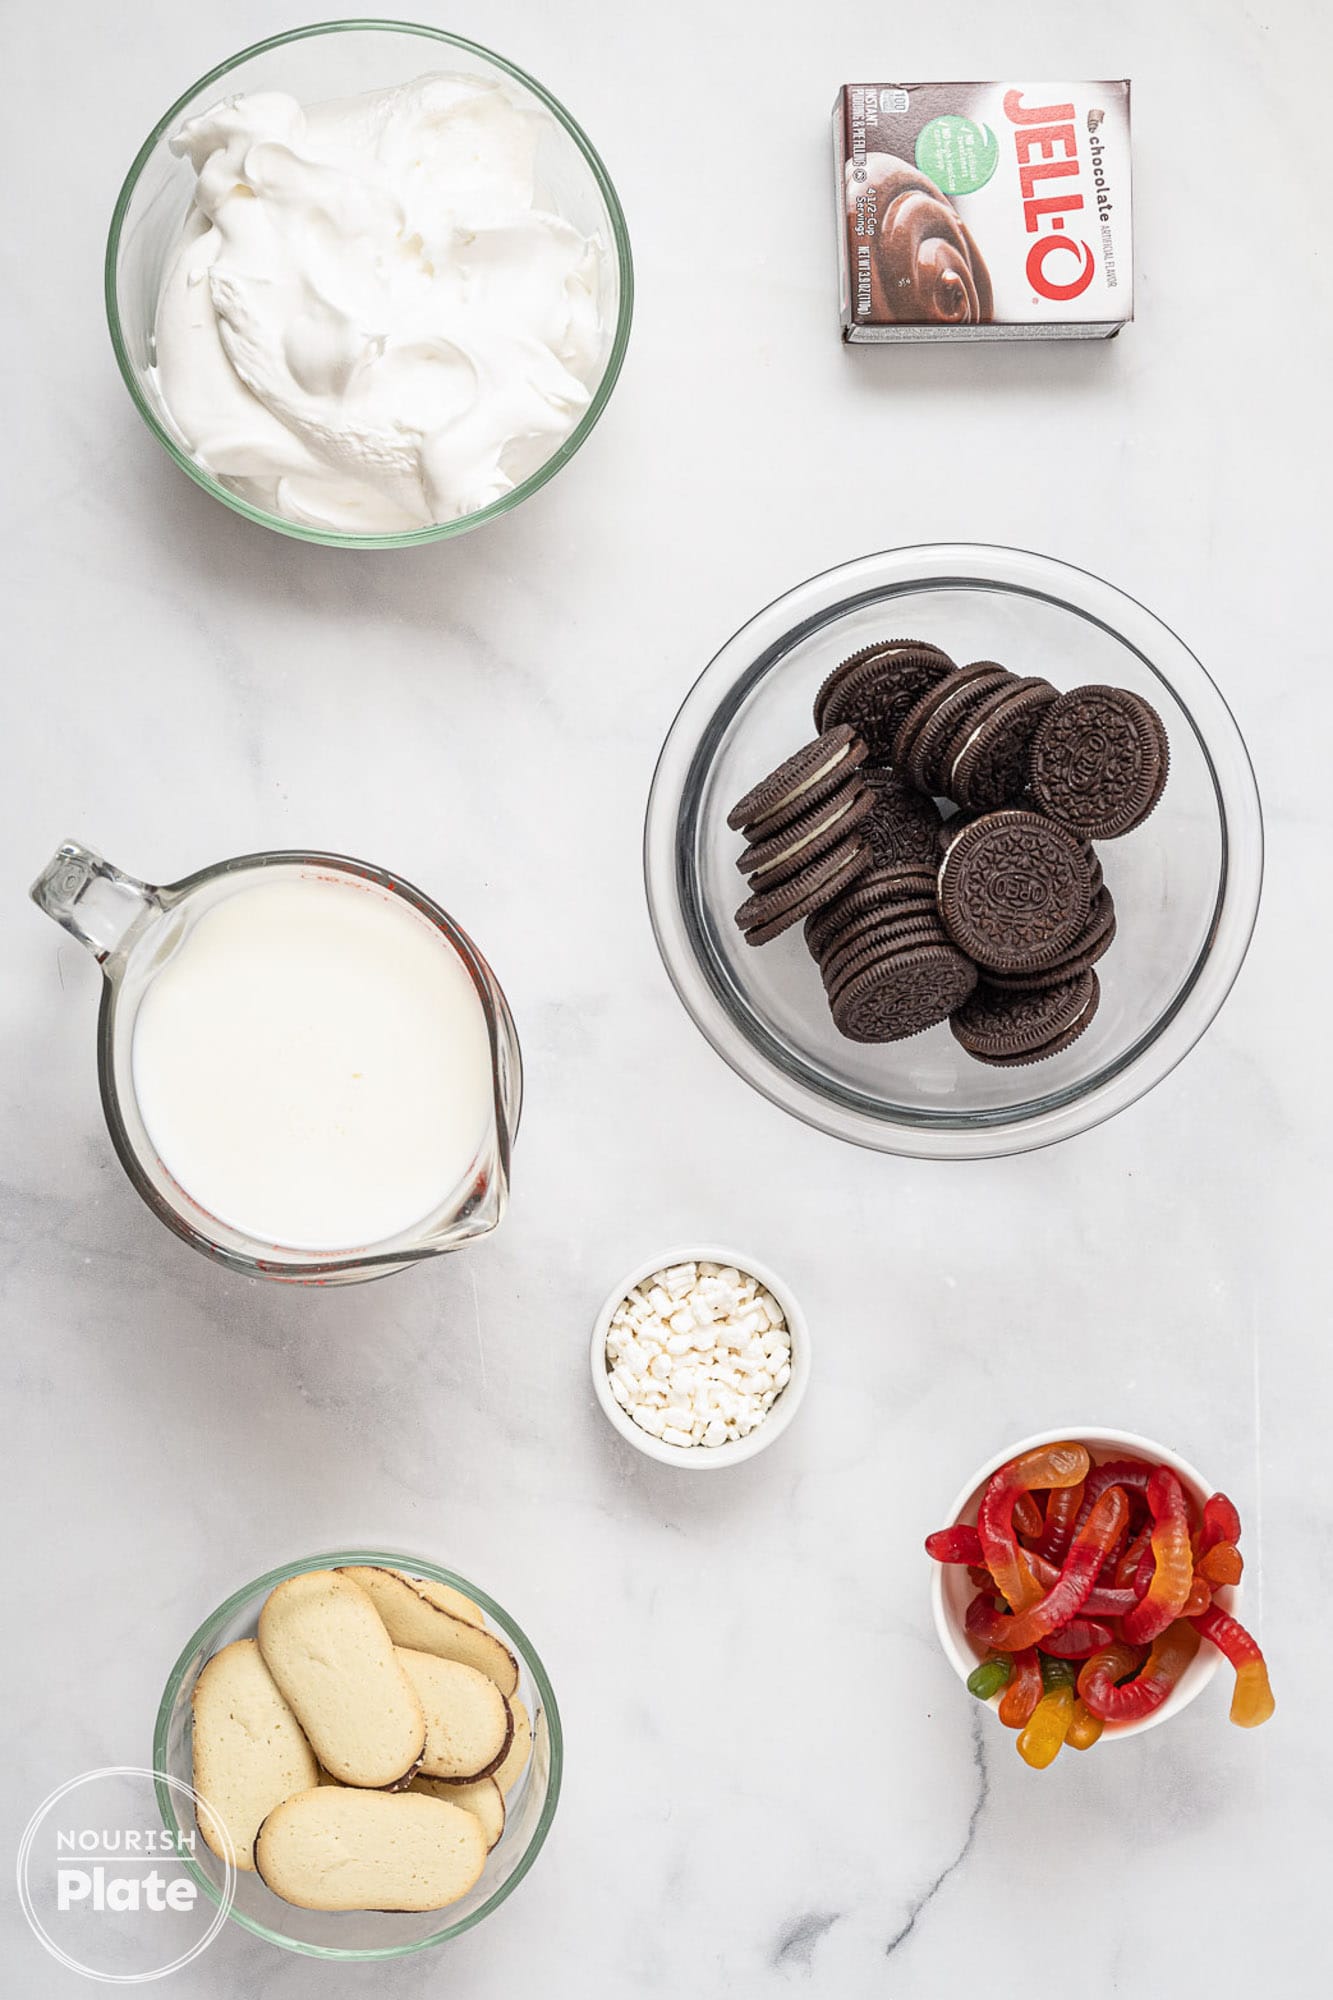
- Instant Chocolate Pudding: We’re using a 3.9-ounce package of instant chocolate pudding. Just mix it with cold milk, and you’re good to go. Don’t use the “cook and serve” type; it won’t set properly.
- Cold Milk: Use 2 cups of cold milk to mix with the pudding. Make sure it’s cold for the best results.
- Whipped Topping: An 8-ounce container of whipped topping like Cool Whip works great. Make sure it’s thawed before you use it.
- Oreos: Crush 16 Oreos to make the “dirt.” You can use a food processor or a ziptop bag and a rolling pin. If you want to switch things up, try golden Oreos.
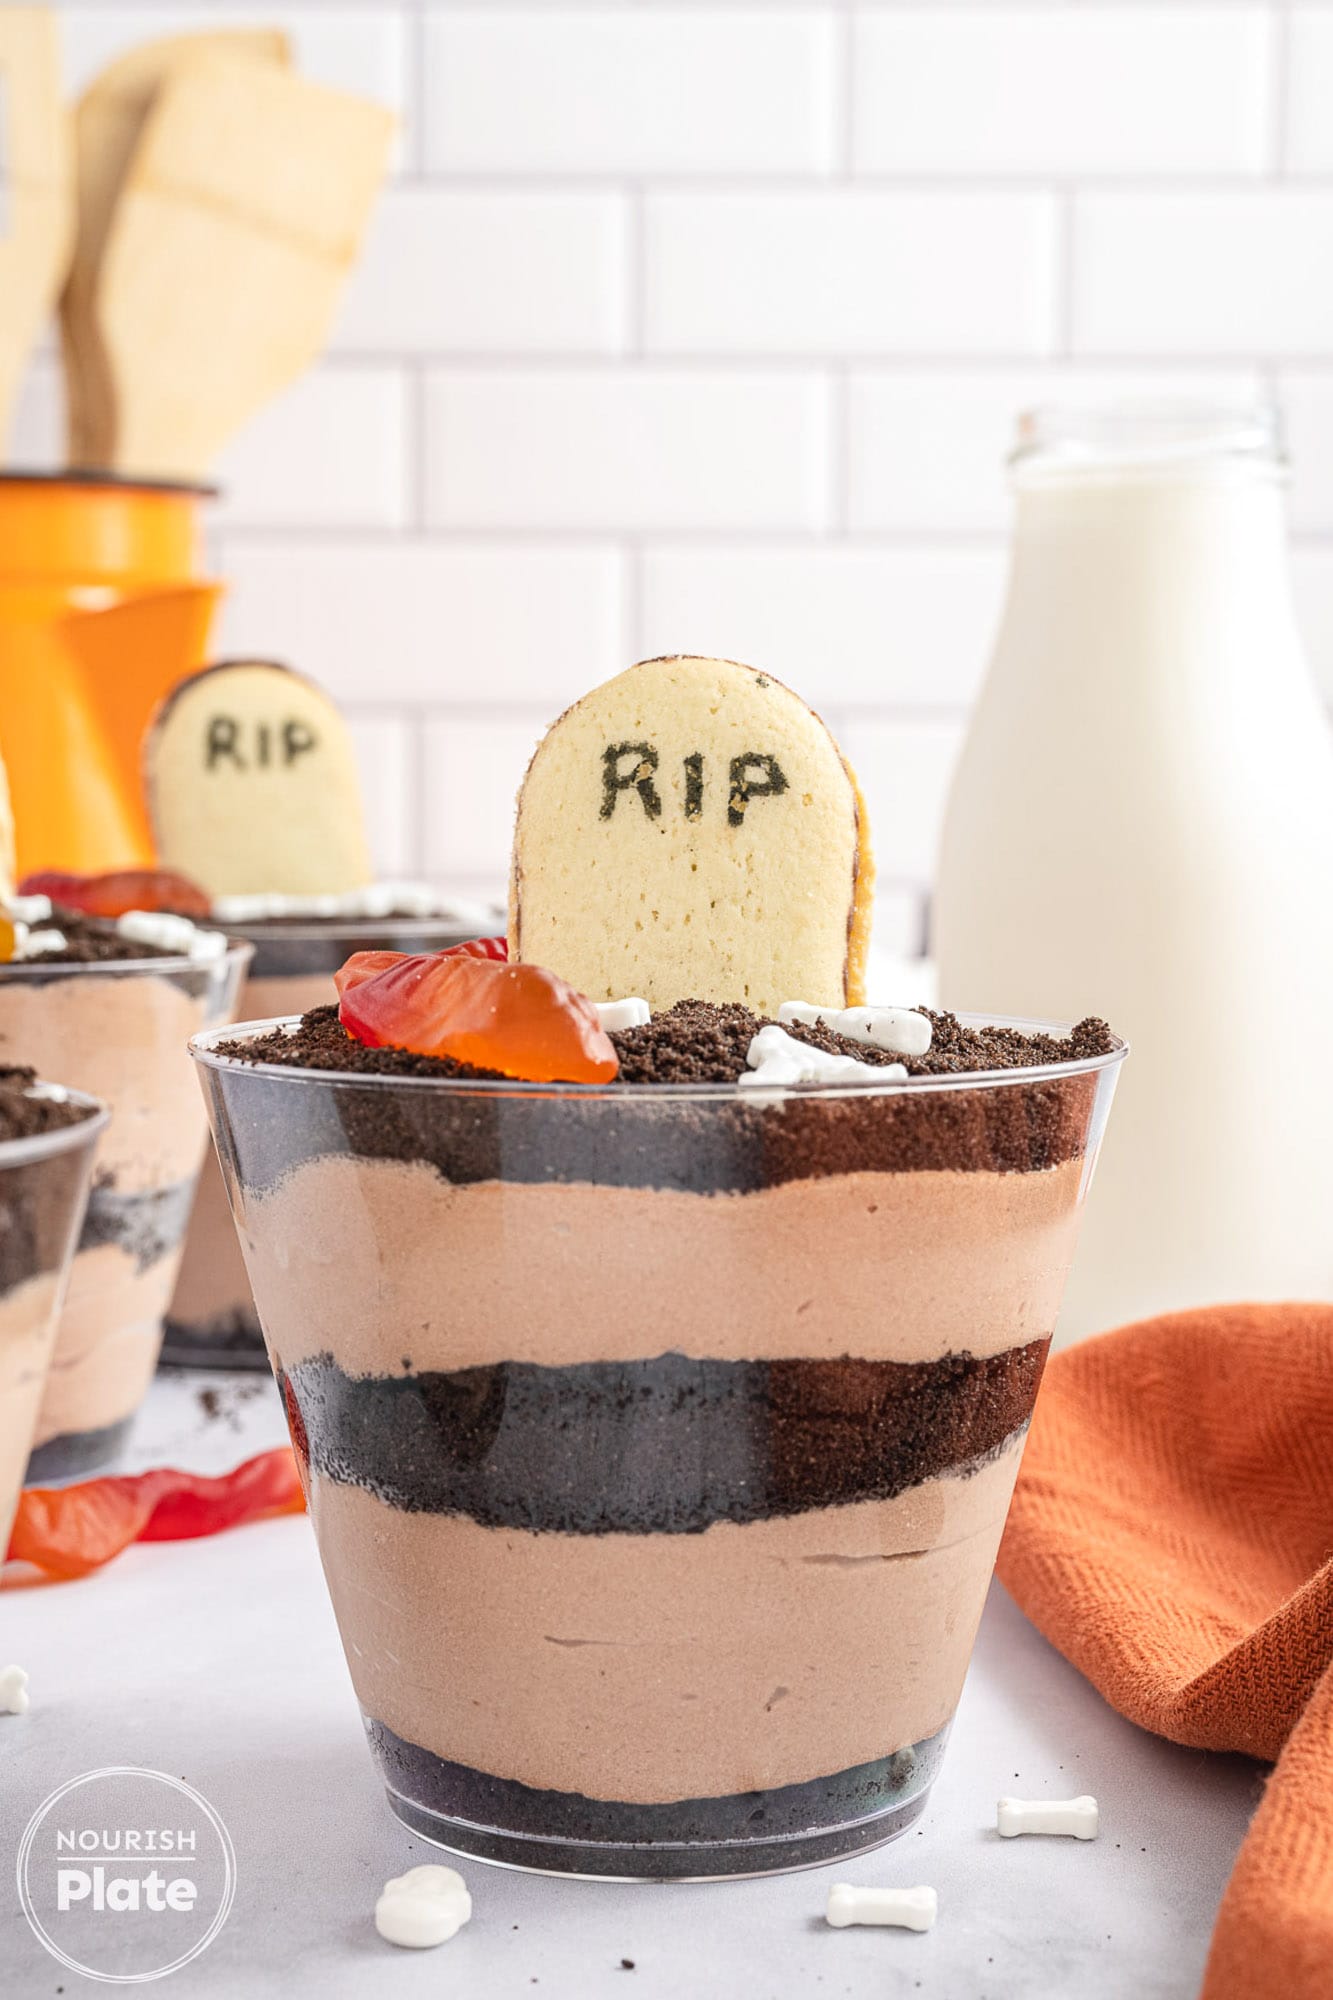
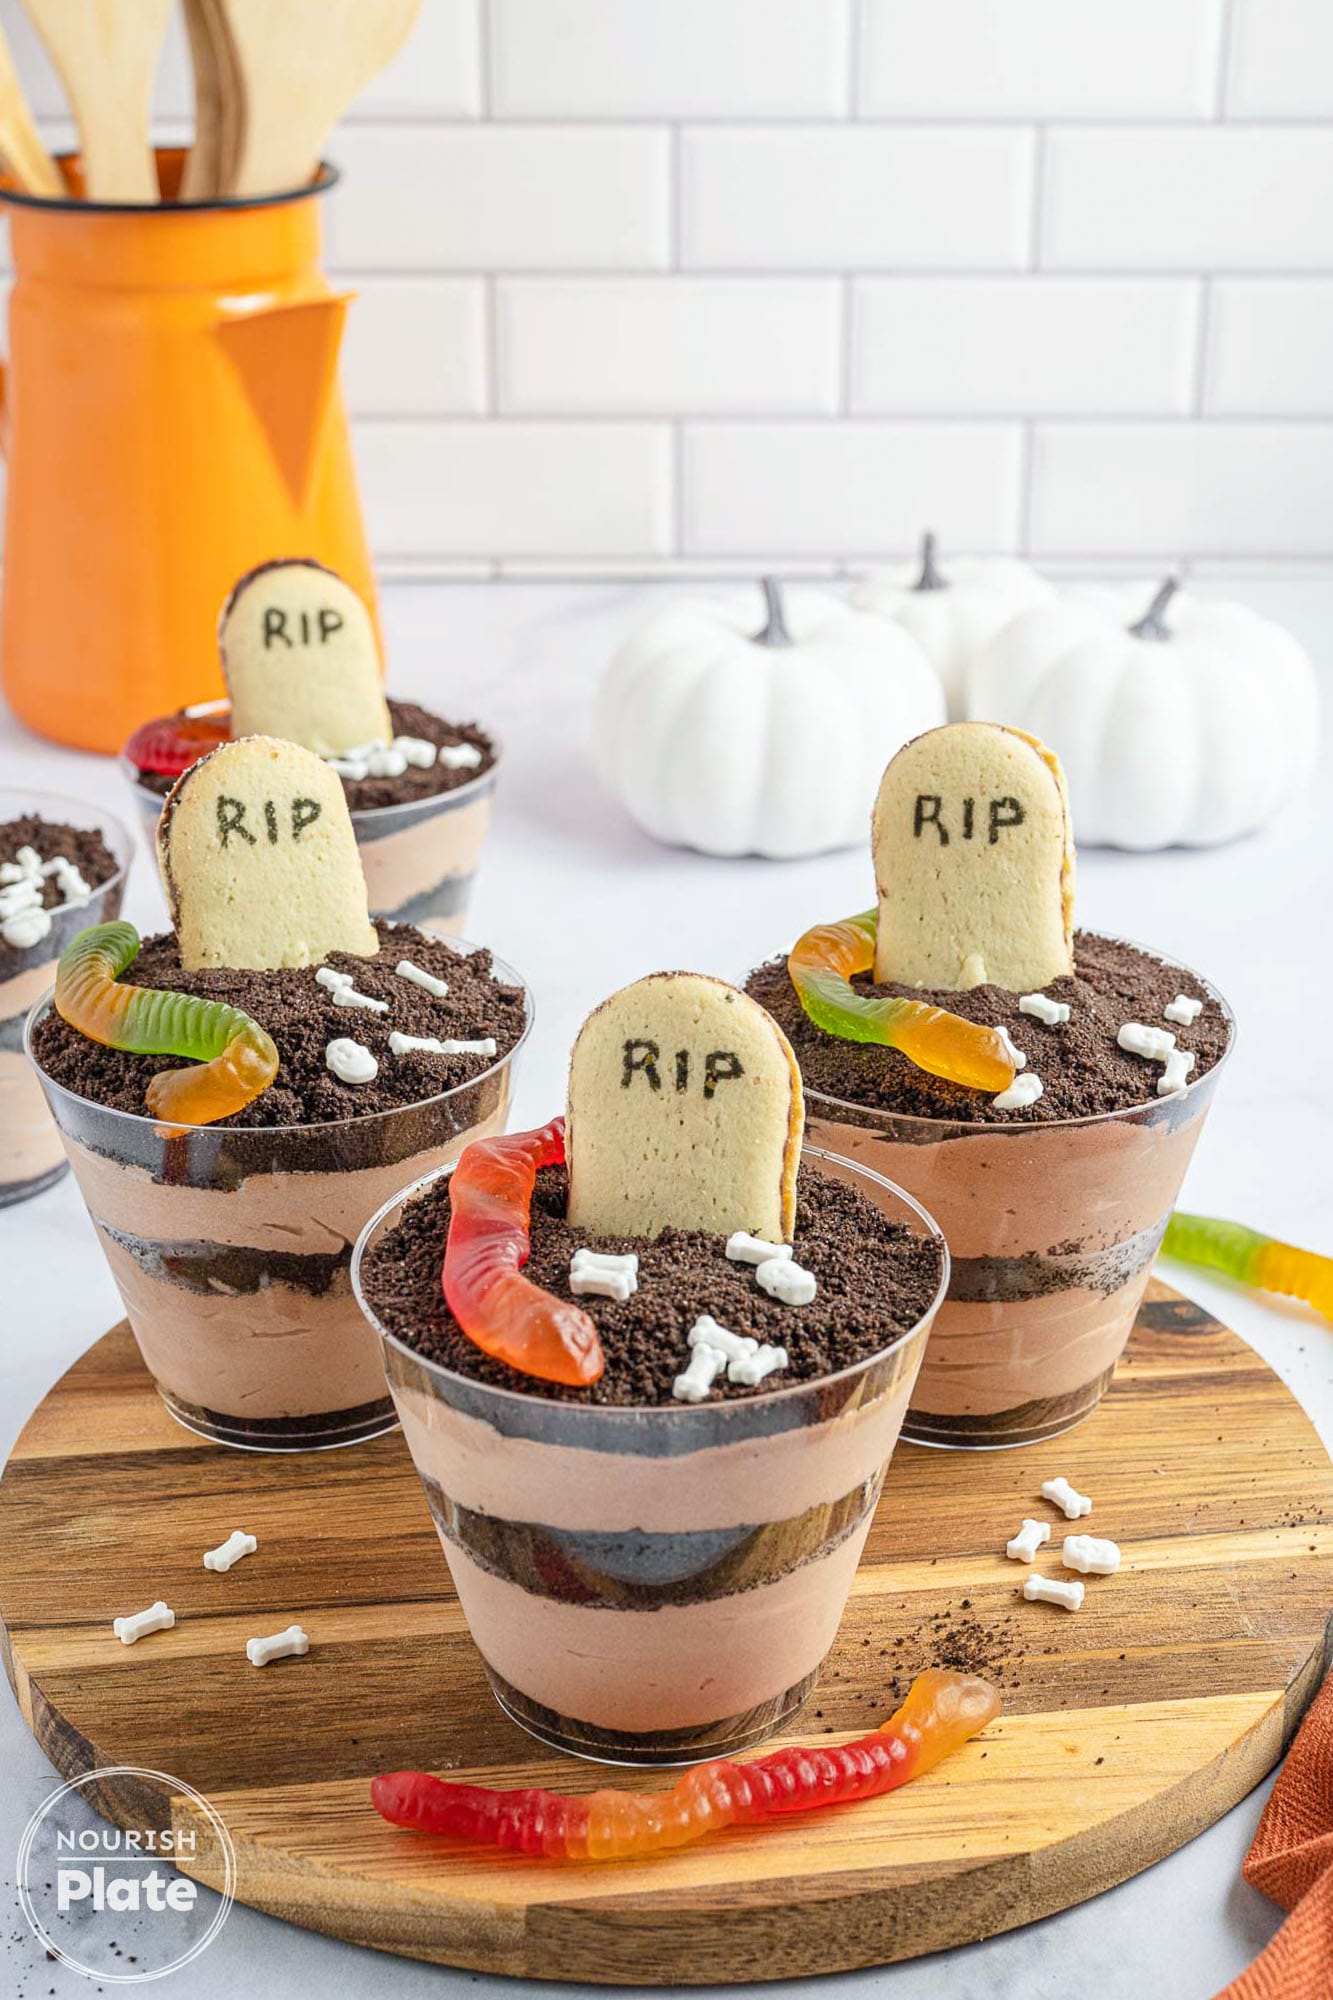
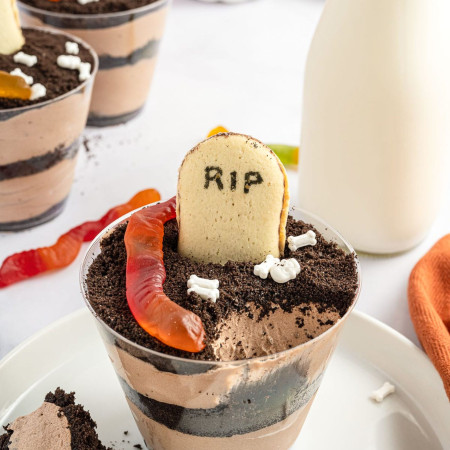
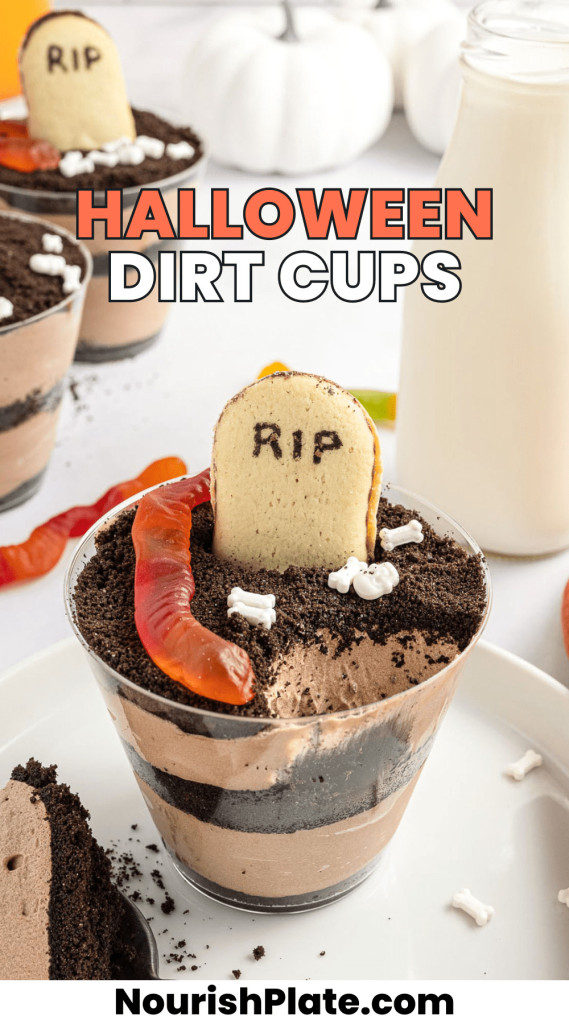
- Halloween Candy: Use your favorite Halloween candy to decorate the cups. Gummy worms and eye candy are popular options. We also love Milano cookies that we write on with edible markers to make them look like tombstones.
Complete list of ingredients with quantities and instructions is located in the recipe card below
How to Make Halloween Dirt Cups
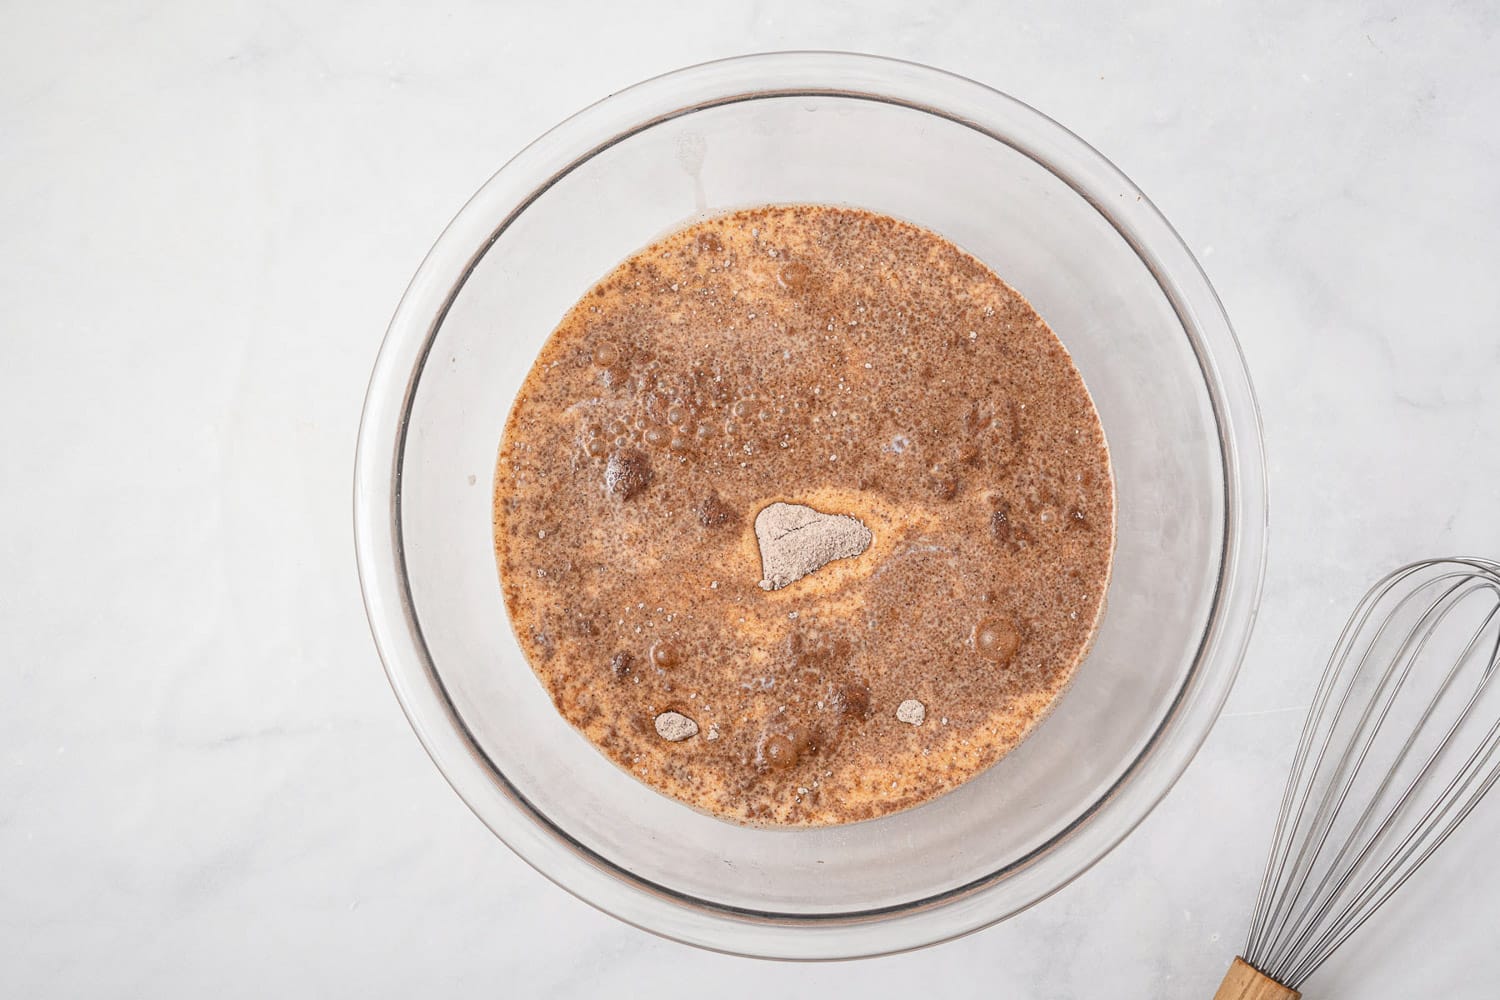
- Prepare the Pudding: In a bowl, whisk the pudding mix with 2 cups of cold milk for 2 minutes. Let it sit for about 10 minutes to thicken.
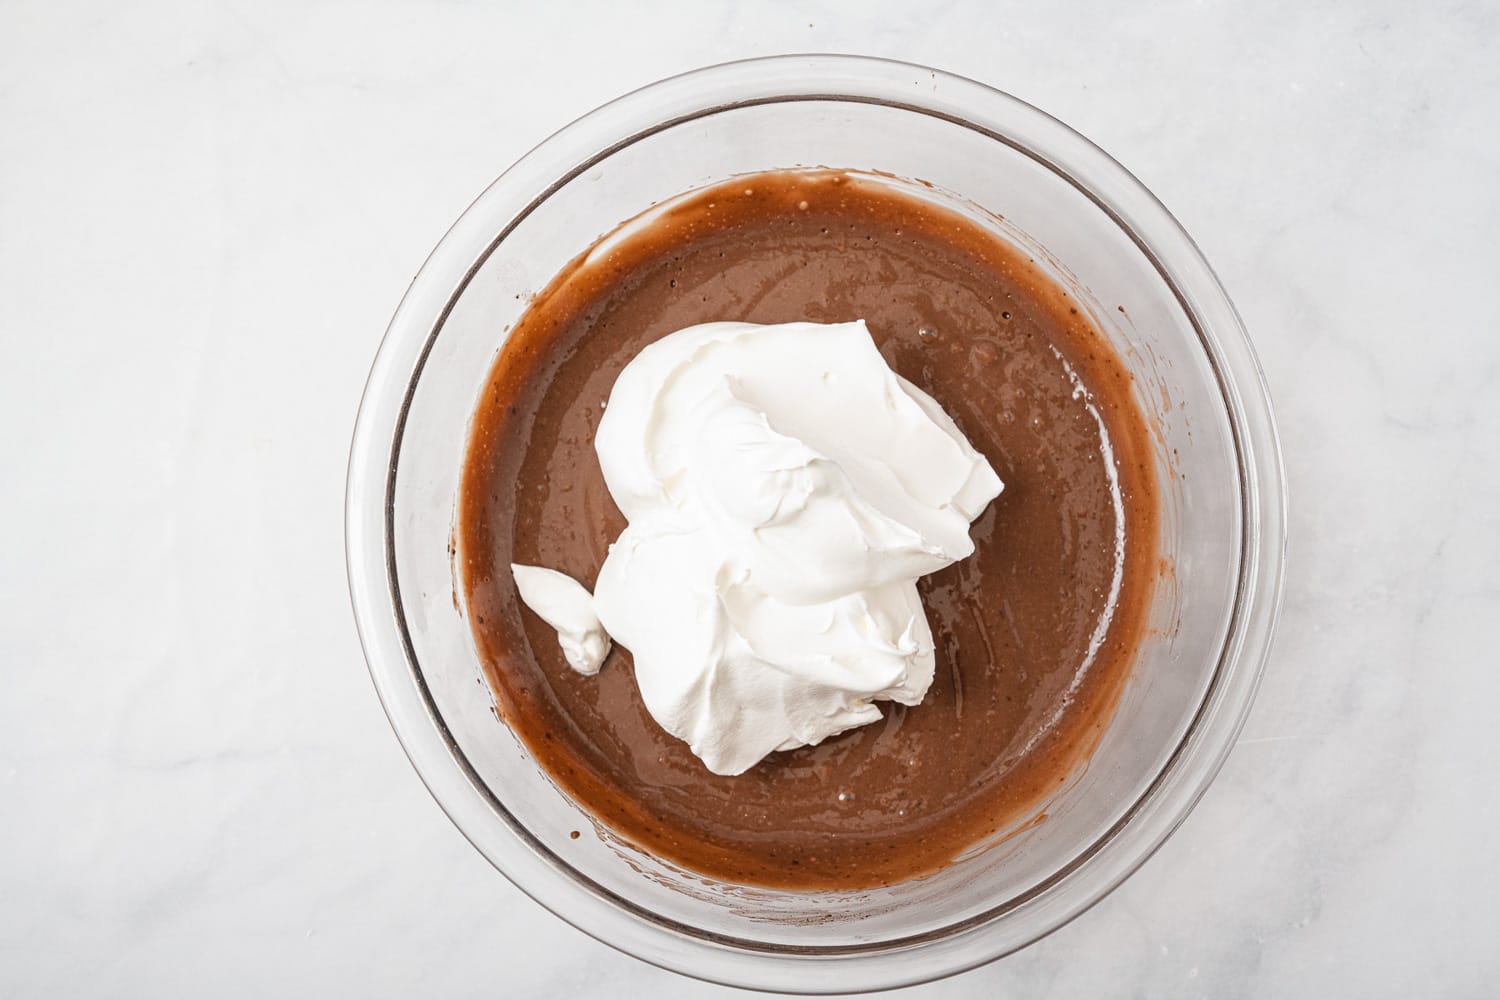
- Add Whipped Topping: Fold in the whipped topping and chill the pudding mixture for 15 minutes.
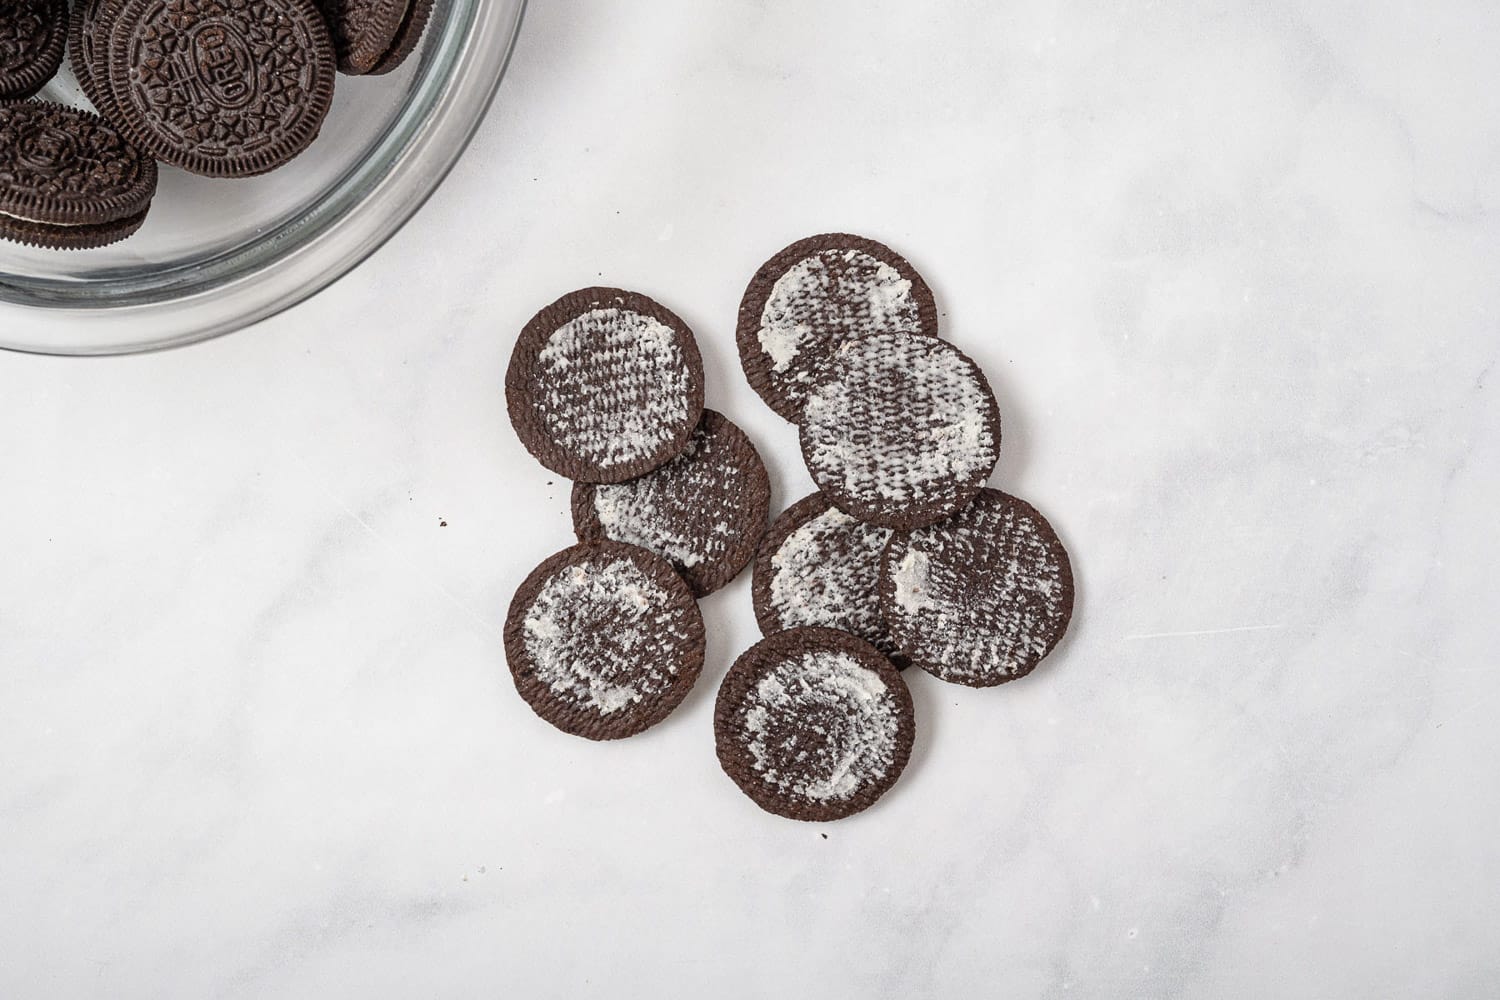
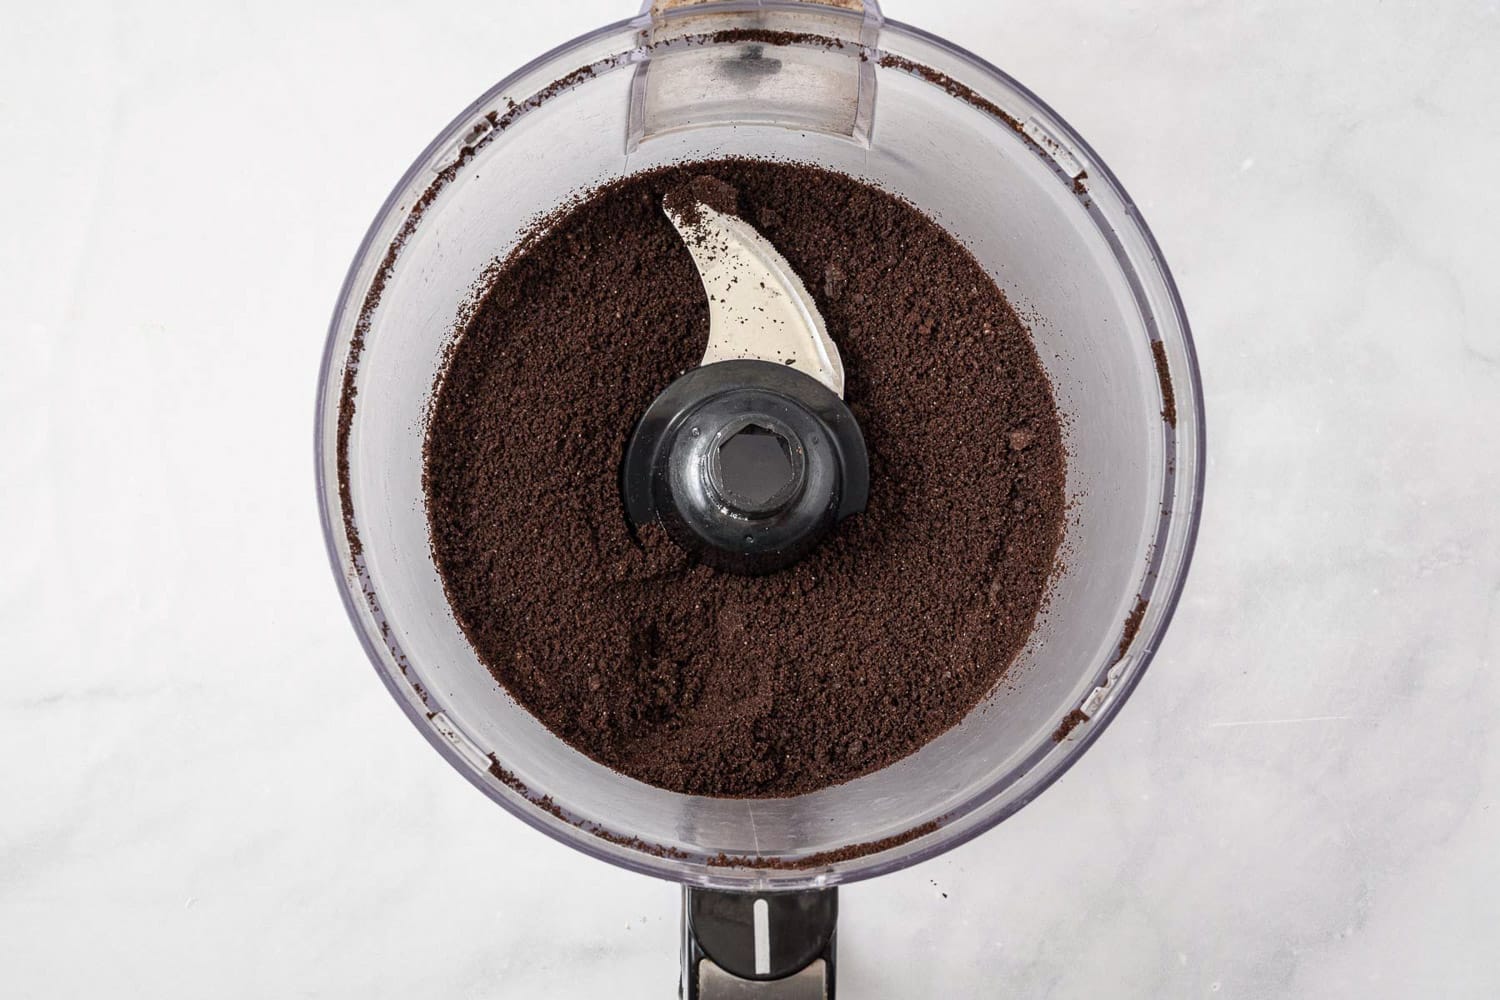
- Crush the Oreos: Remove the filling from the Oreos and crush them. You can use a food processor or do it manually in a ziptop bag with a rolling pin.
- Assemble the Cups: In individual cups, start with a tablespoon of crushed Oreos. Add a layer of the pudding mixture. Repeat the layers and finish with crushed Oreos on top. Decorate with Milano cookies (write on them with edible marker), gummy worms, and sprinkles.
Tips for Making Dirt Cups
- Cookie Choice: Feel free to use your favorite cookie for the crushed crumbs. I go with chocolate Oreos for their dark color to resemble dirt, but Golden Oreos or even vanilla cookies work well.
- Pudding Flavor: You can also try different pudding flavors like butterscotch, pumpkin spice, caramel, banana, lemon, or white chocolate.
- Chill Time: If you have time, chill the pudding cups. It helps the ingredients mix well and gives you a better texture.
- Layering: Try to make even layers for a good look. Use plastic wrap to cover the cups if you’re storing them for later.
Fun Variations to Try
If you’re looking to mix things up, consider these fun variations:
- Add Fruits: Small pieces of banana or strawberries can add a fresh twist.
- Different Toppings: Apart from Halloween candy, you can use sprinkles or chocolate chips for added fun.
- Vegan Version: Use almond milk and a dairy-free whipped topping for a vegan-friendly option. Oreos are vegan-friendly.
How to Store Dirt Cups
If you’re making these cups in advance, you can easily store them in the fridge. Just cover each cup with plastic wrap to keep them fresh. They should be good for up to 3 days. If you’re planning to serve them at a party, you can prepare the individual components in advance and assemble them right before serving.
These Halloween Dirt Cups are perfect for any Halloween gathering or party. Kids love them, and they’re quick to make. So go ahead, give this dirt cup recipe a try, and let us know how it turns out. Don’t forget to rate and review the recipe!
Did you make this? Be sure to leave a review below and tag me on Facebook, Instagram, or Pinterest!
Dirt Cups
Ingredients
- 1 3.9 ounce package instant chocolate pudding
- 2 cups cold milk
- 1 8-ounce container whipped topping
- 16 Oreos
- Gummy Worms
- Milano Cookies
- Edible marker
- Halloween sprinkles
Instructions
- In a bowl, whisk the pudding mix with milk for 2 minutes, then allow to thicken (about 10 minutes).
- Fold in the whipped topping, and chill for 15 minutes.
- Remove the filling of the oreos, and crush in a food processor or in a ziptop bag with a rolling pin.
- To a cup, add a tablespoon of crushed Oreos, followed by chocolate pudding mix, repeat again, and add one more crushed Oreo topping.
- Decorate with Milano cookies (use an edible market or melted chocolate to write on the cookies for a tombstone look). Add gummy worms, and sprinkles if desired.
Notes
- Cookie Choice: You can use golden Oreos or vanilla cookies instead of regular Oreos for the crushed crumbs.
- Pudding Flavor: Feel free to try different pudding flavors like banana, lemon, or white chocolate.
- Chill Time: If possible, chill the assembled cups for a bit. This helps the pudding set and the flavors to blend together.
- Storage: If making in advance, cover each cup with plastic wrap and store in the fridge for up to 3 days.
Nutrition
This website provides approximate nutrition information for convenience and as a courtesy only. Nutrition data is gathered primarily from the USDA Food Composition Database, whenever available, or otherwise other online calculators.
did you make this recipe?
Make sure to follow on Pinterest @nourishplate and on Instagram @nourishplate




Comments & Reviews
Christine says
this looks very good please send me the website thank you