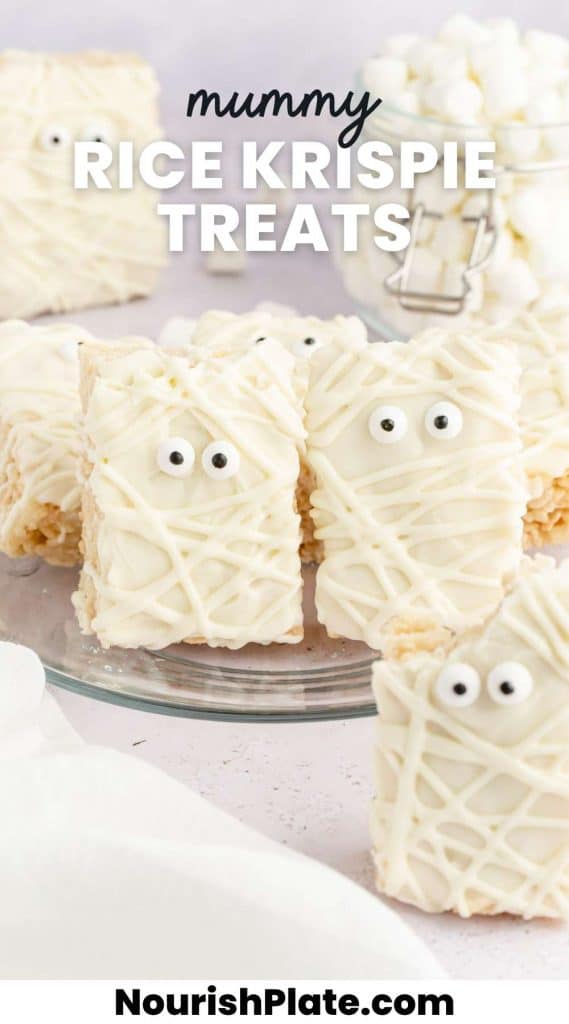
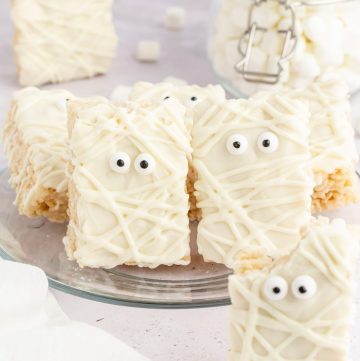
Easy homemade Halloween Rice Krispie Treats are perfect for Halloween parties, after school snacks, or family gatherings! Get your kids to help you decorate your homemade Mummy Rice Krispie Treats for a fun Halloween activity!
I love store-bought Rice Krispie Treats, but think that they taste much better when they’re homemade! They’re super easy to make at home, and are very easy to customize. Adding flavors, colors, and sprinkles is so much fun and you can do that to match your party theme colors!
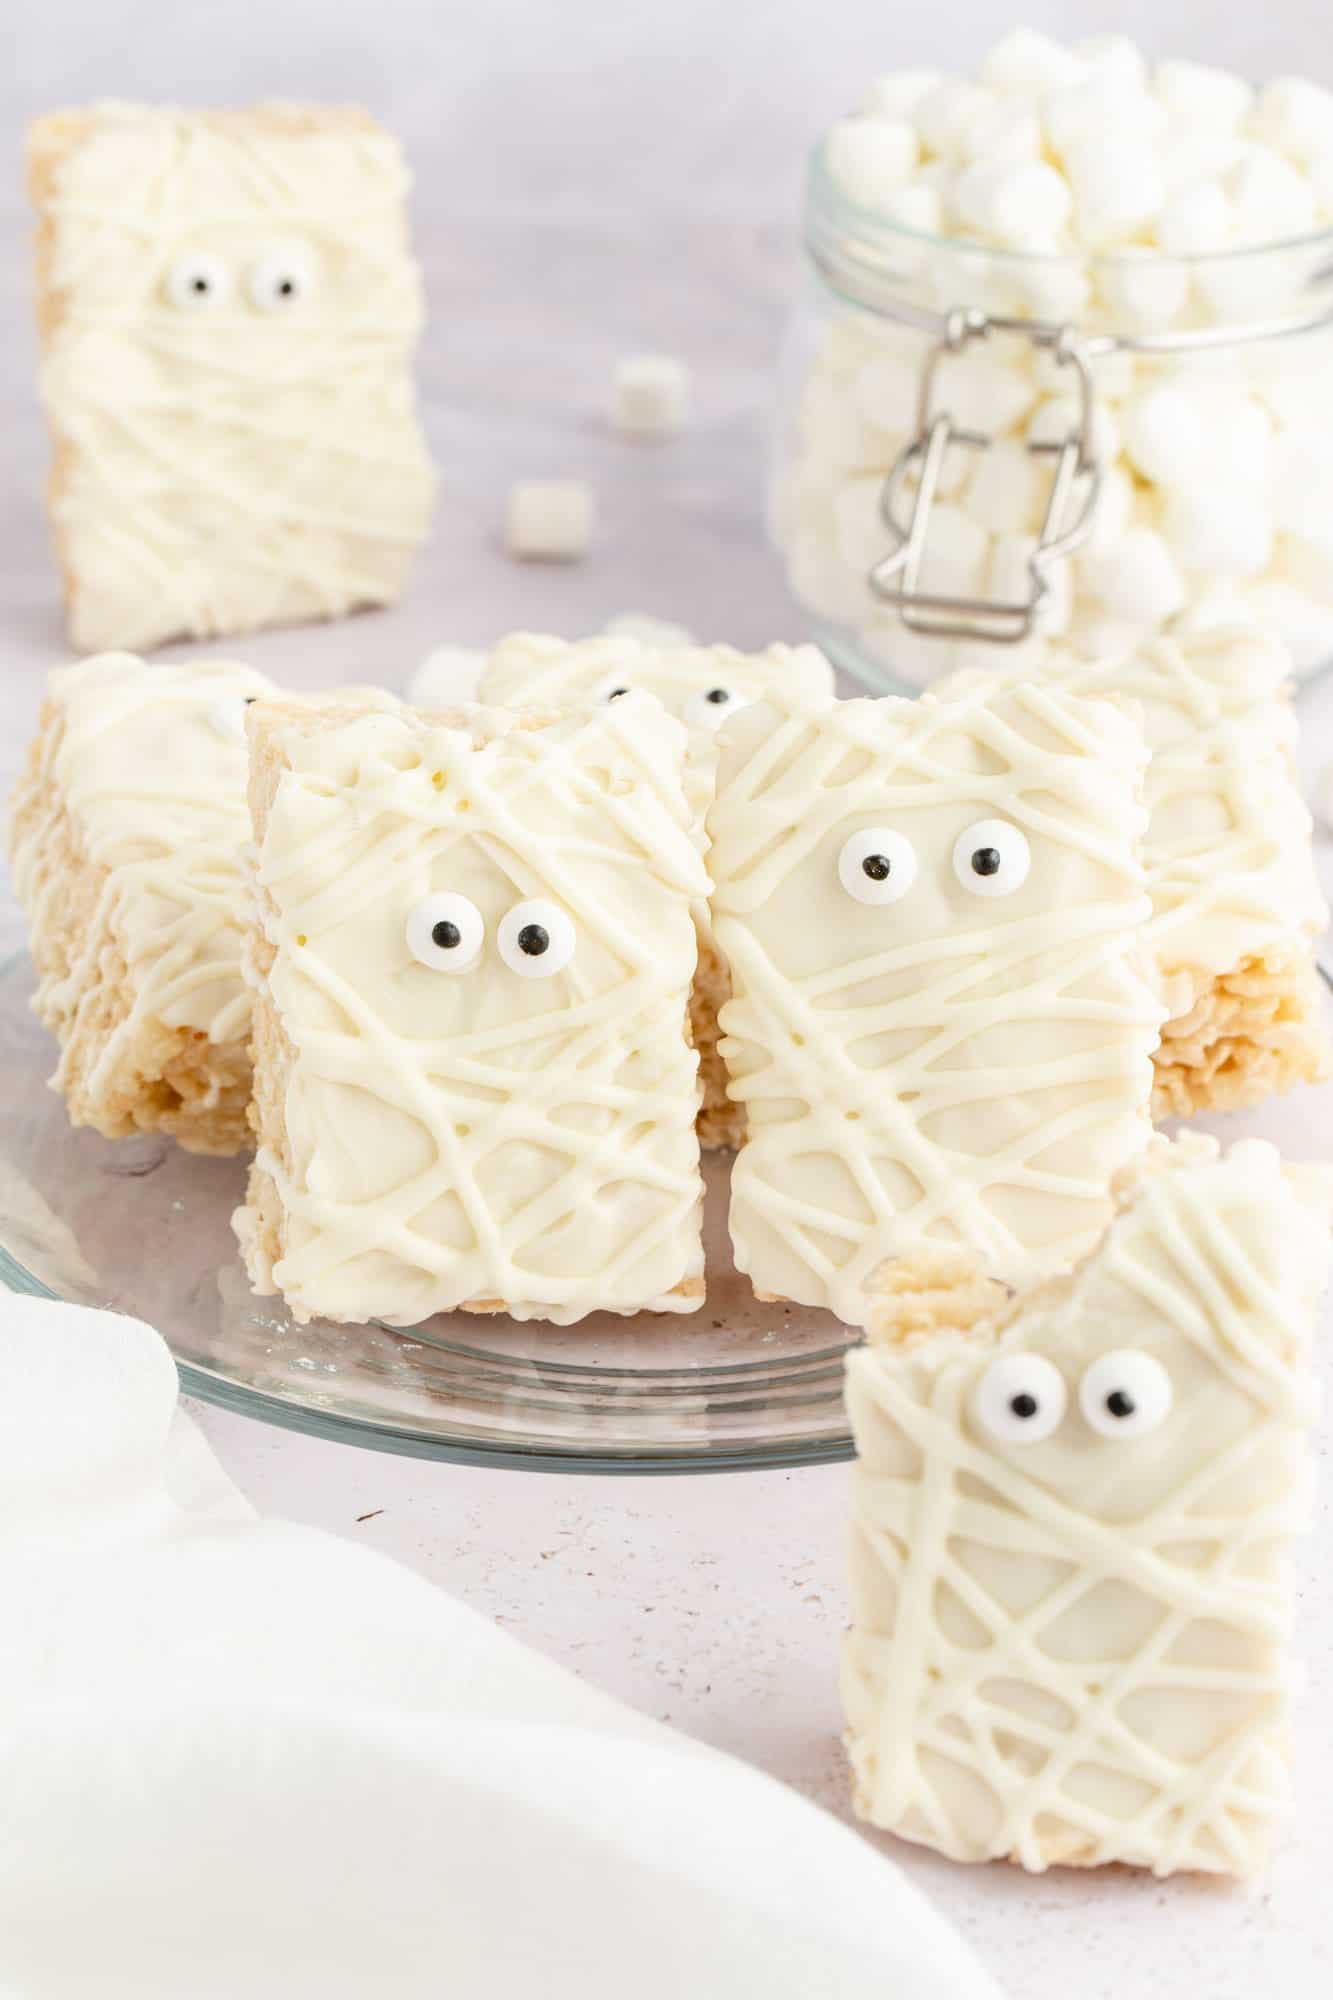
These homemade Mummy Rice Krispie Treats are simply dipped in white chocolate, and decorated with candy eyes and a drizzle of white chocolate to look like bandages. You only need a few simple ingredients to make them, and just half an hour of your time!
If you’re looking for more easy Halloween recipes, check out these Air Fryer Ghost Brownies, and these cute Air Fryer Mummy Hot Dogs!
Ingredients Needed
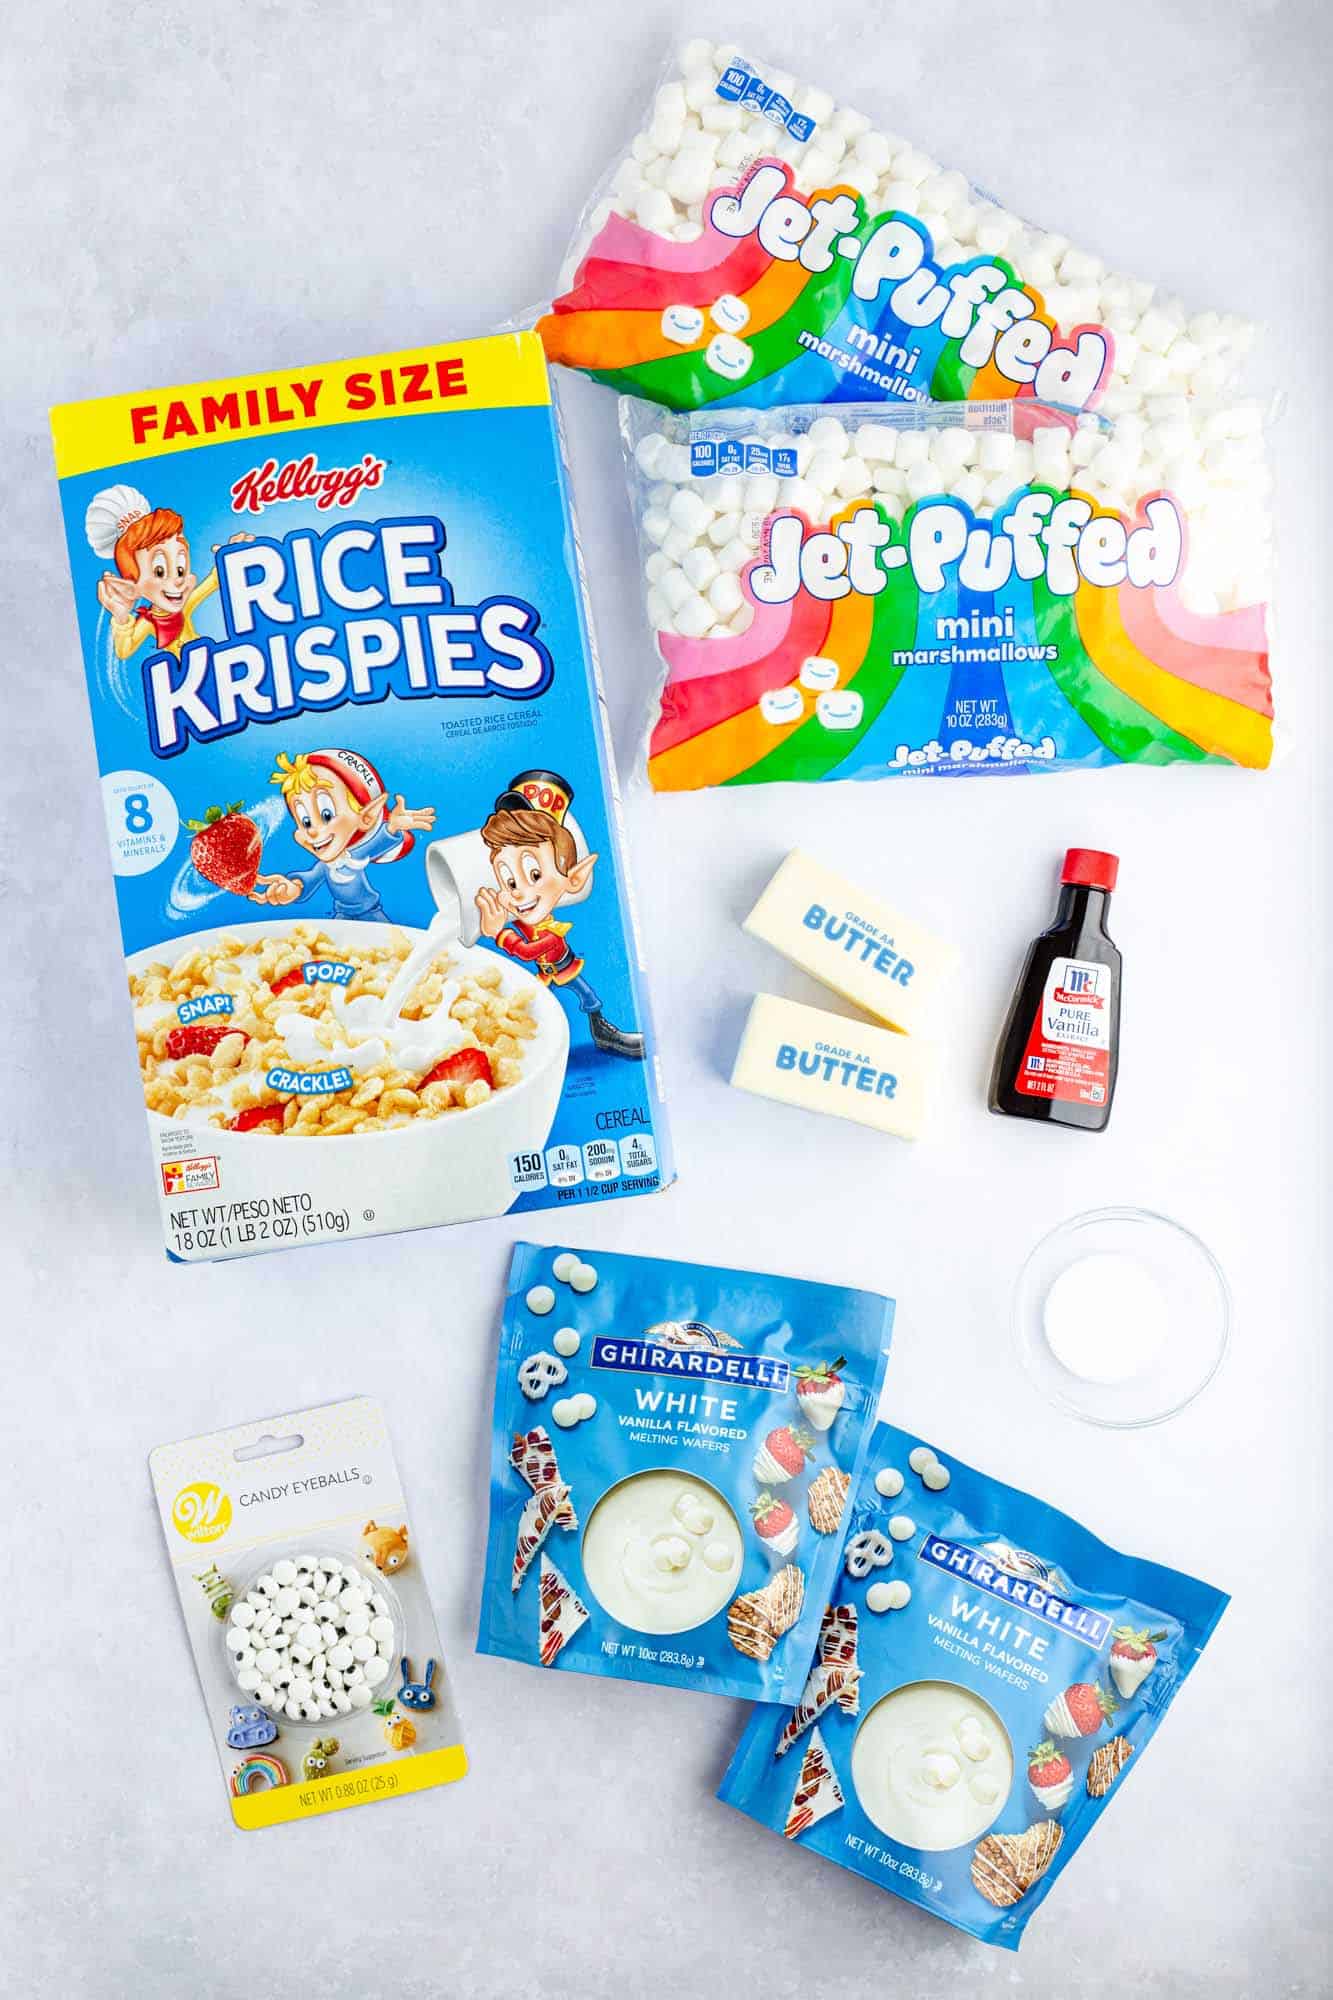
- Rice Krispies: You can’t make these delicious treats without this ingredient. I typically keep a box in the pantry for the exact moment my craving strikes.
- Butter: I recommend using unsalted butter in this recipe.
- White Marshmallows: If you don’t have mini marshmallows, you can use regular marshmallows and they will melt just fine. Just make sure that you’re using white ones.
- Vanilla, and salt: These are used to flavor. I prefer pure vanilla extract. But you can use imitation if that’s what you have on hand.
- Candy Coating: To coat the rice Krispies and create the drizzles, we’re using 2 bags of vanilla melting wafers. You can also use white chocolate if you like. But melting wafers melt and set nicer.
- Candy Eyes: Add eyes to your adorable mummies by using candy eyes or mini chocolate chips. But I think candy eyes look cuter!
Complete list of ingredients with quantities and instructions is located in the recipe card below
How To Make Homemade Rice Krispies

- Line a 9×13-inch baking pan with parchment paper and set aside.
- In a large saucepan over medium heat, melt the butter and add the salt and give it a quick stir. Divide the marshmallows by setting aside one cup to use later, then add the rest of the marshmallows to the saucepan. Stir them until fully melted, then remove from heat, and mix in vanilla extract.
- Add the Rice Krispie cereal, and a cup of marshmallows that you reserved before and gently fold them in.
- Transfer the mixture into the prepared pan, and spread it evenly with a spatula but do not press too hard.
- Allow the mixture to set for an hour at room temperature (not fridge). Then cut into slices.
- To decorate, in a microwave safe bowl microwave the melting wafers at 30-second intervals sitting in between, until fully melted (be careful not to overheat the candy).
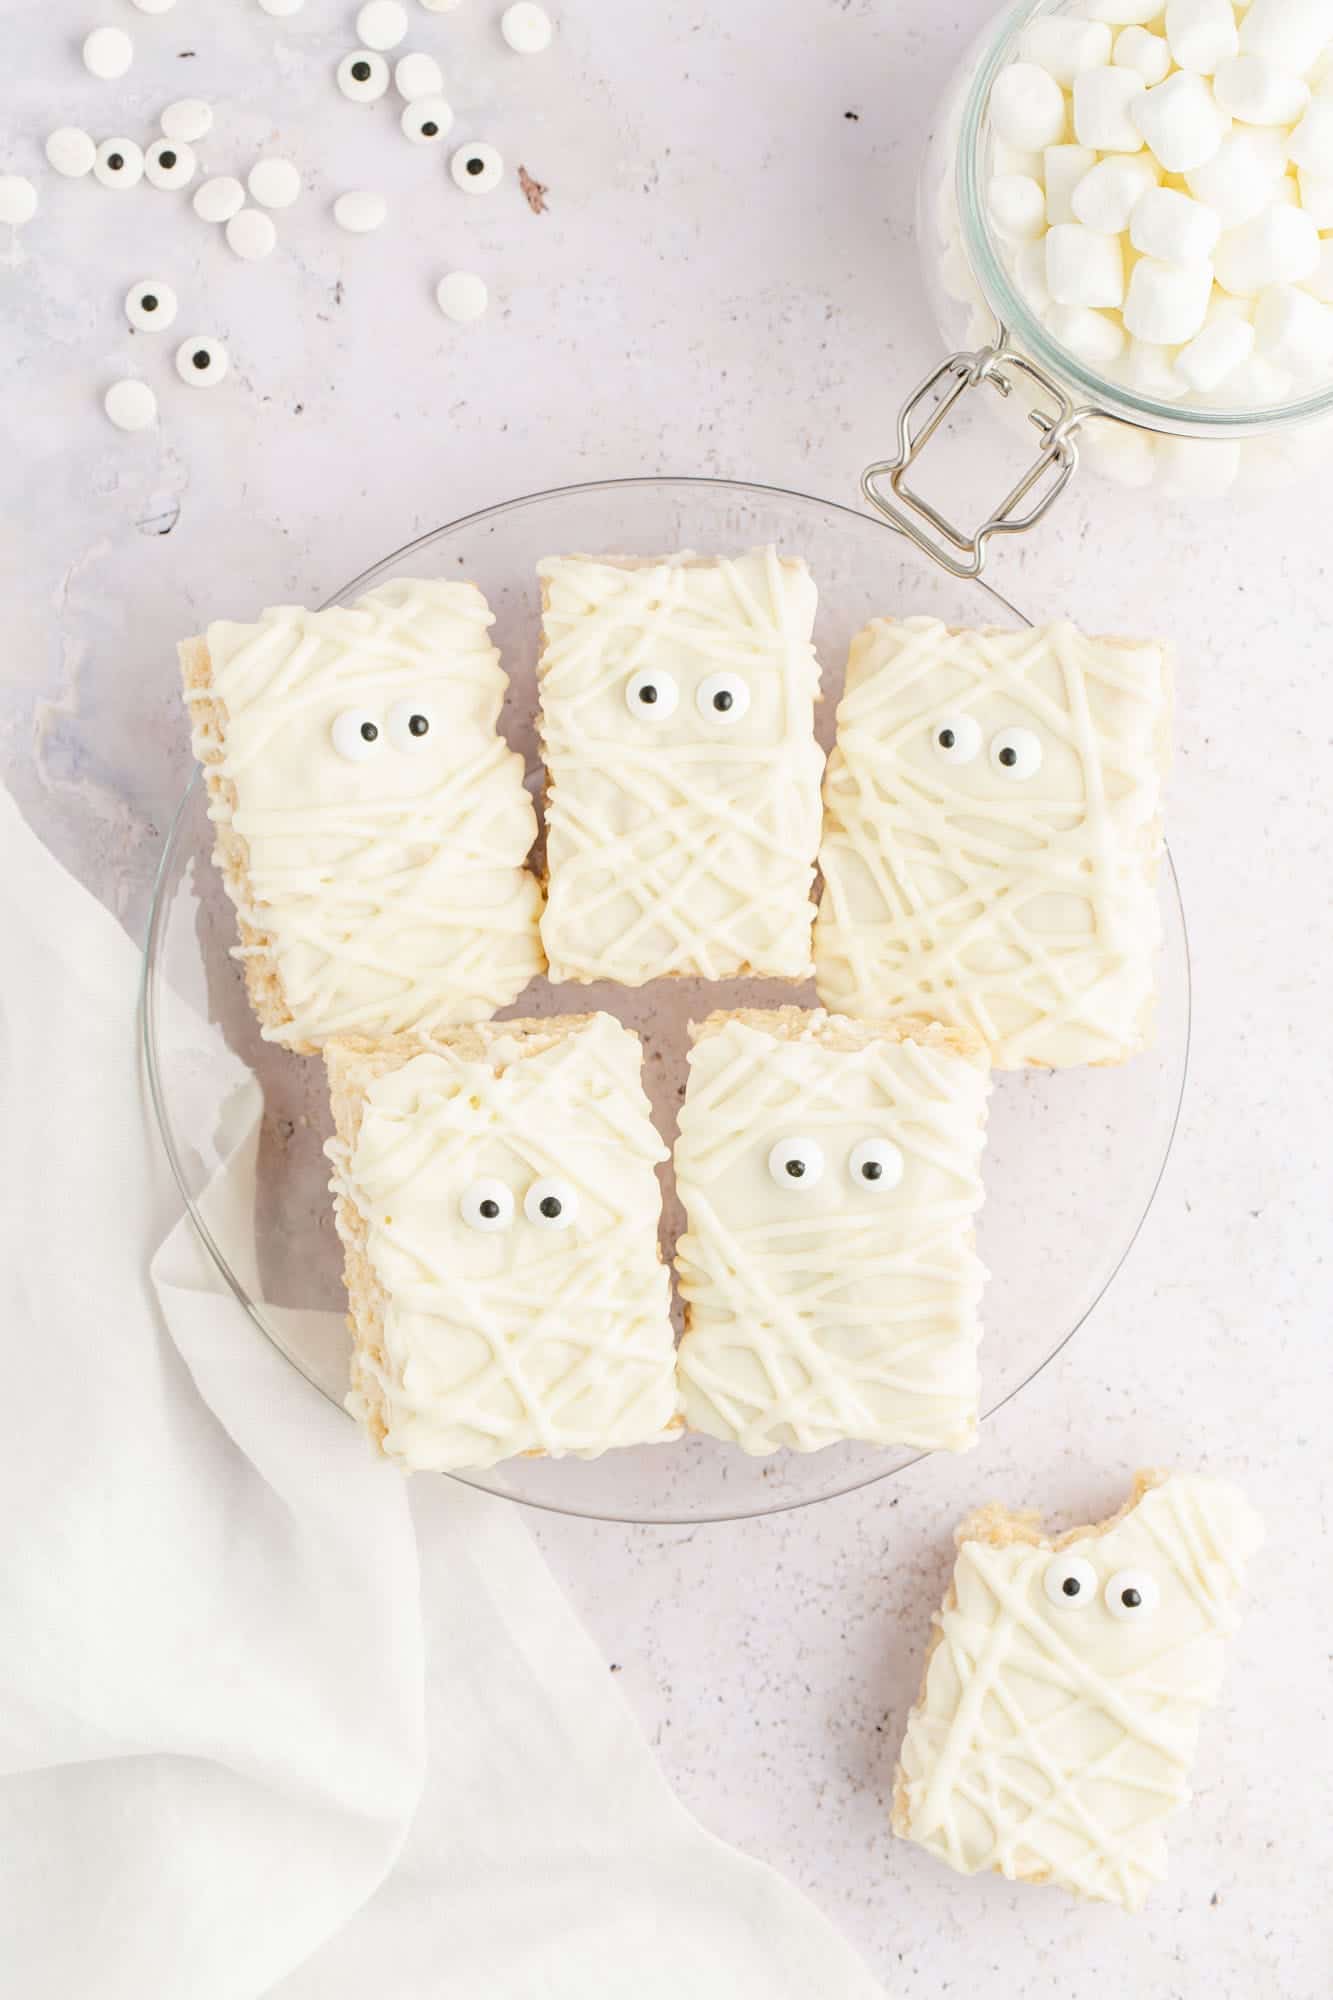
- Place the Rice Krispie treats on a cookie sheet lined with parchment paper, then spread about a tablespoon of melted chocolate on each square (use a spoon to do this). And add 2 candy eyes to each bar. Repeat until you’ve done all of the 16 bars.
- Add the remaining melted chocolate in a piping bag. Twist the top tightly and snip off the end, then holding it firmly pipe out drizzles to look like bandages avoiding the eyes area. Repeat with the remaining treats, then allow to set for 30 minutes.

Tips For Making Halloween Rice Krispie Treats
- Use fresh marshmallows. Old marshmallows that are dried out don’t melt well, so make sure to use fresh ones that won’t melt into a large blobb!
- Go slow and stir often. When melting marshmallows with butter, make sure that the saucepan is on low-medium heat (not high!). And do not leave the stove. Keep stirring until the mixture is fully melted and smooth.
- Let these Halloween Rice Krispie Treats cool! If you try and cut them while they’re still warm, they’re going to be a sticky mess. So don’t rush it, and let them cool completely before slicing.
- You can freeze these treats once they’re done but before you decorate. Just be sure to wrap them in saran wrap and then store them in a freezer-safe bag or container. Enjoy within 1 month of freezing.
Have fun making this easy Halloween rice krispie treats and decorating them, and be sure to pin the recipe for later.
Did you make this? Be sure to leave a review below and tag me on Facebook, Instagram, or Pinterest!
Halloween Rice Krispie Treats
Ingredients
- 1 stick ½ cup unsalted butter
- ⅛ teaspoon salt
- 1 teaspoon vanilla extract
- 2 10oz bags mini marshmallows divided
- 9 cups Rice Krispies cereal
To decorate:
- 1 x 10oz bag vanilla melting wafers
- 1 x 0.88oz package candy eyes
Instructions
- Line a 9×13-inch baking pan with parchment paper and set aside.
- In a large saucepan over medium heat, melt the butter and add the salt and give it a quick stir. Divide the marshmallows by setting aside one cup to use later, then add the rest of the marshmallows to the saucepan. Stir them until fully melted, then remove from heat, and mix in vanilla extract.
- Add the Rice Krispie cereal, and a cup of marshmallows that you reserved before and gently fold them in.
- Transfer the mixture into the prepared pan, and spread it evenly with a spatula but do not press too hard.
- Allow the mixture to set for an hour at room temperature (not fridge), then cut into slices.
- To decorate, in a microwave safe bowl microwave the melting wafers at 30-second intervals sitting in between, until fully melted (be careful not to overheat the candy).
- Place the Rice Krispie treats on a cookie sheet lined with parchment paper, then spread about a tablespoon of melted chocolate on each square (use a spoon to do this), and add 2 candy eyes to each bar. Repeat until you’ve done all of the 16 bars.
- Add the remaining melted chocolate in a piping bag, twist the top tightly and snip off the end, then holding it firmly pipe out drizzles to look like bandages avoiding the eyes area. Repeat with the remaining treats, then allow to set for 30 minutes.
Notes
- Use fresh marshmallows. Old marshmallows that are dried out don’t melt well, so make sure to use fresh ones that won’t melt into a large blobb!
- Go slow and stir often. When melting marshmallows with butter, make sure that the saucepan is on low-medium heat (not high!), and do not leave the stove, keep stirring until the mixture is fully melted and smooth.
- Let these Halloween Rice Krispie Treats cool! If you try and cut them while they’re still warm, they’re going to be a sticky mess. So don’t rush it, and let them cool completely before slicing.
- You can freeze these treats once they’re done but before you decorate. Just be sure to wrap them in saran wrap and then store them in a freezer-safe bag or container. Enjoy within 1 month of freezing.
Nutrition
This website provides approximate nutrition information for convenience and as a courtesy only. Nutrition data is gathered primarily from the USDA Food Composition Database, whenever available, or otherwise other online calculators.
did you make this recipe?
Make sure to follow on Pinterest @nourishplate and on Instagram @nourishplate


Leave a Review!