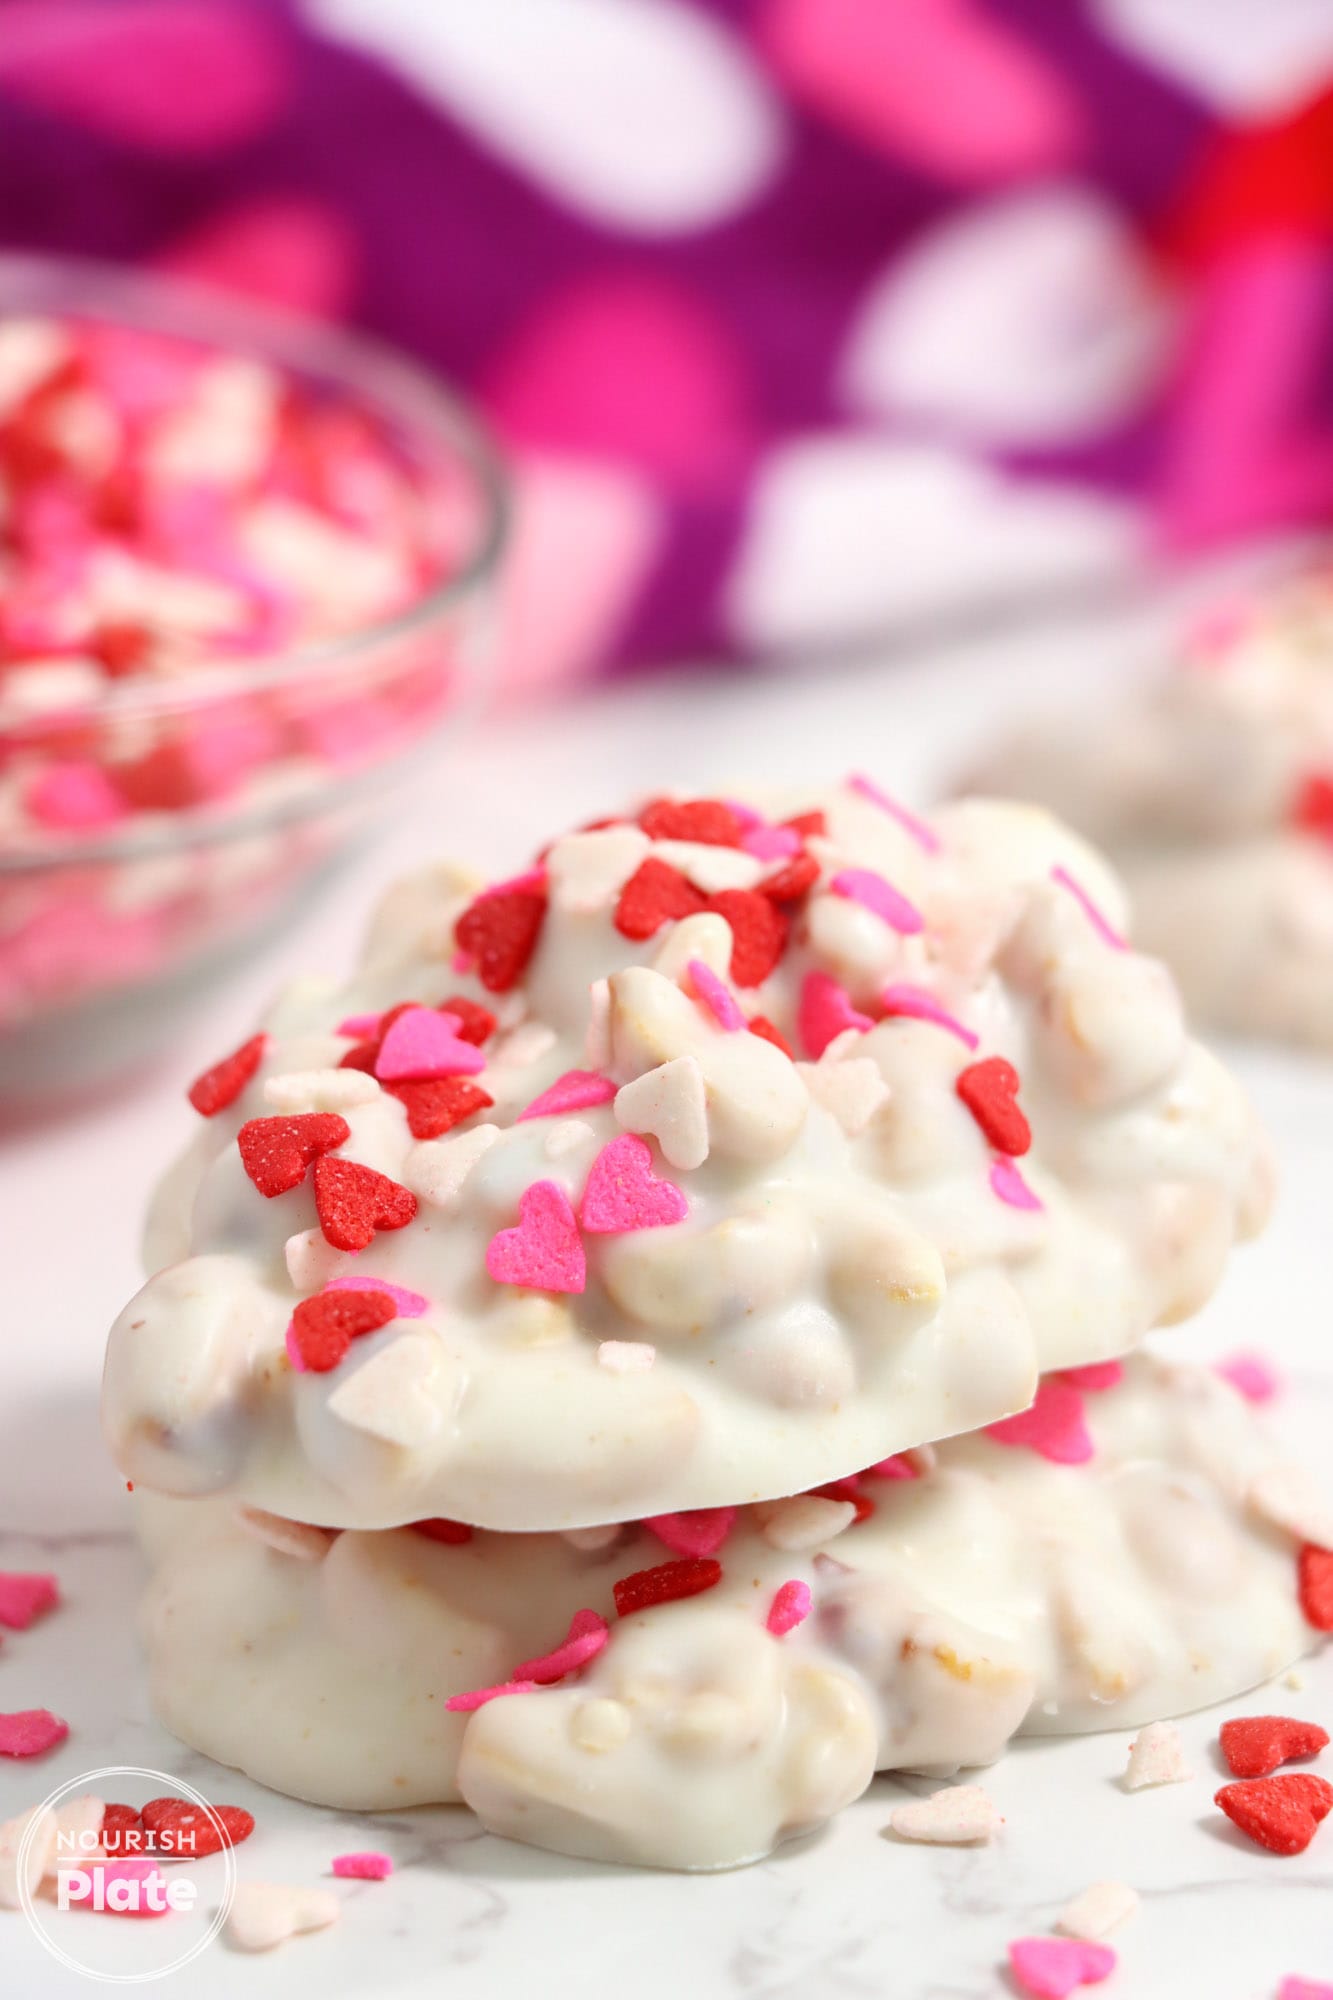
This Crockpot Candy recipe is really simple and great for whipping up a quick treat. Combine peanuts with white chocolate in the crock pot, and once they’re melted together, spoon out little heaps onto a tray and sprinkle them with colors to match the holiday you’re celebrating. In just a short while, you’ll have a whole set of yummy, crunchy treats to share!
Why We Love This Recipe
- It’s super easy to make, with just a few steps and no fancy kitchen equipment needed.
- The recipe is versatile, so you can change the sprinkles to match different holidays or themes.
- It’s a fun and quick way to make a homemade treat that everyone can enjoy.
Ingredients Needed
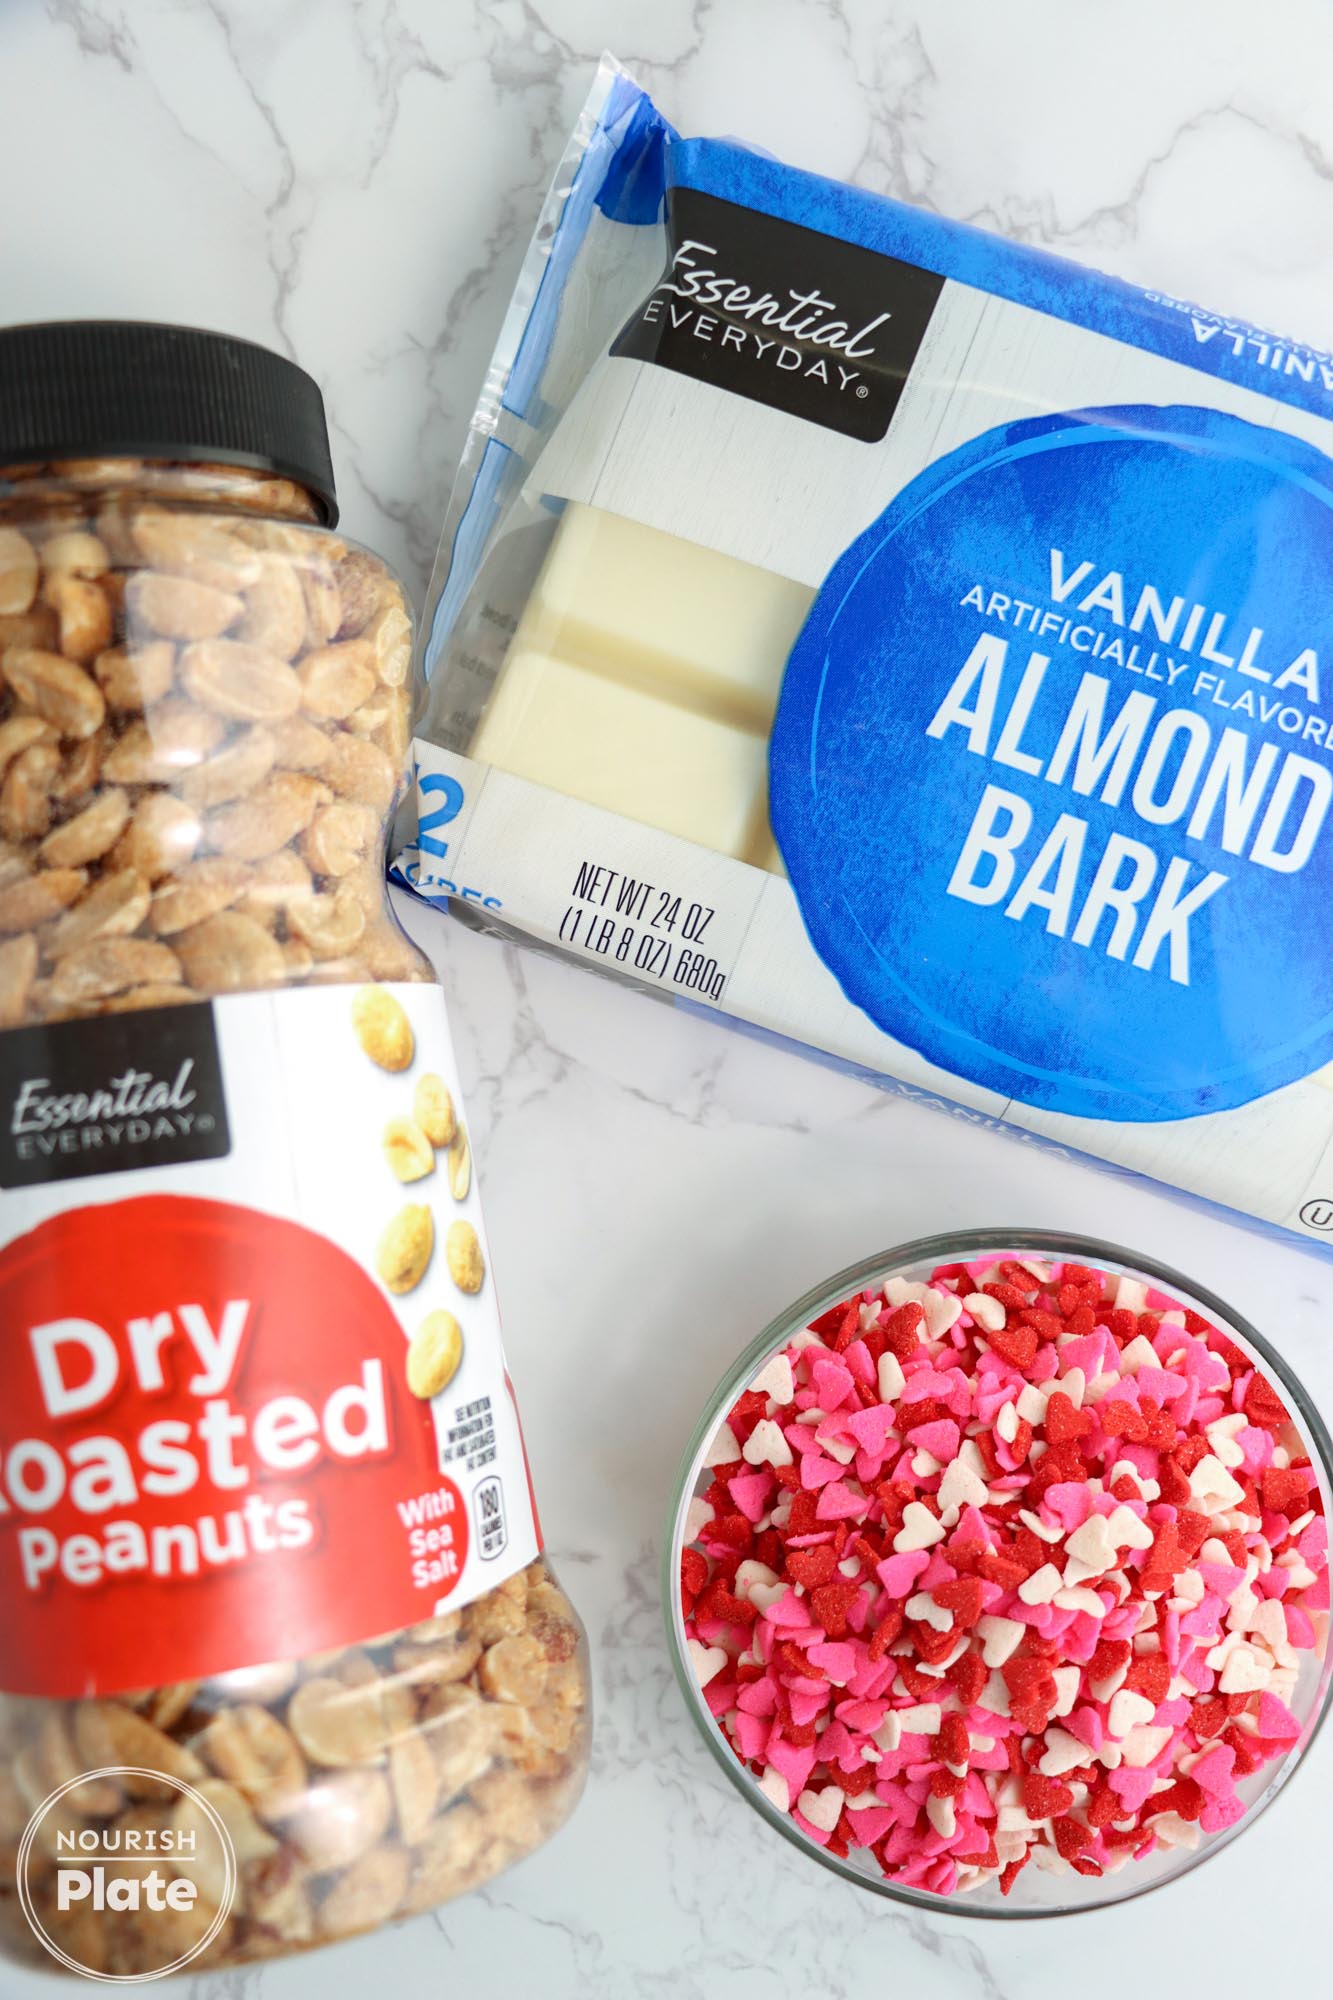
Complete list of ingredients with quantities and instructions is located in the recipe card below
- Peanuts: 16 ounces of dry roasted peanuts give a classic nutty flavor and a satisfying crunch.
- White Chocolate Bark: 24 ounces of this sweet and creamy base melts smoothly and binds the peanuts together. You can use any type of chocolate that you like here, whether it’s almond bark, chocolate chips, or a milk chocolate bar – go for it!
- Sprinkles: Choose your favorite colors to customize the clusters for any holiday or special occasion. We are using Valentine’s Day sprinkles here, but you can do rainbow sprinkles, Easter-themed, Christmas, etc
How To Make Crockpot Candy
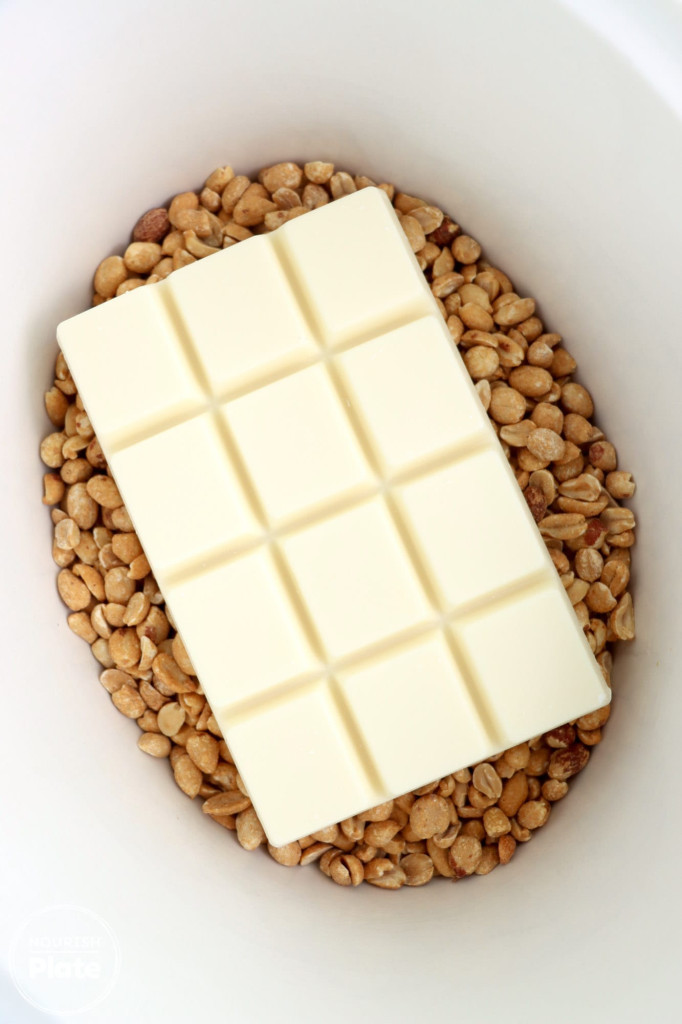
- Set Up Your Crock Pot: Begin by placing the dry roasted peanuts and white chocolate bark into your crock pot.
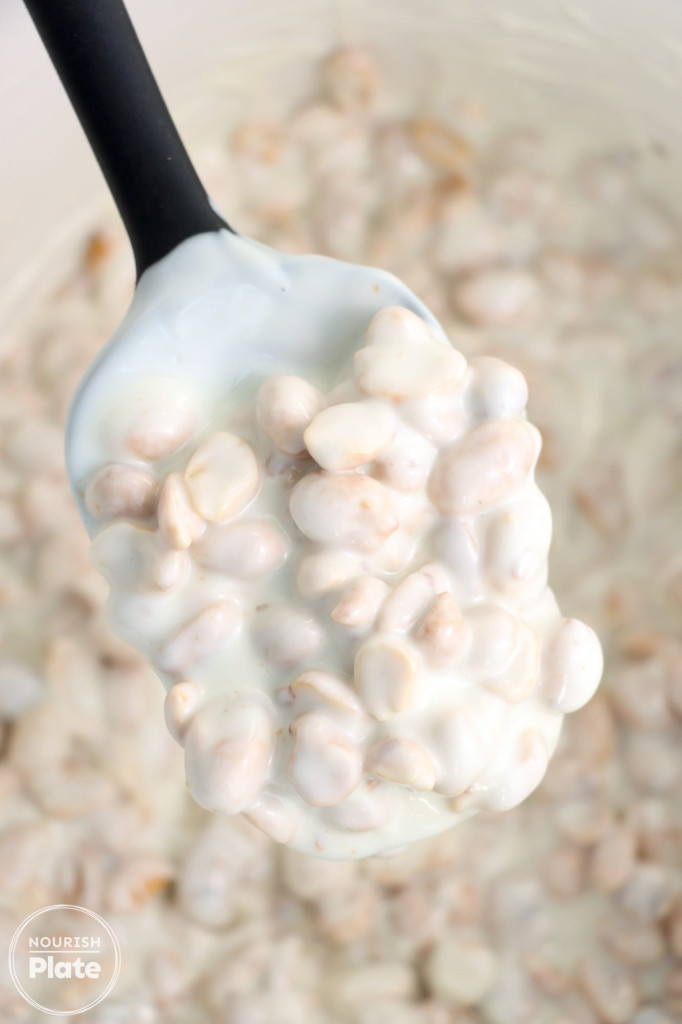
- Melt and Mix: Turn the crock pot on LOW and let the peanuts and chocolate melt together for about 2 hours. Give it a gentle stir occasionally to make sure everything is melting evenly.
- Prep Your Baking Sheet: While your mixture is melting, line a large baking sheet with parchment paper. This will be where you spoon out your clusters.
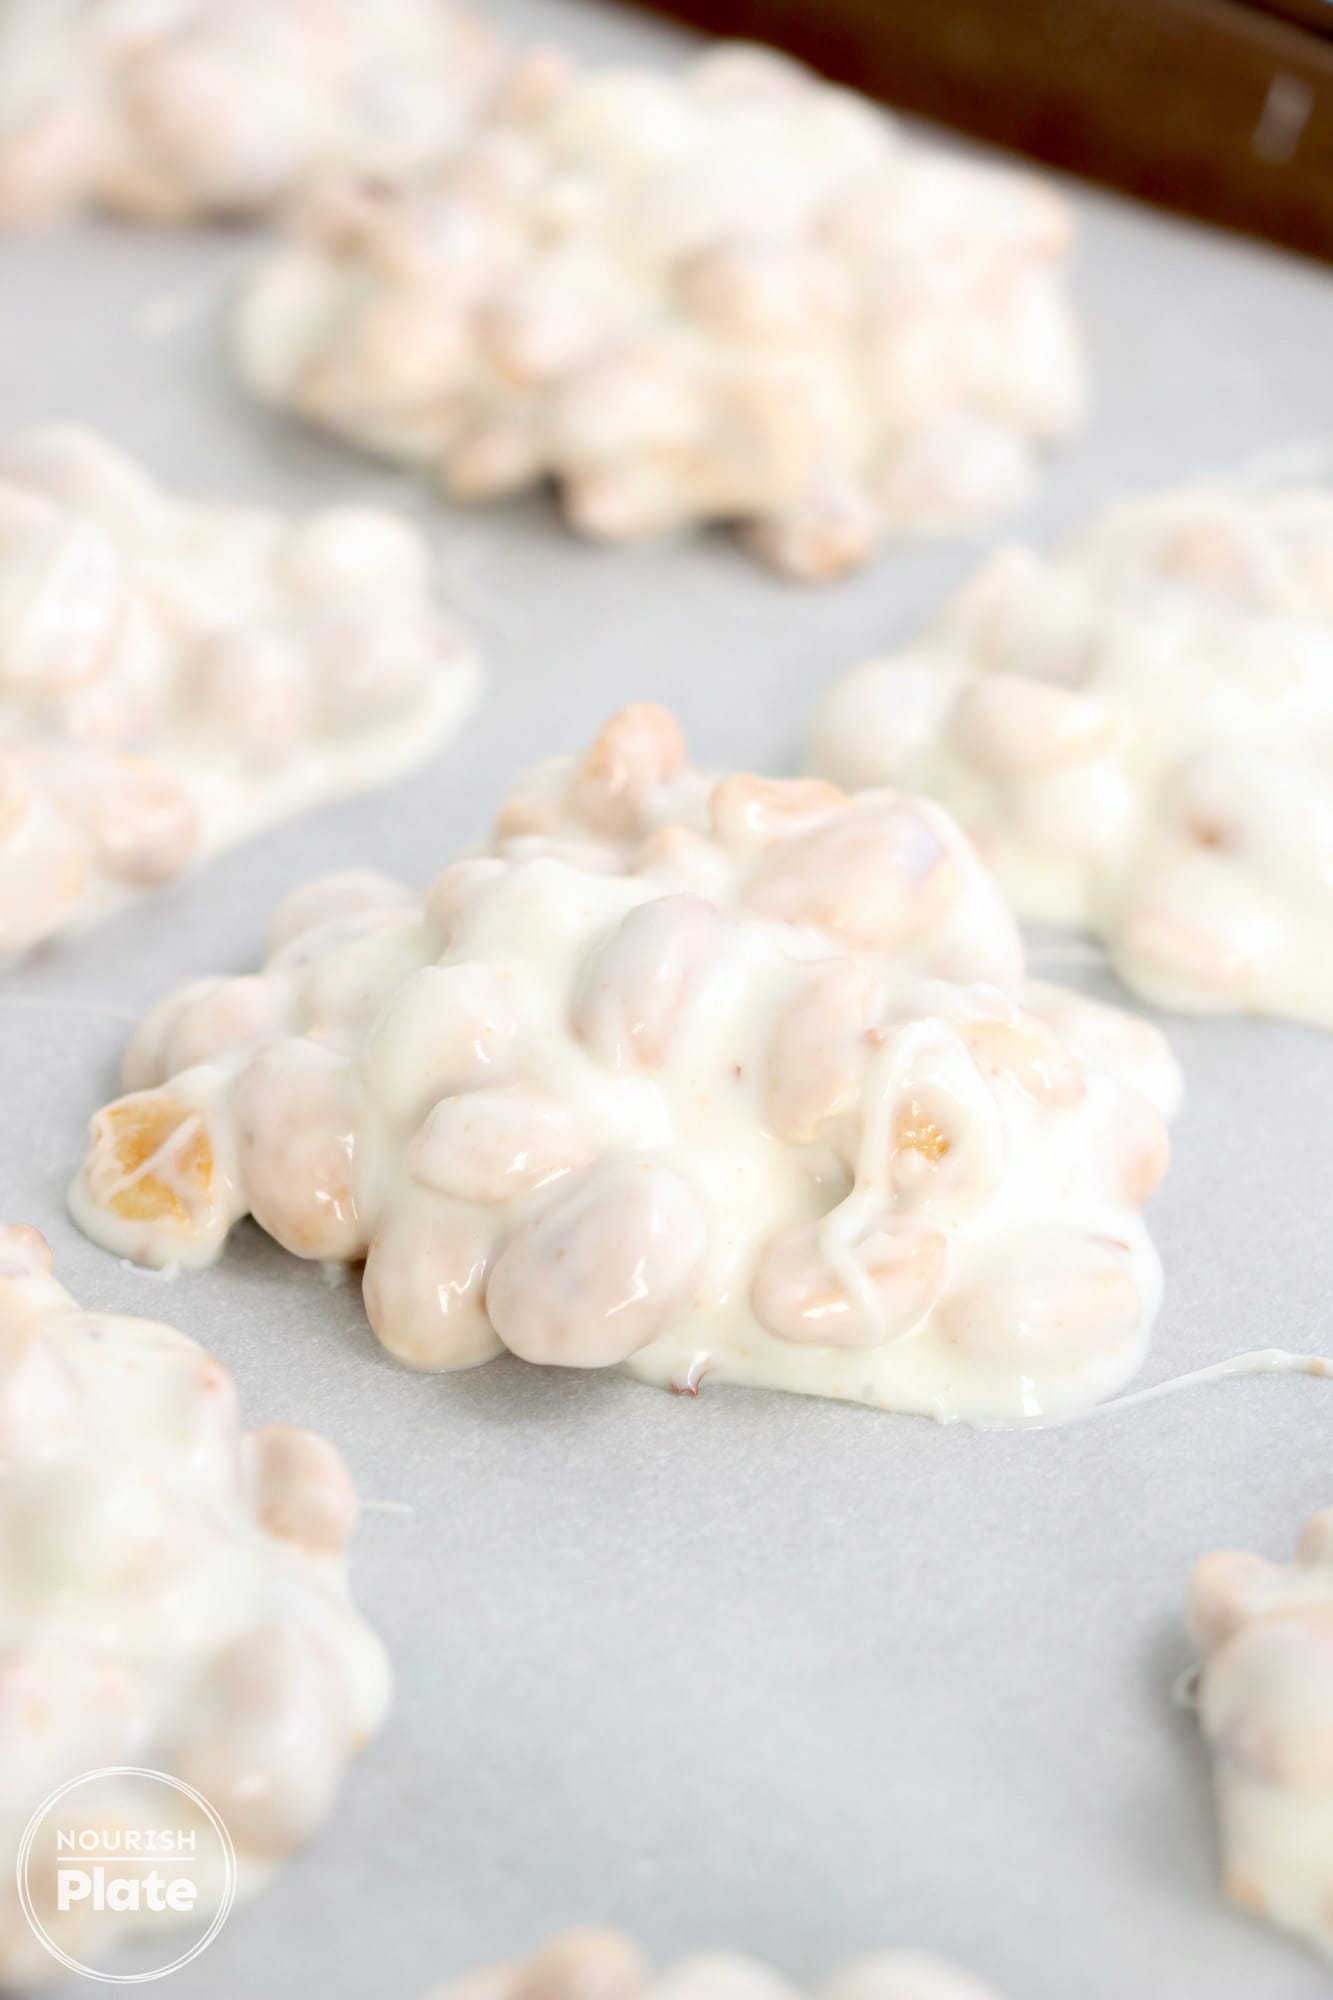
- Spoon and Sprinkle: Once the chocolate has melted, stir the mixture well. Then, using a spoon, drop spoonfuls of the mixture onto your lined baking sheet. Quickly sprinkle your chosen sprinkles on top before the chocolate sets.
- Cool Down: Let the clusters cool until they’re firm. If you’re in a hurry, you can pop the baking sheet in the fridge to speed up the process.
Tips For Making The Best Crockpot Candy
- Low Heat is Key: Keep your crock pot on LOW to avoid burning the chocolate. This gentle heat allows the chocolate to melt evenly without scorching.
- Stir Occasionally: Giving the mixture a gentle stir every now and then helps the chocolate and peanuts blend smoothly and prevents any sticking at the bottom.
- Parchment Paper for Easy Removal: Lining your baking sheet with parchment paper is a must. It prevents sticking and makes it super easy to lift off your peanut clusters once they’re set.
- Customize with Toppings: While we’ve used sprinkles, feel free to add your own twist with different toppings like crushed cookies, mini marshmallows, or a drizzle of caramel.
- Speed Up Setting: If you’re short on time, place the baking sheet in the refrigerator to help the clusters set faster.
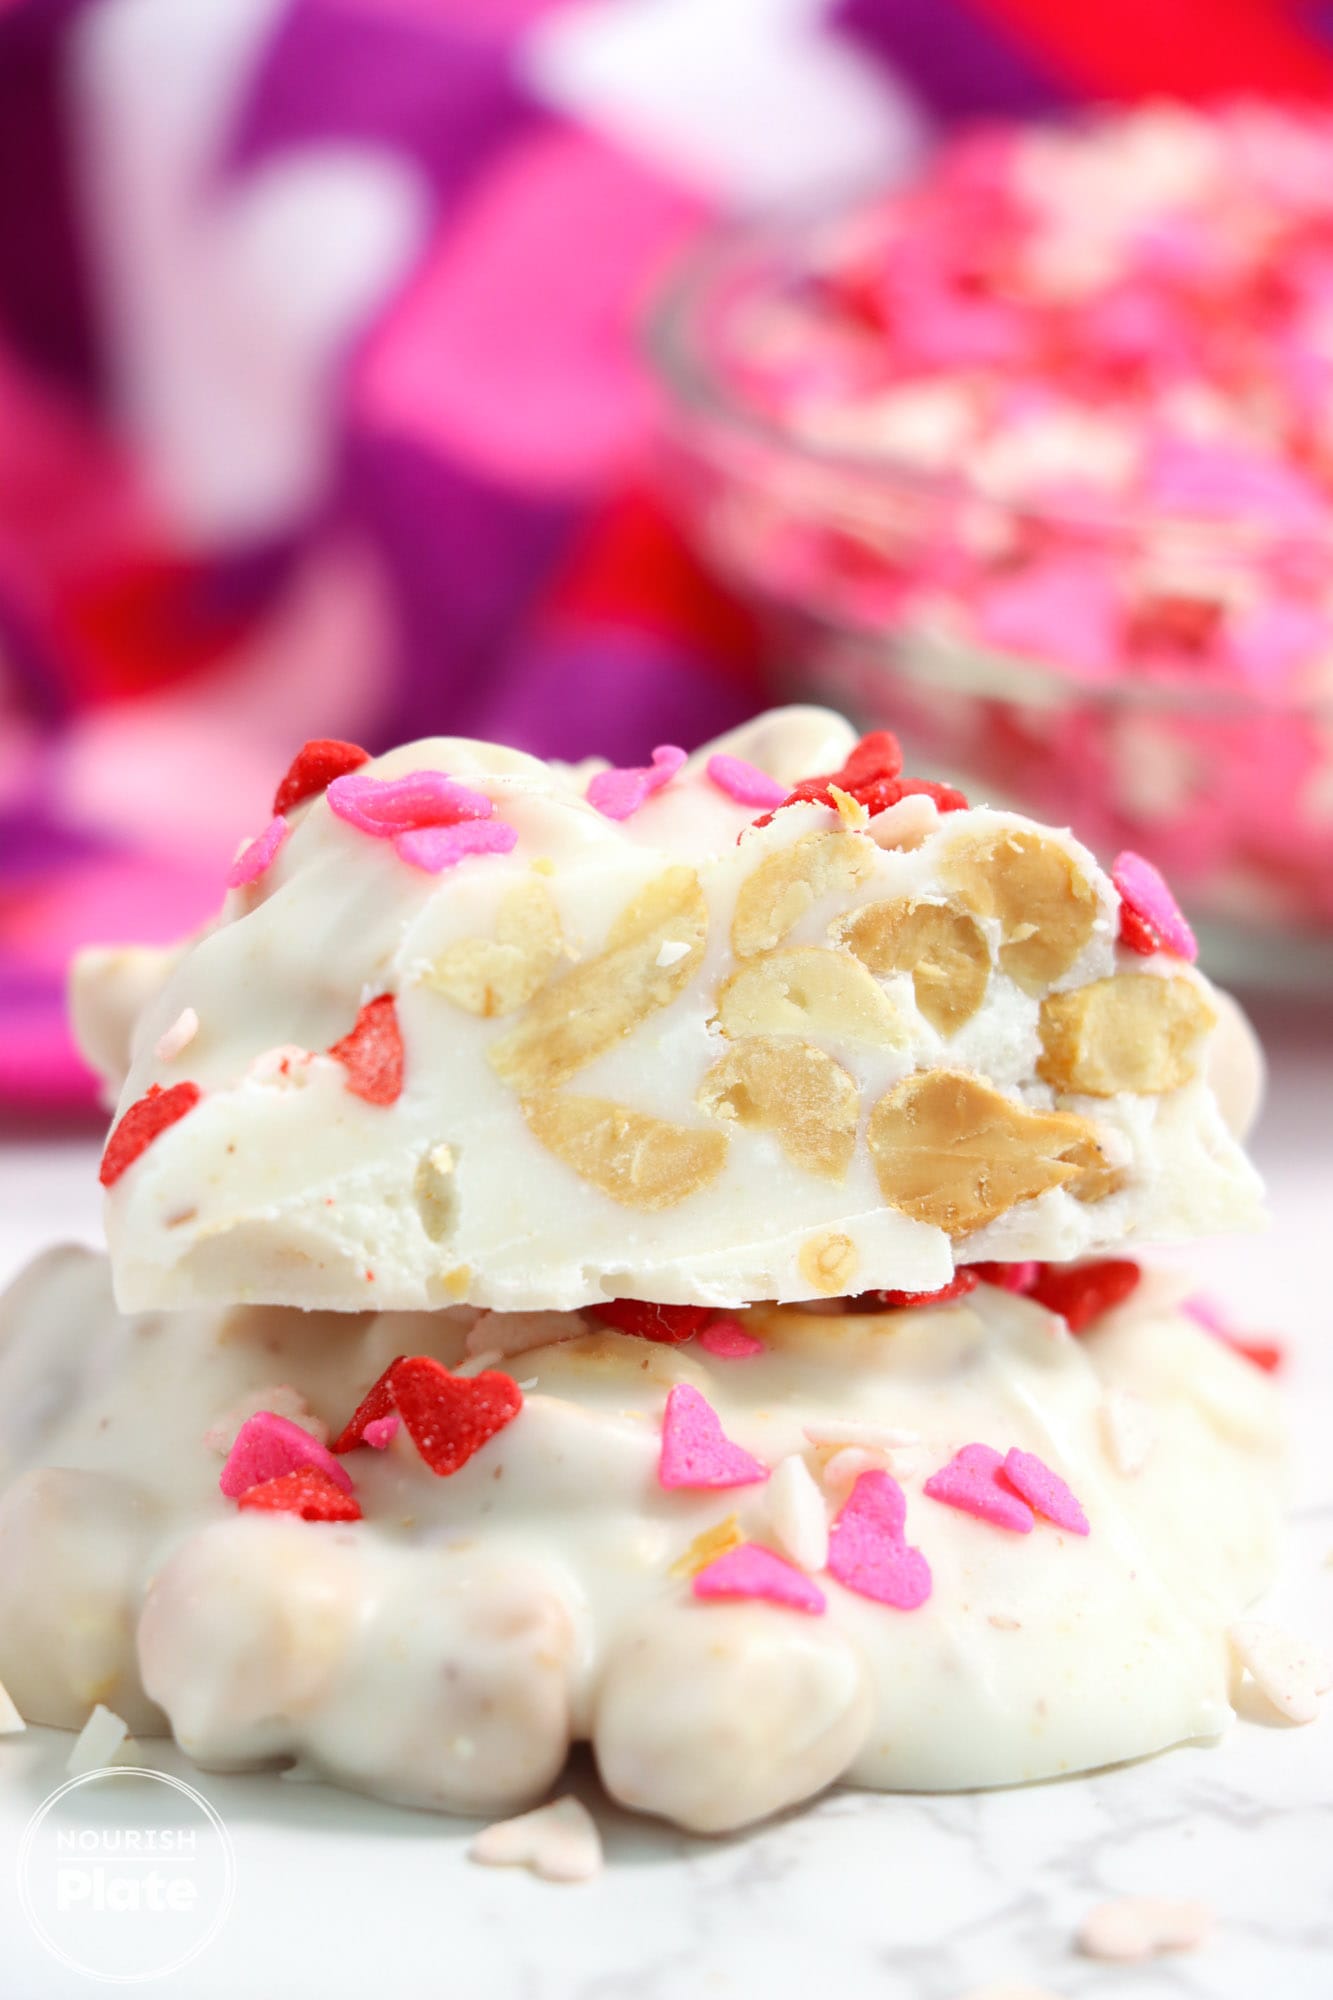
Storing Tips
- Cool Completely: Ensure your peanut clusters are completely cool and set before storing. This prevents them from sticking together and helps maintain their shape.
- Airtight Containers: Use airtight containers to store your clusters. This keeps them fresh and prevents them from absorbing odors from other foods in your fridge or pantry.
- Separate Layers: If you’re stacking your clusters, place a piece of parchment paper or wax paper between each layer. This prevents them from sticking to each other.
- Room Temperature Storage: If your home is cool and not humid, you can store the clusters at room temperature for up to a week.
- Refrigerate for Longer Freshness: In warmer climates or during hot seasons, it’s best to store the clusters in the refrigerator. They can last up to two weeks when kept chilled.
- Freezing for Long-Term Storage: For long-term storage, you can freeze the clusters. Wrap them individually in plastic wrap and then place them in a freezer-safe airtight container. They can be frozen for up to 3 months. Thaw at room temperature before enjoying.
And there you have it, a simple yet delicious Crock Pot Peanut Clusters recipe, perfect for any occasion or just as a treat for yourself! We hope you enjoy making and munching on these tasty treats. Don’t forget to rate and review the recipe after you try it. We’d love to hear how it turned out for you and any fun customizations you made.
Did you make this? Be sure to leave a review below and tag me on Facebook, Instagram, or Pinterest!

Crockpot Candy
Equipment
Ingredients
- 16 ounces dry roasted peanuts
- 24 ounces white chocolate bark or any other chocolate
- Decorative sprinkles of your choice
Instructions
- Put the peanuts and white chocolate bark into the crock pot.
- Set the crock pot to LOW heat and allow the contents to warm for two hours, or until the white bark has completely melted.
- While the mixture is cooking, get a large baking sheet ready by covering it with a sheet of parchment paper.
- Once the white bark is melted, mix it thoroughly with the peanuts until they’re fully coated.
- With a spoon, scoop out small clusters of the peanut and bark mixture and place them onto the prepared baking sheet.
- Quickly decorate each cluster with sprinkles before the white bark starts to harden.
- Leave the candy clusters to cool down and set. This may take around 10 minutes.
Notes
- Ensure the crock pot is on LOW to prevent the chocolate from burning.
- Stirring occasionally can help the white bark to melt evenly.
- If you’re in a rush, place the baking sheet in the refrigerator to speed up the cooling process.
- Store the peanut clusters in a cool, dry place to maintain freshness. If stacked, place parchment paper between layers to prevent sticking.
- Experiment with different types of nuts or chocolate for variety.
This website provides approximate nutrition information for convenience and as a courtesy only. Nutrition data is gathered primarily from the USDA Food Composition Database, whenever available, or otherwise other online calculators.
did you make this recipe?
Make sure to follow on Pinterest @nourishplate and on Instagram @nourishplate






Leave a Review!