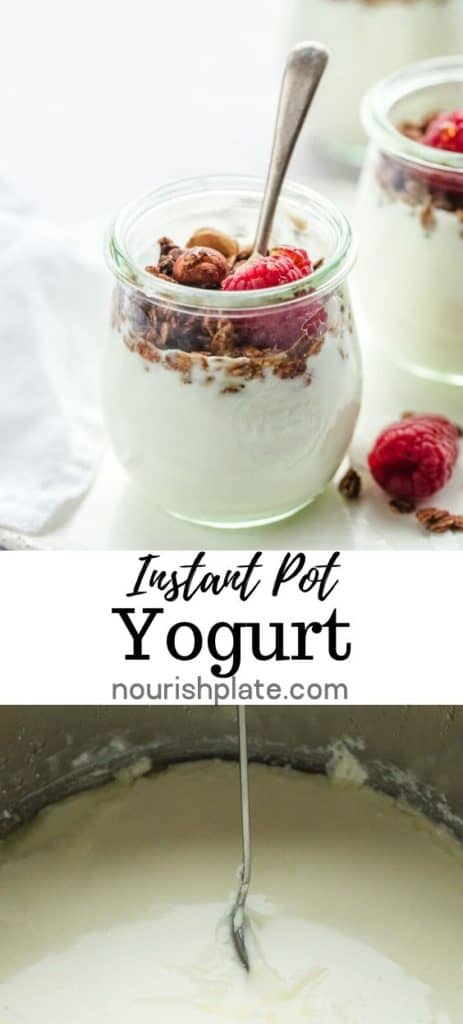
Make your own homemade yogurt using this fail-proof Instant Pot method. It turns out much creamier and tastier than store-bought yogurt, and will help you save money. Try it, and you will never want to buy store-bought yogurt ever again!
Making yogurt in the Instant Pot is SO easy! I mean, really, all you have to do is add a couple of tablespoons of yogurt (saved from your previous batch), milk, and choose the yogurt setting (well, twice). But yes, it’s that simple!
In my recipe here, I will explain to you the boil method as I find it much more reliable compared to the cold start method. There’s an extra step when using the boiled method compared to the cold start method, but it’s just to boil the milk and it’s well worth it.
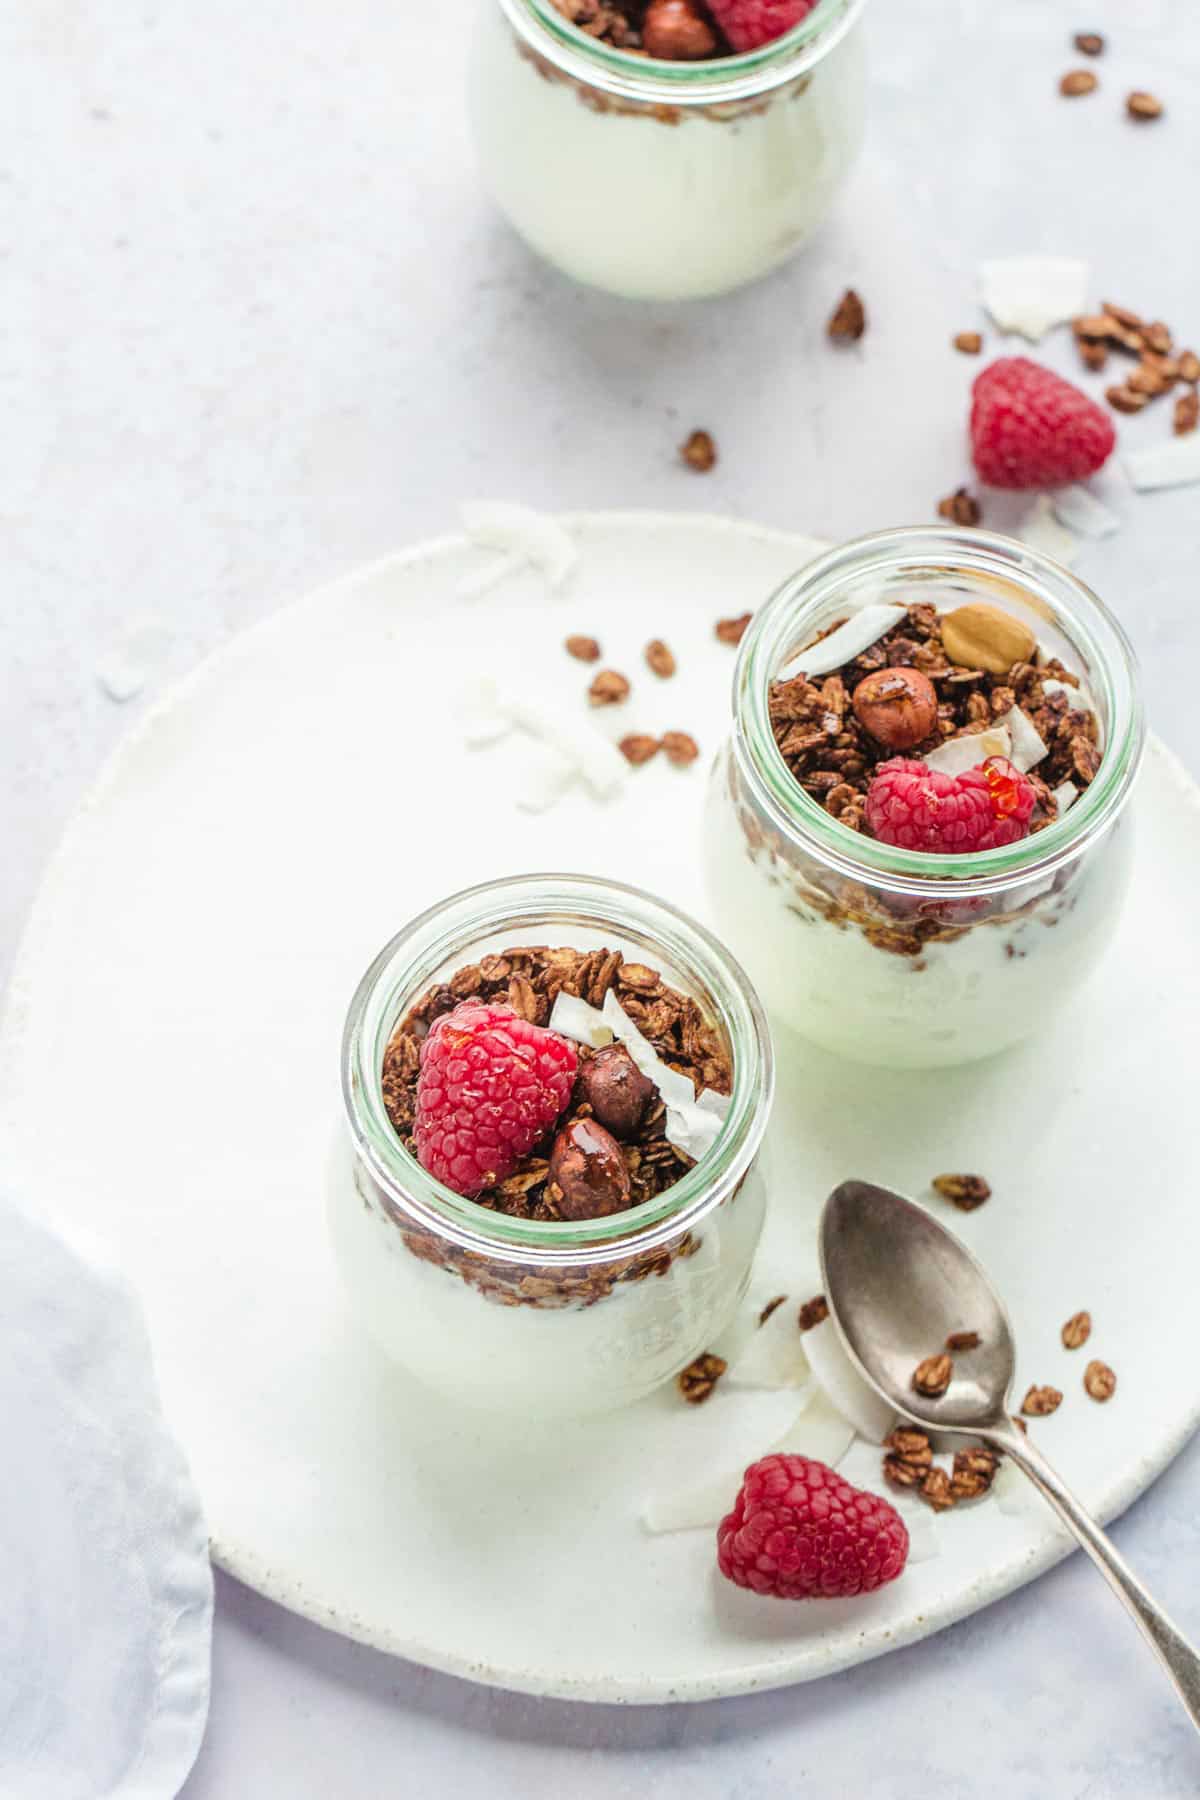
So stop spending so much money on store-bought yogurt, and make this thick and creamy yogurt at home!
How to make yogurt in the Instant Pot?
First of all, you have to make sure that your stainless steel inner pot is clean, as otherwise your yogurt can taste or smell like something that you previously made in the Instant Pot. You can also keep an Instant Pot silicone ring that you only use for yogurt (unless you have a glass lid that you can use here).
After you make sure that your pot is clean, we can start making yogurt!
Step one:
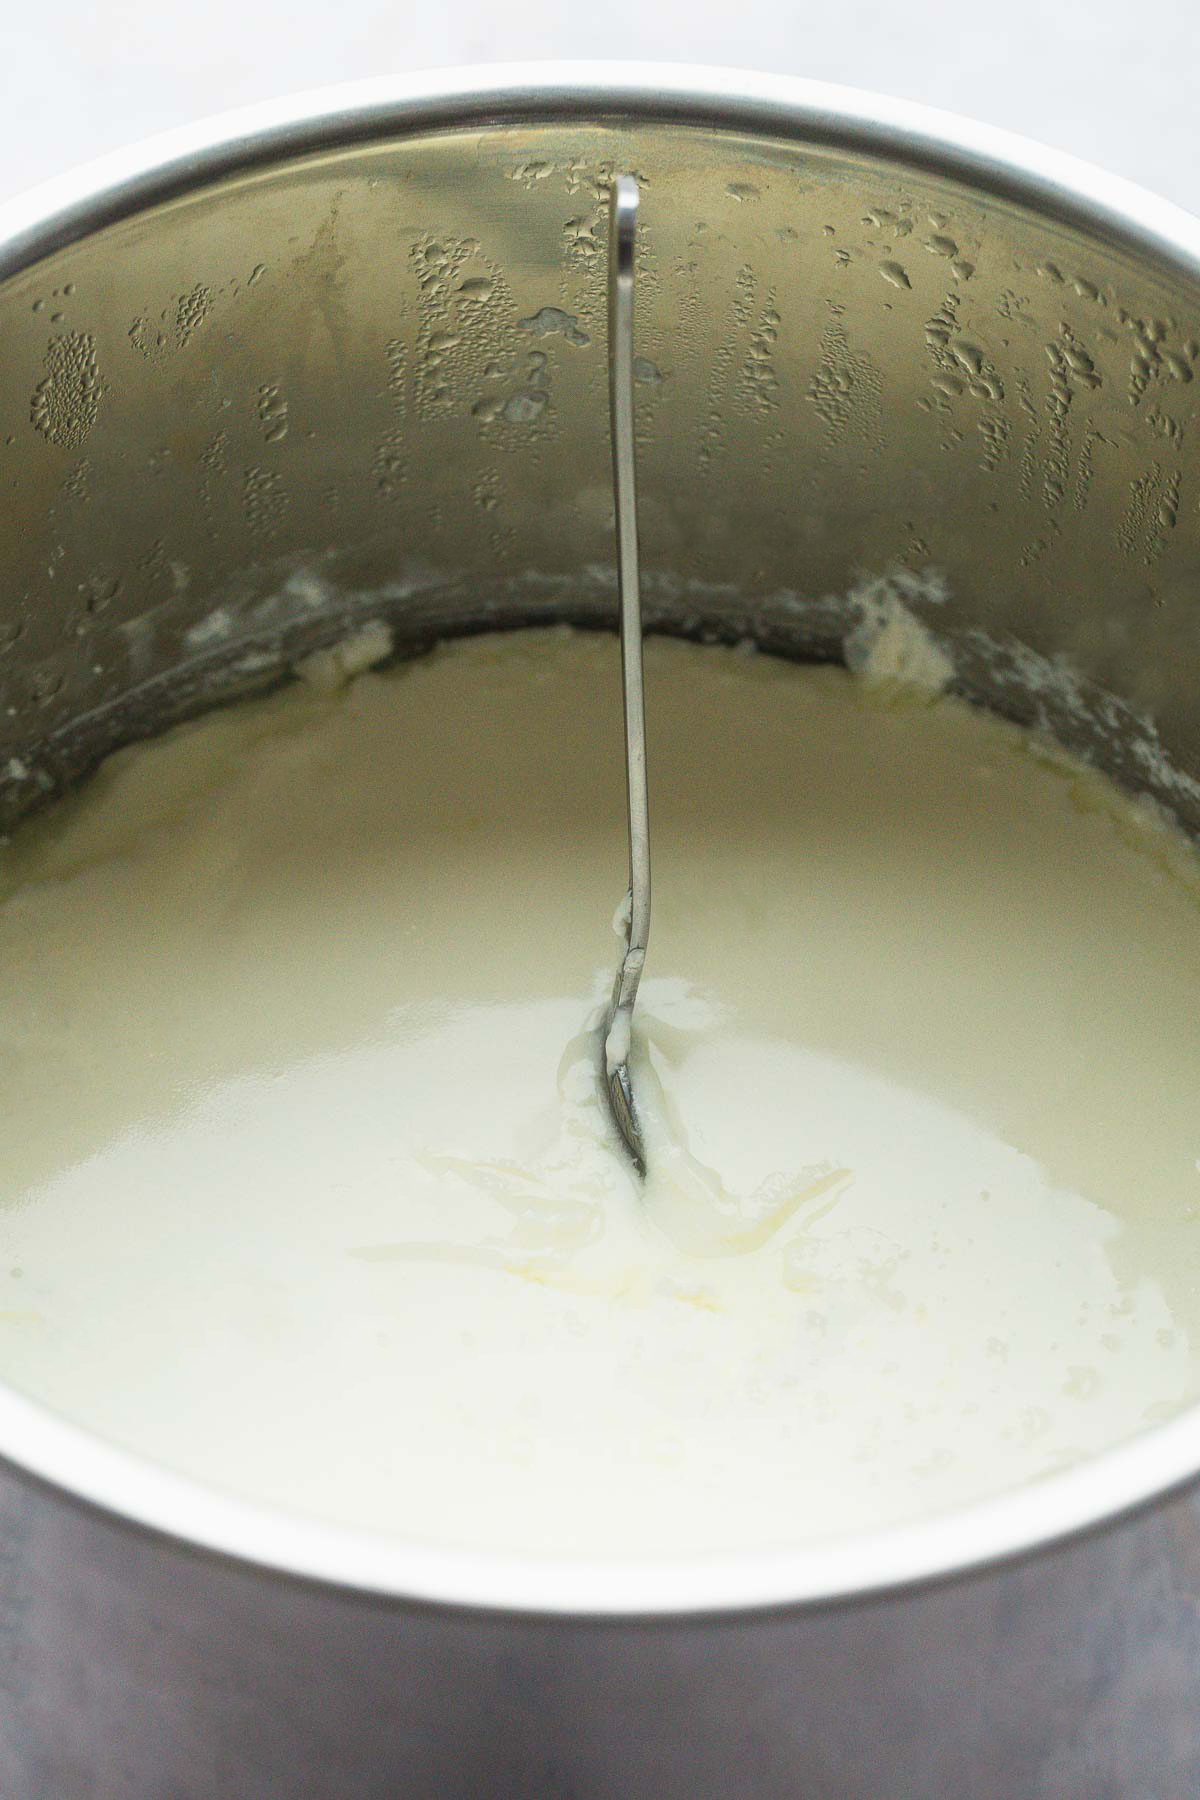
Pour milk into your stainless steel inner pot, and insert that in the Instant Pot. Cover with the lid (the vent does not make a difference whether it’s sealed or not in this step). Hit the “Yogurt” button, and adjust until it shows the “boil” message on the screen.
Allow the milk to boil, it will take about 1 hour.
Step two:
Remove the lid, and let the milk cool down to 100-110F (37-43C). You can either leave the pot on the counter for it to cool down, it will take around one hour. Or you can speed up the process, and put the insert in cold ice water and that will take around 20 minutes.
Make sure to dry the inner pot very well before inserting it back in the Instant Pot.
If a milk “skin” forms at the top of the milk, remove it with a spoon and discard it.
Step three:
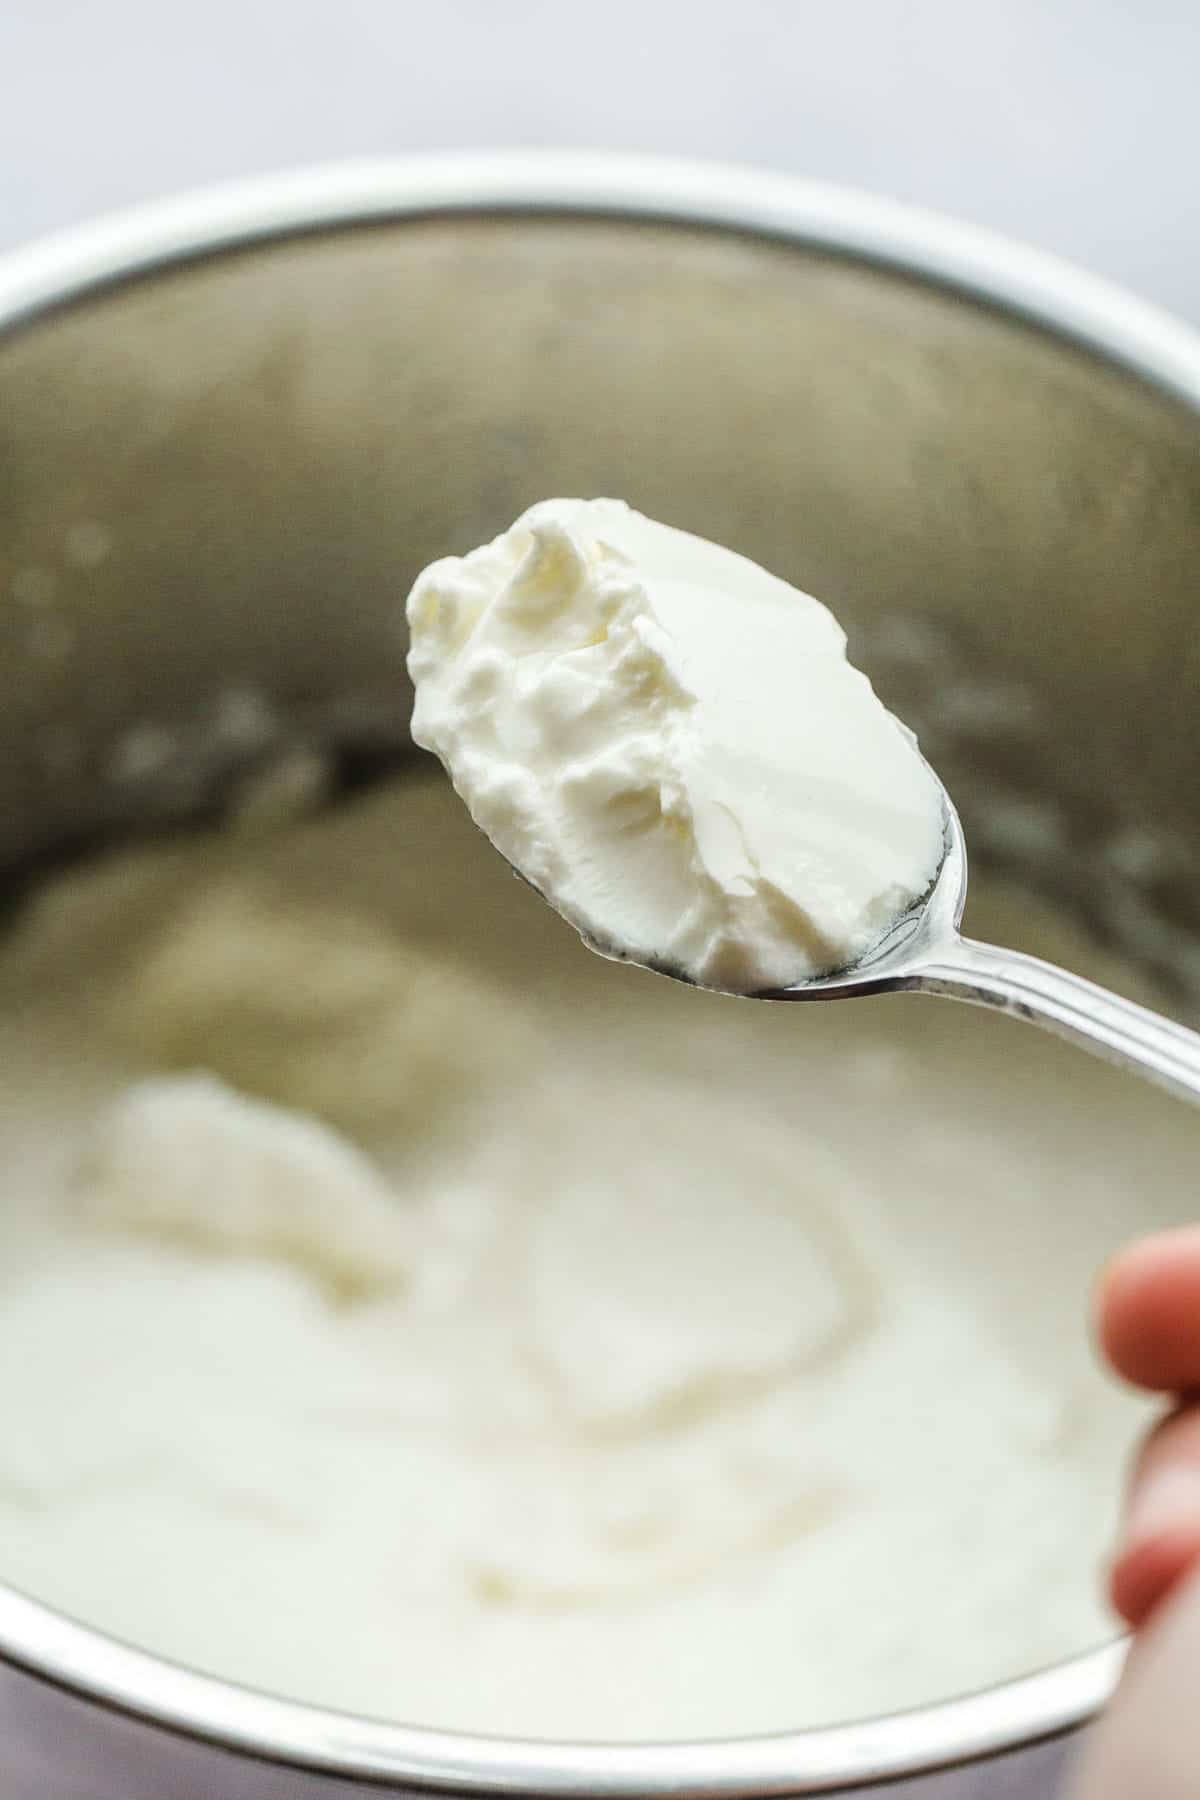
In a small bowl, mix 2 tablespoons of reserved yogurt with 1/2 cup of boiled but cool milk. Then whisk the mixture in the milk in the Instant Pot.
Cover with a lid (I like to use my glass lid, but you can use the Instant Pot regular lid and the vent does not make a difference if it’s sealed or not).
Step four:
Hit the “yogurt” button, and adjust the time to 8 hours. And let the Instant Pot do its magic! I usually do this before I go to bed so the yogurt incubates during the night, as my Instant Pot is always busy during the day cooking dinner and other things.
If you choose to let the yogurt incubate for longer than 8 hours, it will be a bit tart which can be quite nice. But it depends on your preference. I usually go for 10-12 hours incubation.
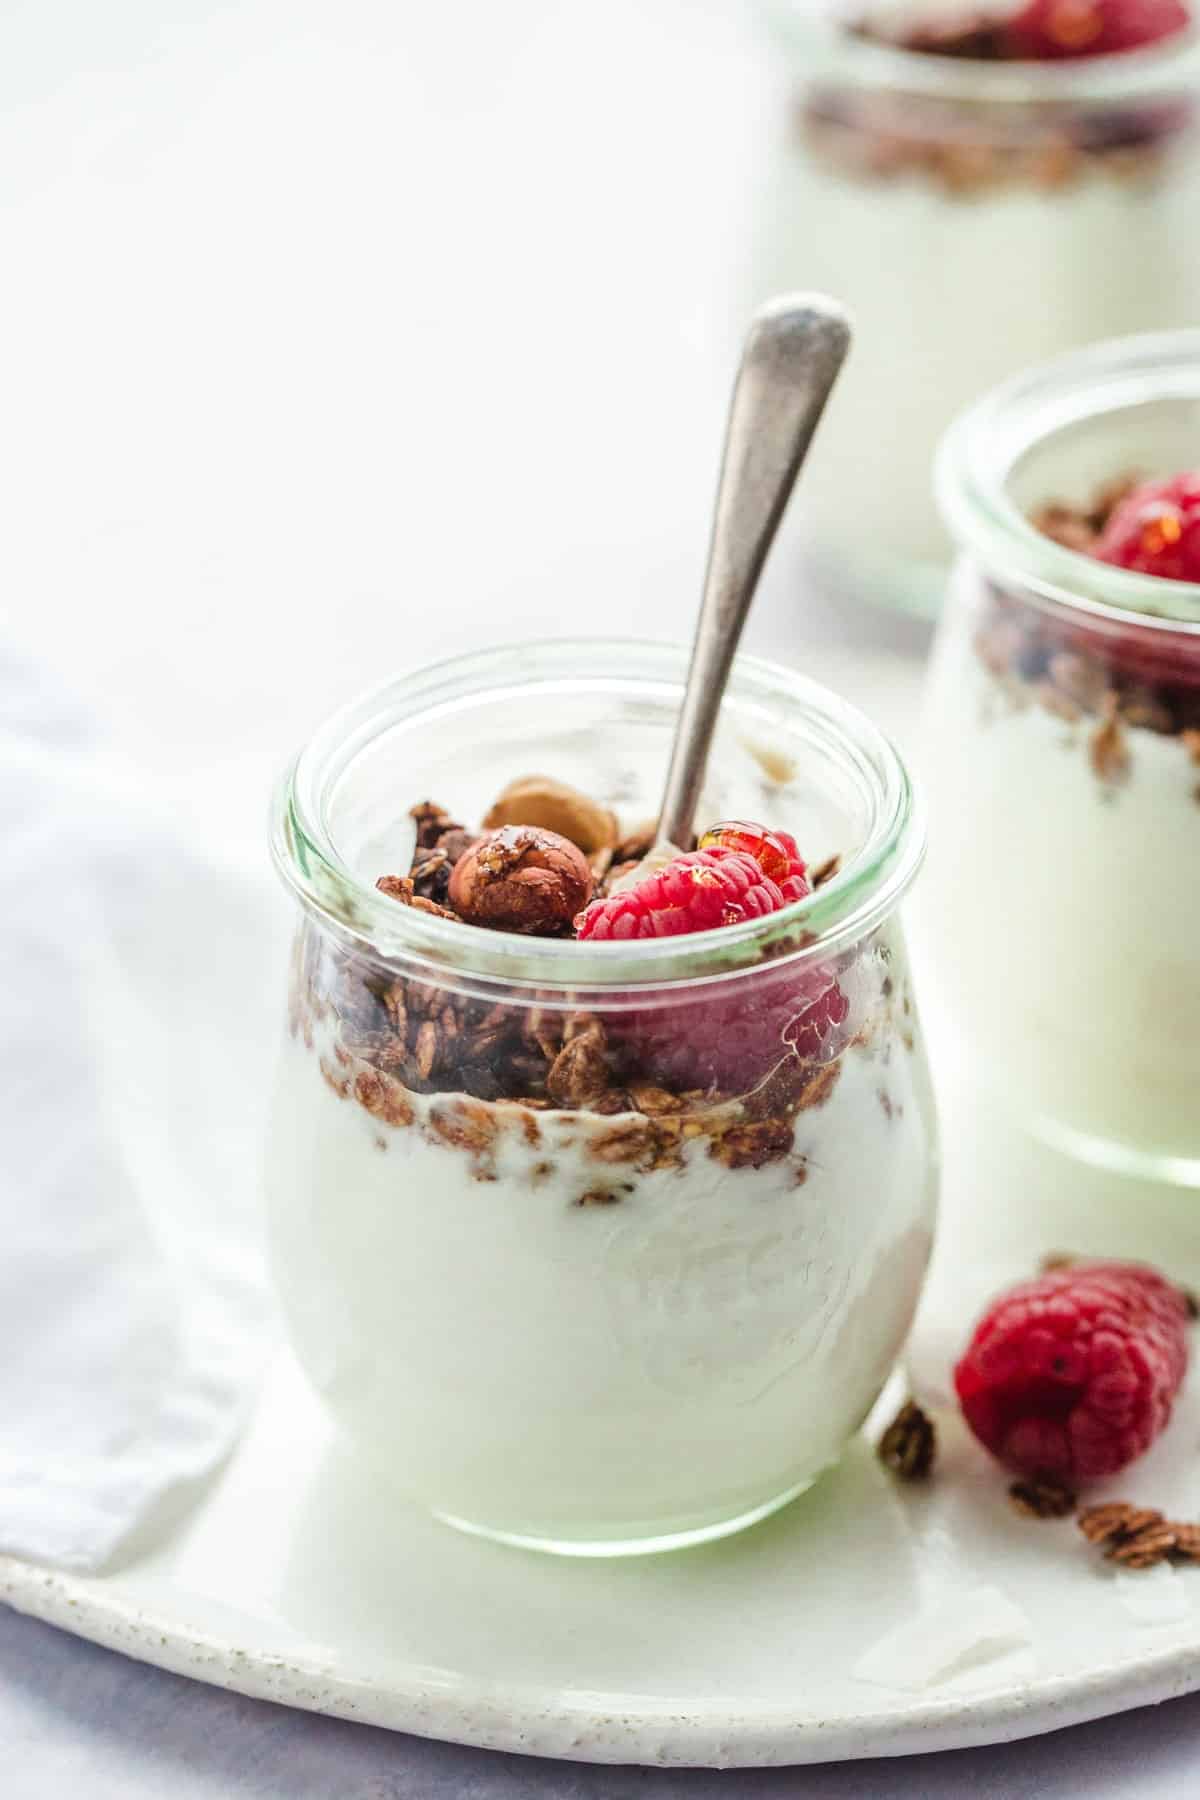
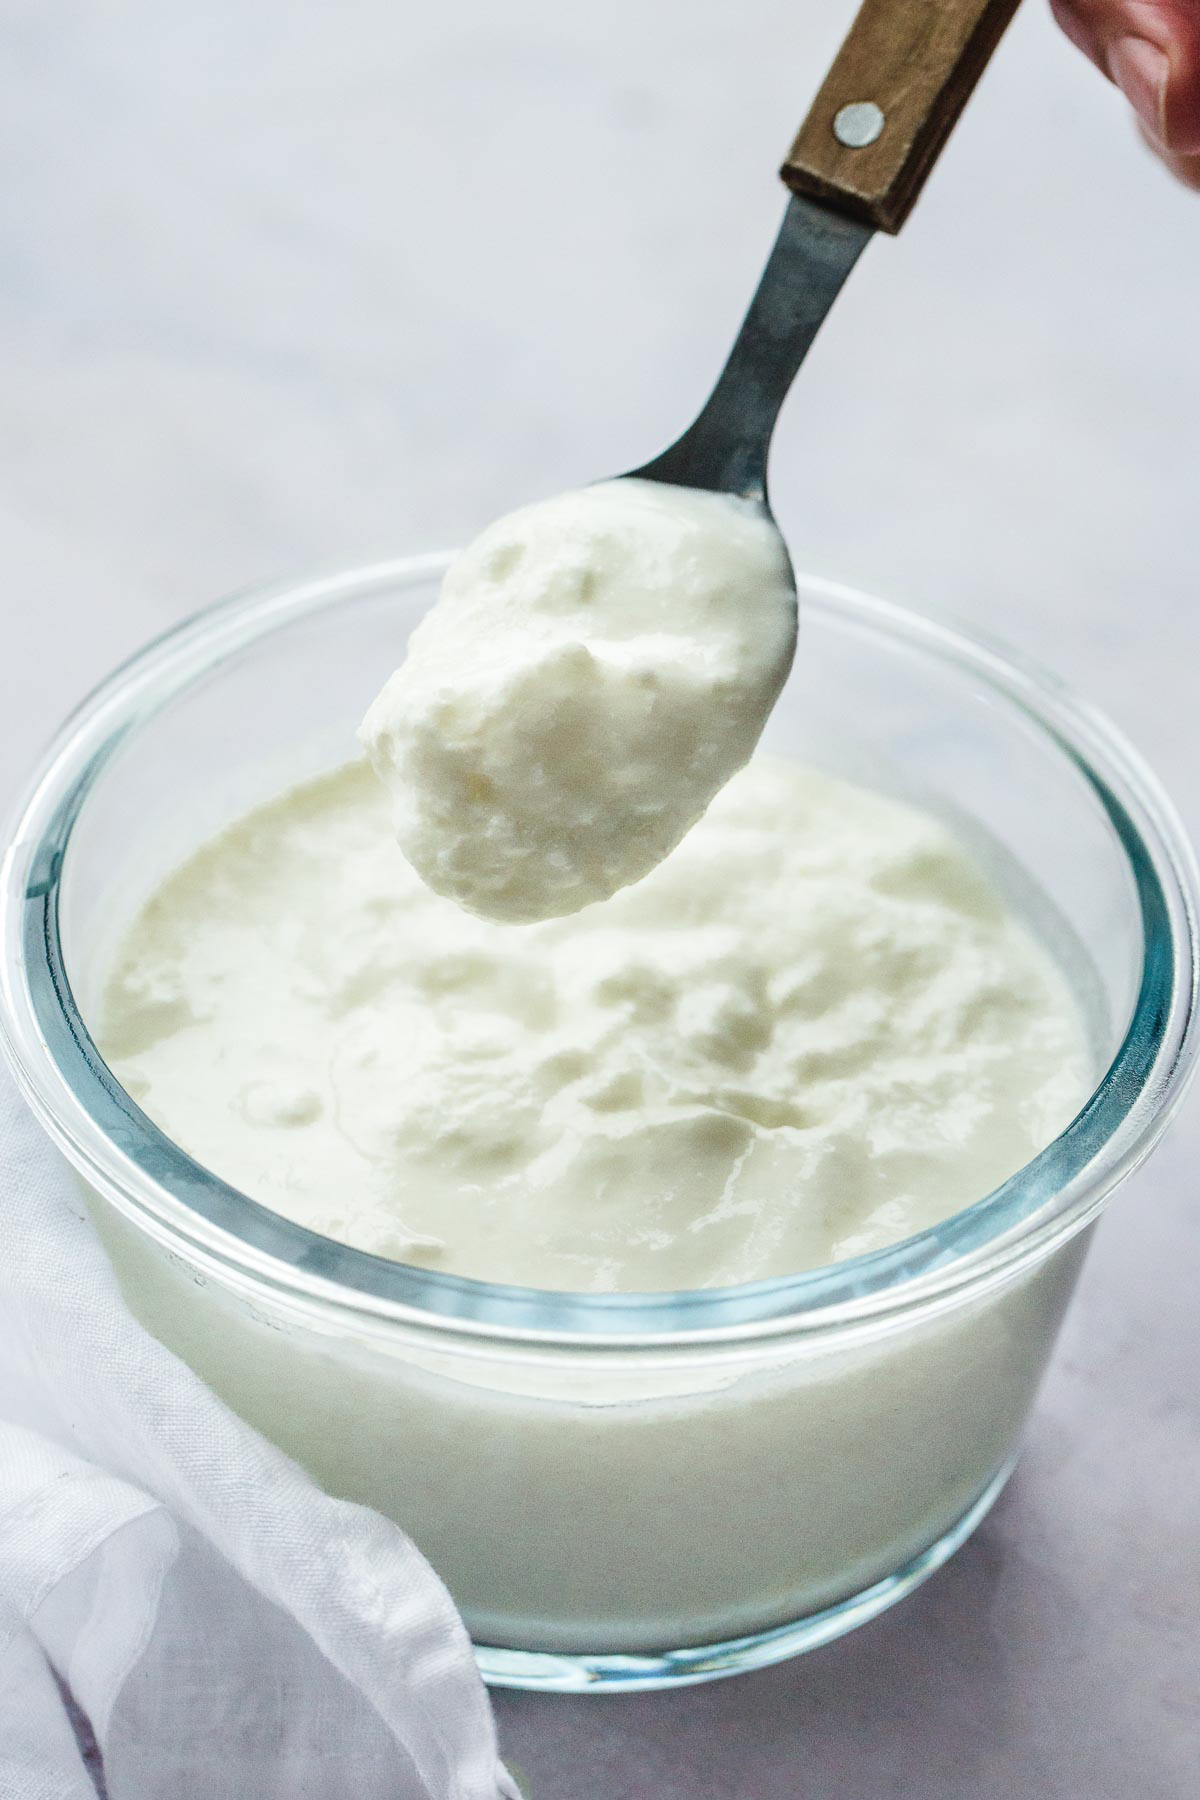
Once the Instant Pot is done, transfer the yogurt to containers and store in the fridge for at least 8 hours, and a maximum of 2 weeks.
How to make Greek yogurt?
Making greek yogurt is the same process as the above. The only difference is that you have to strain it after it incubates. Either get a yogurt strainer from Amazon which works VERY well. Or, place the yogurt in a strainer lined with a cheesecloth over a large glass bowl overnight.
The whey will separate from the thick yogurt, chill the yogurt in the fridge. And use the Whey in protein shakes, smoothies, and many other recipes.
Important tips
- Do not use sweetened yogurt as a starter. The yogurt won’t work in this case.
- Make sure that the yogurt that you use as a starter has live cultures in it. Otherwise, the yogurt will not work!
- Whisking in the yogurt in hot milk will kill the cultures. So it’s very important to wait until the temperature of the milk is down to 100-110F before you add the yogurt.
- Any fat percentage of milk works to make yogurt.
- If sweetening the yogurt, it’s best to do so after it sets in the fridge overnight.
Can I freeze yogurt?
I usually freeze a small batch of yogurt to keep it as a starter for my next Instant Pot yogurt batch. Make sure that you thaw it completely before using it to activate the cultures.
Freeze for up to 2 months.
For more delicious and nourishing recipe ideas, click here. Also, make sure to check out my other Instant Pot recipes.

Instant Pot Yogurt
Equipment
Ingredients
- ½ gallon (2 liters) milk
- 2 tablespoons yogurt with live cultures
Instructions
- Add milk to your Instant Pot. Cover with the lid and select the yogurt setting, make sure that it displays the “boil” message. And let the milk boil (it should take up to an hour).
- Once the boiling is done, remove the lid and let the milk cool down. If you’re running out of time, you can insert the stainless steel pot in an ice water bath.
- Using a kitchen thermometer, the milk should reach a temperature of 100-110°F (37-43°C).
- If a "skin" forms on the top of the milk, remove it using a spoon and discard it.
- In a small bowl, whisk the yogurt with ½ cup of the boiled but cooled milk. Then stir it in the milk.
- Return the stainless steel pot into the Instant Pot, select the yogurt setting at 8 hours (the pressure should read "normal", if it doesn't then adjust it). The longer you let it incubate for, your yogurt will be more tart.
- When it’s done transfer into containers, chill in the fridge until it’s cold.
Notes
- Use any percentage of fat to make yogurt.
- If you decide to put the stainless steel in an ice water bath to speed up the cooling process, make sure to dry it well before putting it back in the Instant Pot.
- If you leave the boiled milk on the counter to cool down to 100-110F, it should take around 1 hour.
- The yogurt will last around 10-14 days if stored covered in the fridge.
- If sweetening the yogurt, it’s best to do so after it sets in the fridge overnight.
- Do not use sweetened yogurt as a starter. The yogurt won’t work in this case.
- Make sure that the yogurt that you use as a starter has live cultures in it. Otherwise, the yogurt will not work!
- Whisking in the yogurt in hot milk will kill the cultures. So it’s very important to wait until the temperature of the milk is down to 100-110F before you add the yogurt.
Nutrition
This website provides approximate nutrition information for convenience and as a courtesy only. Nutrition data is gathered primarily from the USDA Food Composition Database, whenever available, or otherwise other online calculators.
did you make this recipe?
Make sure to follow on Pinterest @nourishplate and on Instagram @nourishplate


Comments & Reviews
R says
What brand/type of milk did u use
Elena says
Hi what kind of yogurt did you use with the milk?
Paula D says
Which yogurt do you use as a starter?
Diana says
Any plain natural or greek yogurt works. Just make sure that it contains live cultures. I usually use Chobani or the store brand.
Care says
A couple of questions…
1. Can you use vanilla yoghurt?
2. Can you make half portion??
Thank you
Diana says
I don’t recommend using any flavored yogurt as a starter, but you can always flavor the yogurt that you make (after the whole process) with vanilla or any other flavor that you like. Yes, you can cut the recipe in half. Enjoy!
jeanean says
Can you use almond milk and almond yogurt for starter?
Diana says
I haven’t tried almond milk/yogurt so I can’t answer with certainty, but if you do try it, please let me know how it turns out.
Kat says
Great help I’ve had my ip over a year!this helped me get my yogurt experience fear thereof, quite easily! With fabulous results! And I didn’t blow anything up!,thank yo for your great help!
Diana says
Hi Kat – Glad this recipe worked out for you! Now you can always make your own yogurt instead of buying it 🙂