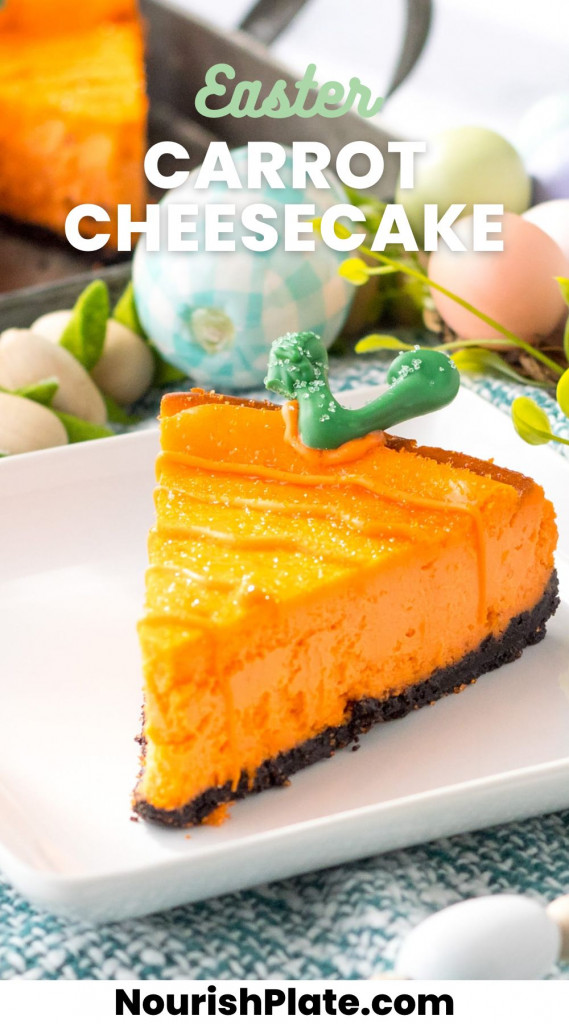
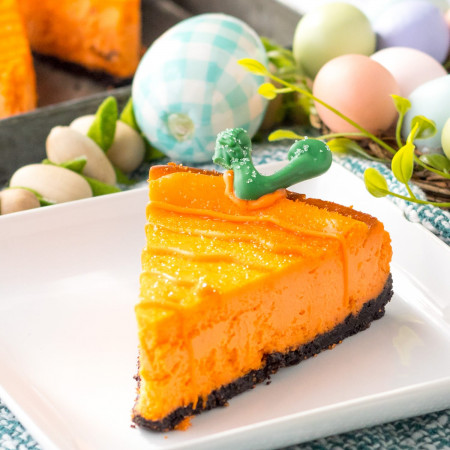
Make this creamy and tasty carrot shaped cheesecake for Easter! It’s an easy baked cheesecake, and the slices are decorated to look like carrots. Make this Easter treat for your family, and everyone is going to love it!
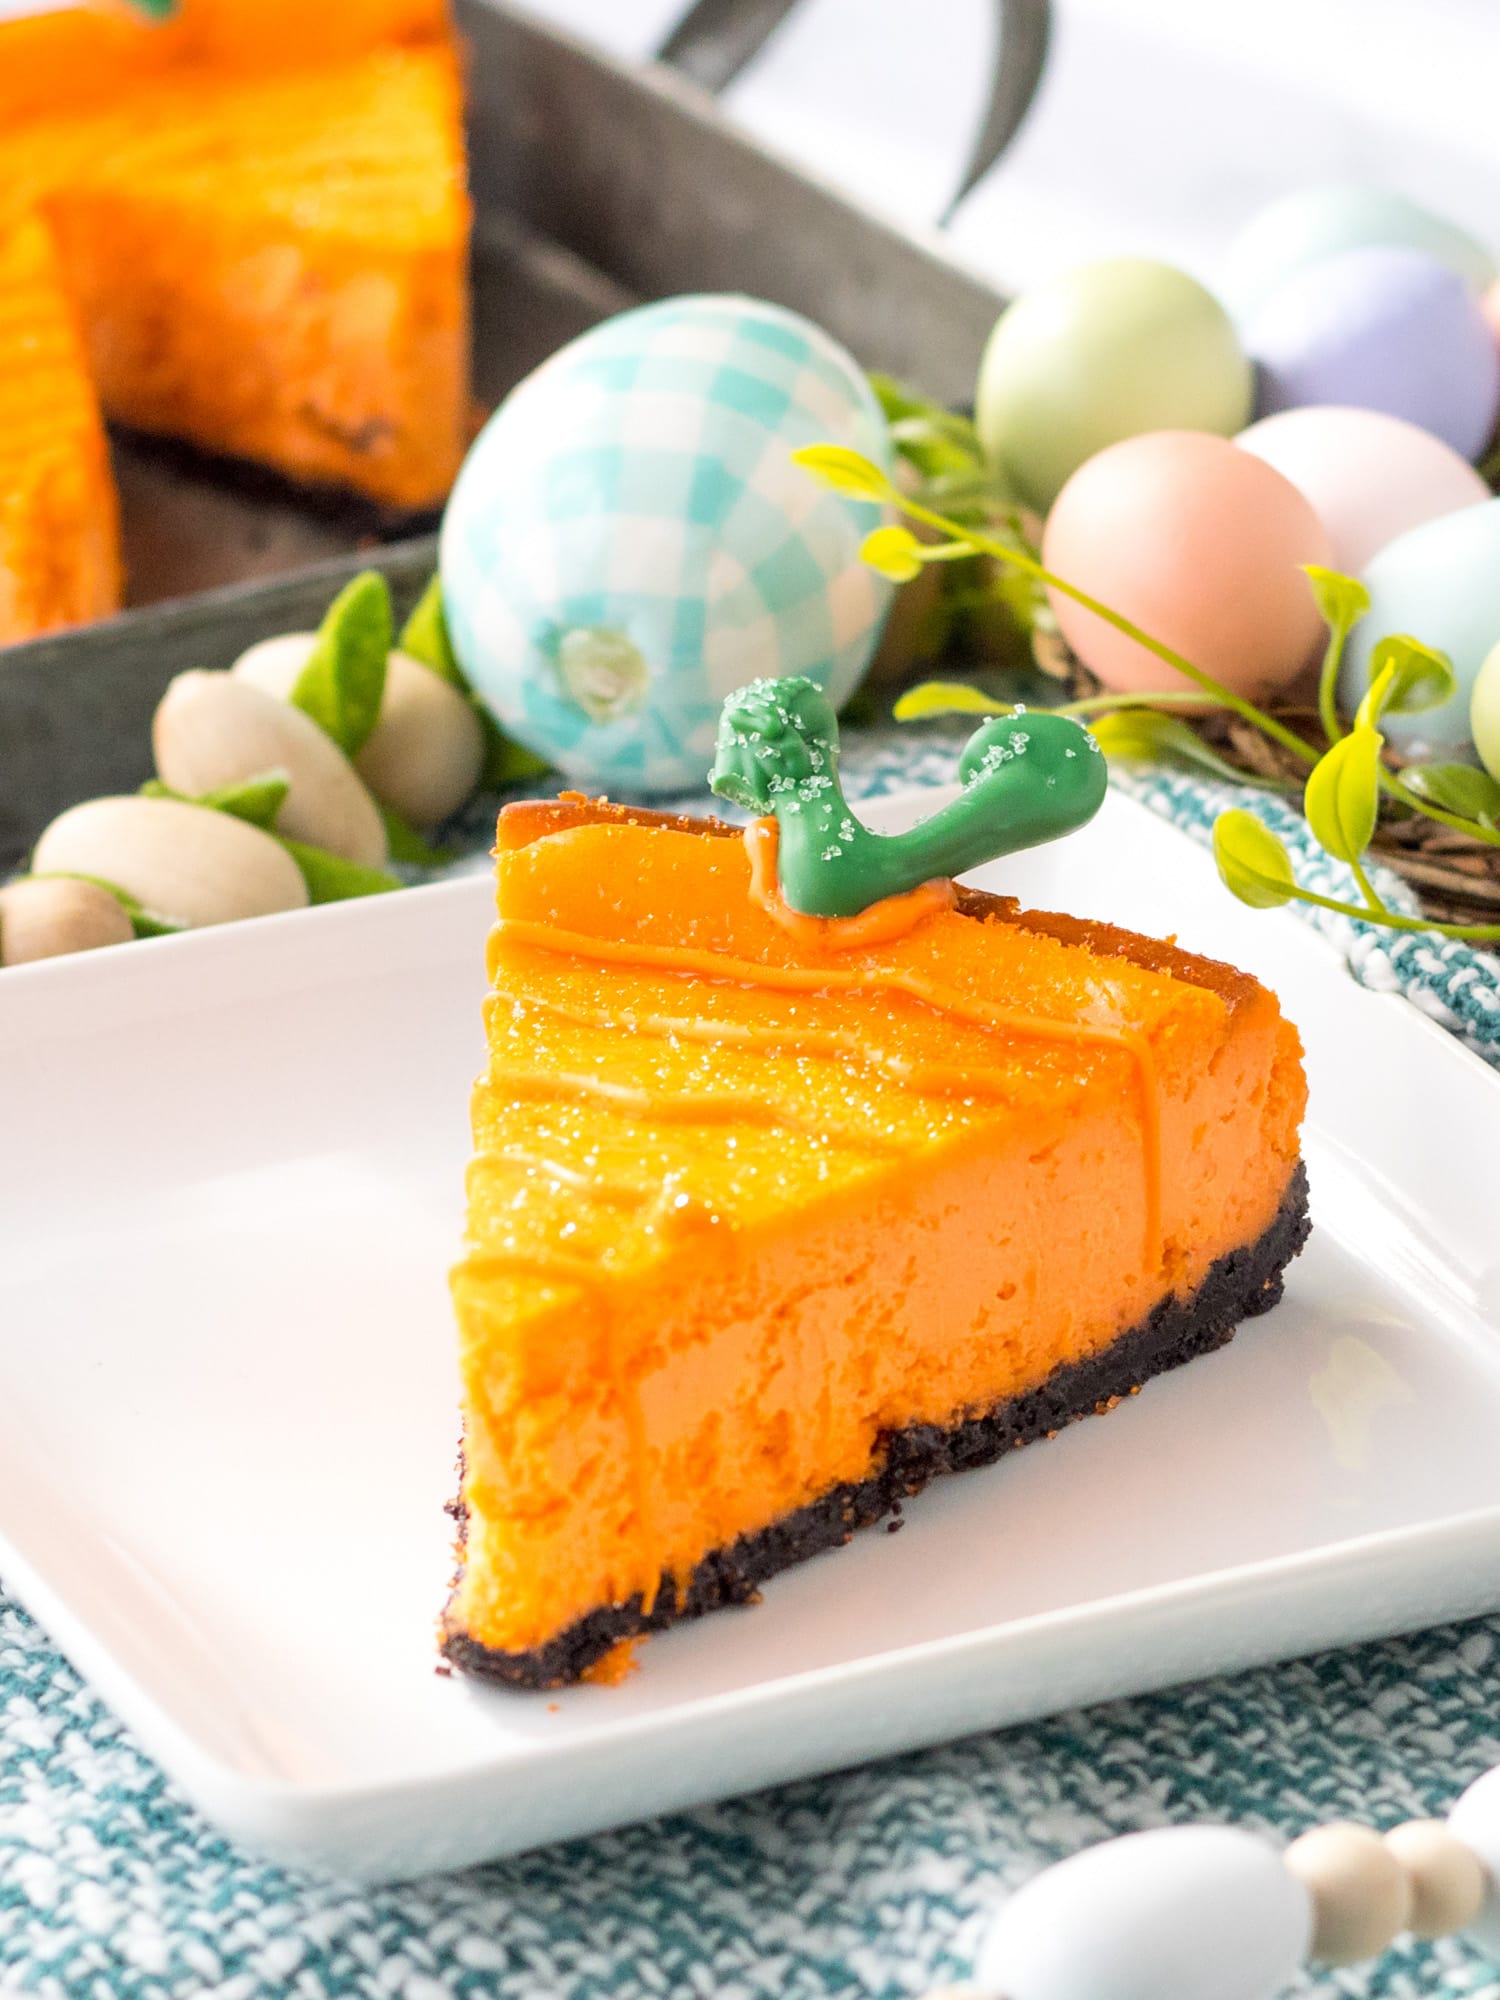
Easter is coming up, and I’m sharing the cutest Easter dessert ever! It’s a classic vanilla baked cheesecake made with orange food coloring, and an Oreo crust. I then used candy melts to create the green carrot tops, and orange drizzles over the carrot slices to make them look more realistic.
If you’re looking for more Easter recipes, check out my Easter recipe category!
Why This Recipe Works
- Easy Cheesecake Recipe: This is a failproof and easy cheesecake, it’s a straightforward recipe that can’t go wrong! I’m also sharing some tips and tricks to make sure that you get the recipe right from the first time.
- Beautiful Presentation: Take this cheesecake to a family gathering, and everyone is going to be impressed!
Key Ingredients
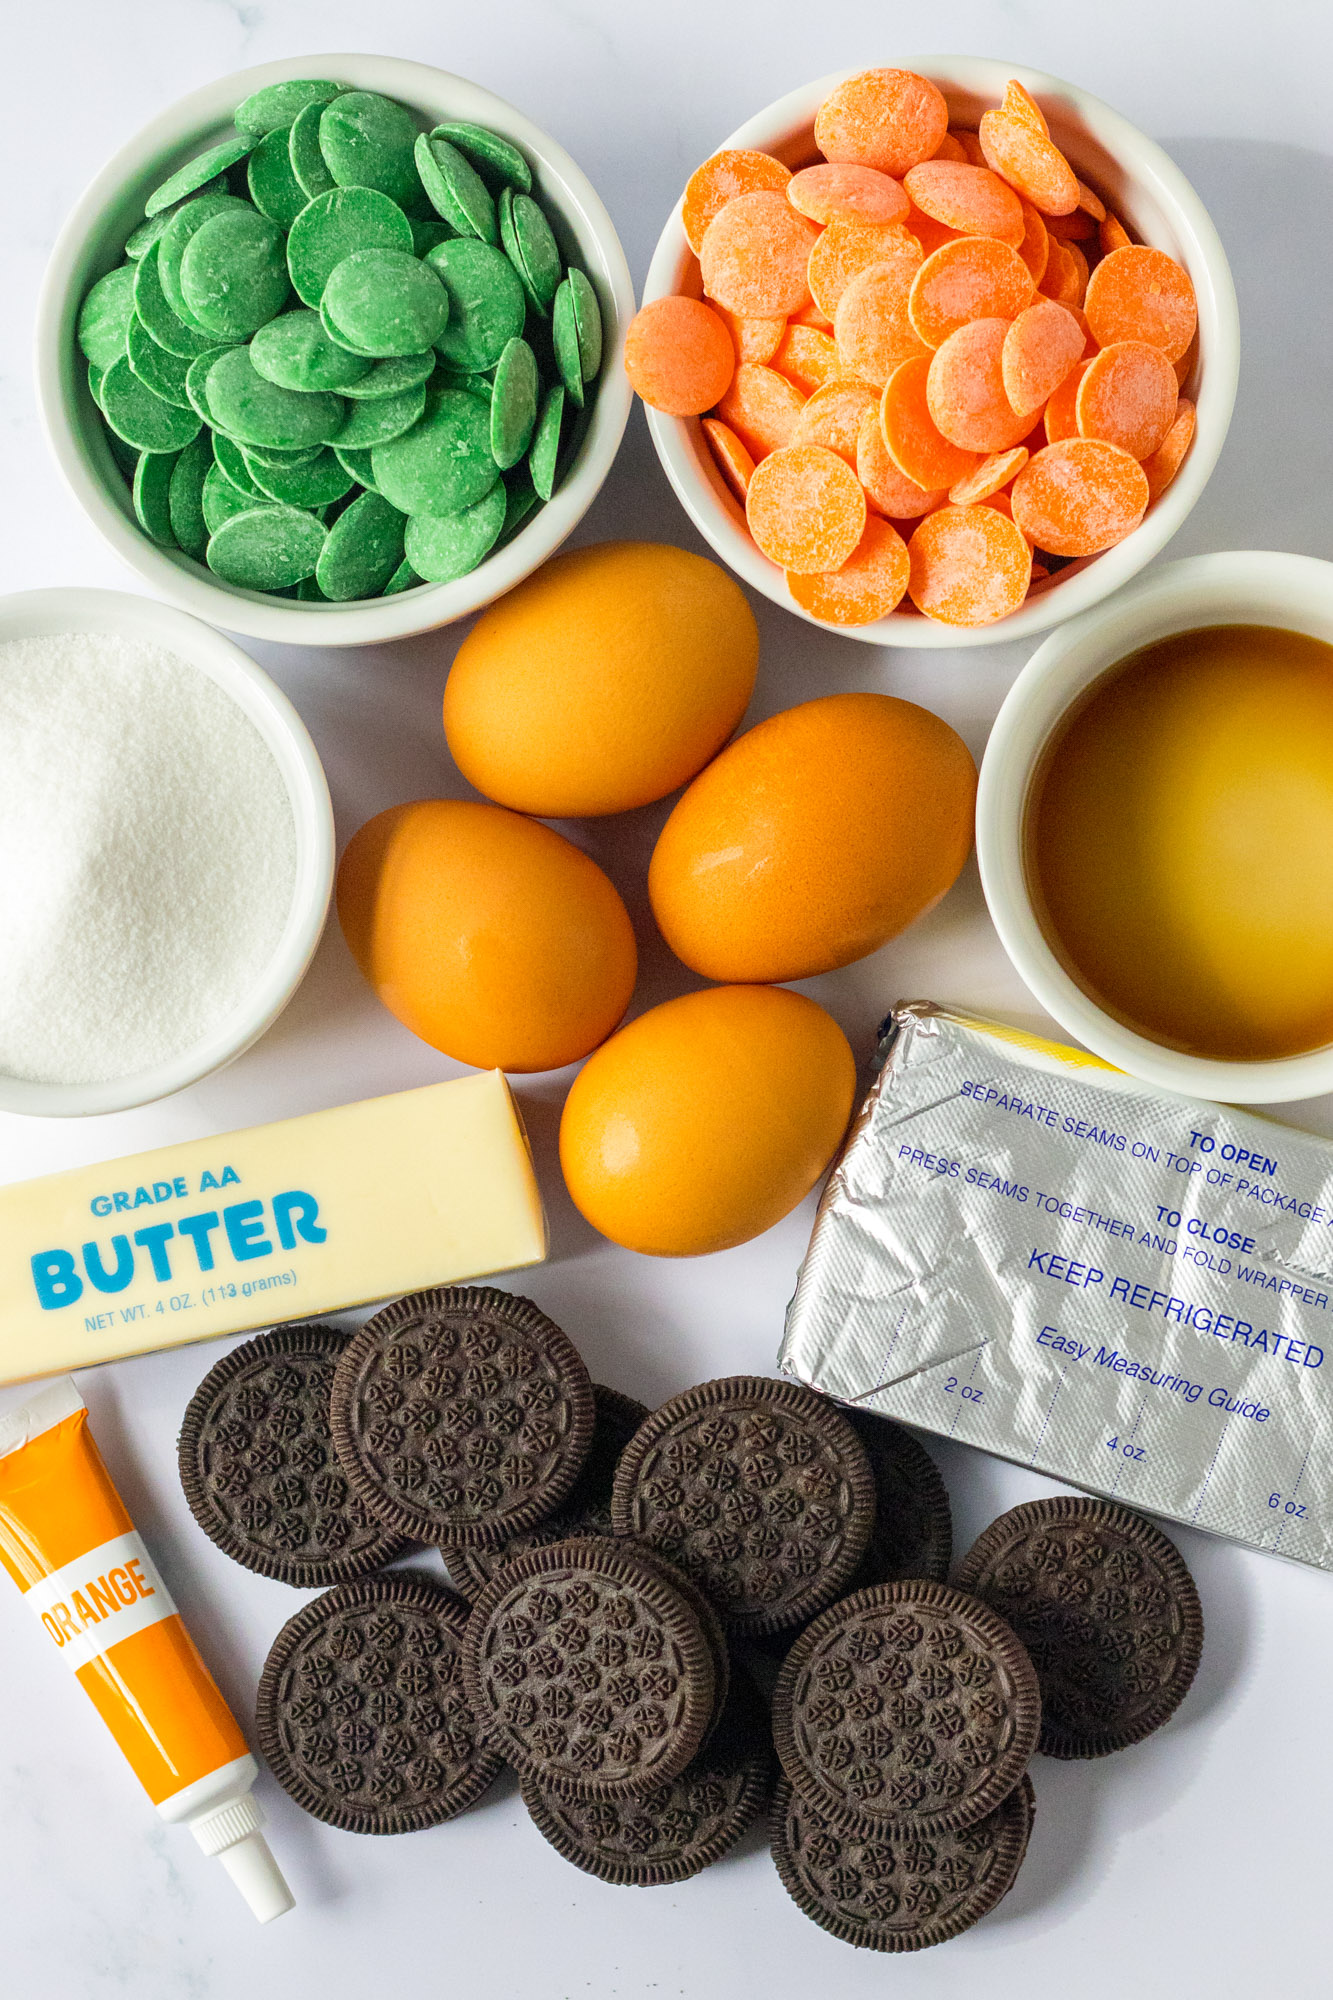
- Cream Cheese: You need one block of full-fat cream cheese that is softened to room temperature. Make sure that you use the block form and not the spreadable cream cheese that comes in a tub. Full-fat cream cheese is the best choice when making cheesecake, but Neufchâtel cheese can also be used.
- Oreo Cookies: The crust is made with crushed Oreo cookies that are combined with melted butter, and then pressed in a springform pan to create the crust.
- Eggs: Use 4 large eggs that are at room temperature. Eggs will act as a binder and make the cheesecake rich and creamy.
- Candy Melts: I use the Wilton brand candy melts.
How to Make an Easter Cheesecake
Before you start, preheat the oven to 325°F/160°C (275°F/140°C fan oven), and line an 8-inch or 9-inch springform pan with parchment paper.
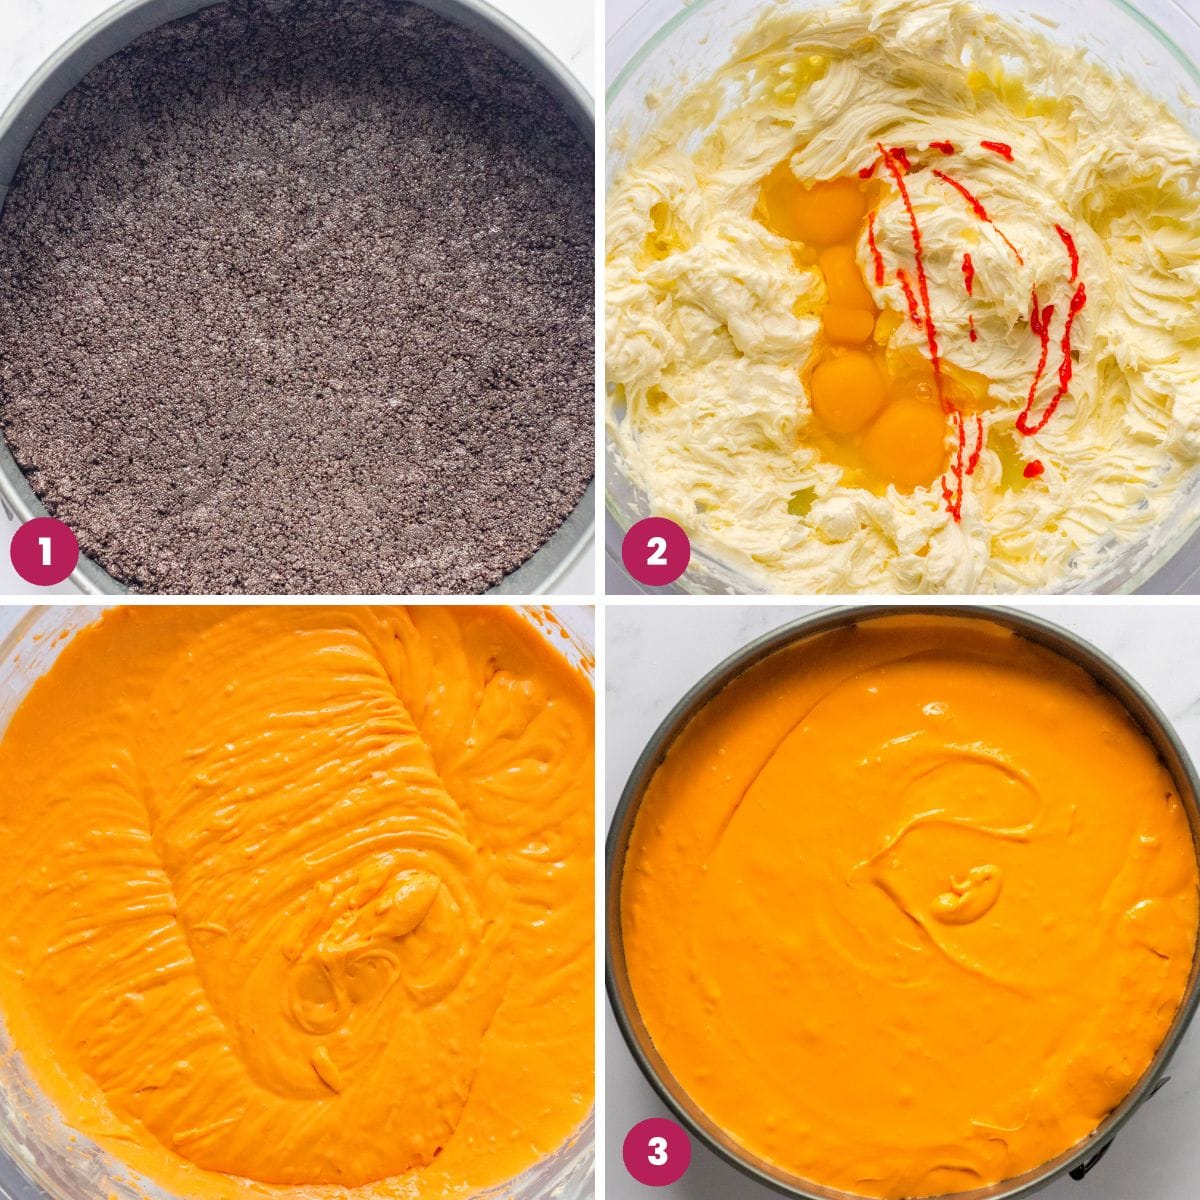
- In a large bowl, combine the Oreo cookie crumbs with melted butter then press the mixture into the prepared springform pan.
- In another large bowl combine cream cheese, sugar, and vanilla and beat with a hand mixer until smooth and creamy but do not overwhip. Add the eggs, and orange food coloring, and mix again until the eggs are well incorporated in the mixture.
- Pour the mixture over the Oreo crust, and bake for 55 minutes. The cheesecake is done when the edges are completely set but the center is still jiggly. Switch off the oven, slightly open the oven door, and allow the cheesecake to cool down in the oven for 1 hour.
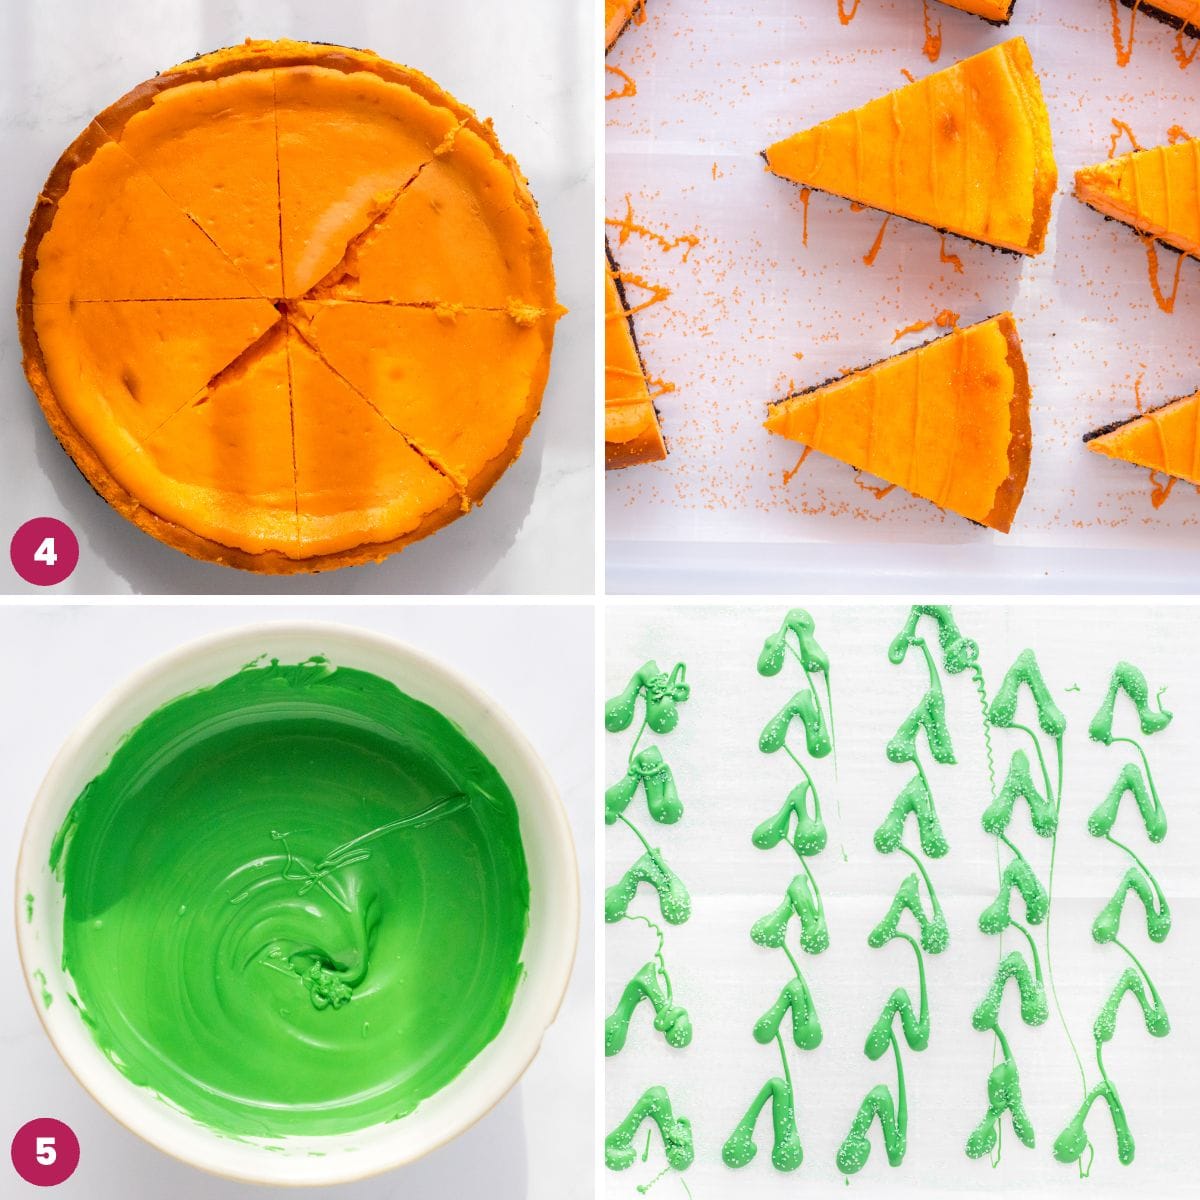
- Transfer the cheesecake to the fridge, and chill for 5 more hours or until it’s completely cooled. Remove from the fridge, and loosen up the edges of the cheesecake from the pan with a knife, and then remove from the pan and slice with a knife (run it under warm water and dry it, this will help you get neat slices). Slice into 8 servings.
- In a microwave-safe bowl melt the green candy melts 30 seconds at a time until melted, stirring every 30 seconds. Scoop the green melted candy into a small ziptop bag or a piping bag and cut the bottom tip of the bag off. On a tray lined with parchment paper, begin piping the stems on the paper, as many V’s as you’d like. (make a few extra in case some of them break).
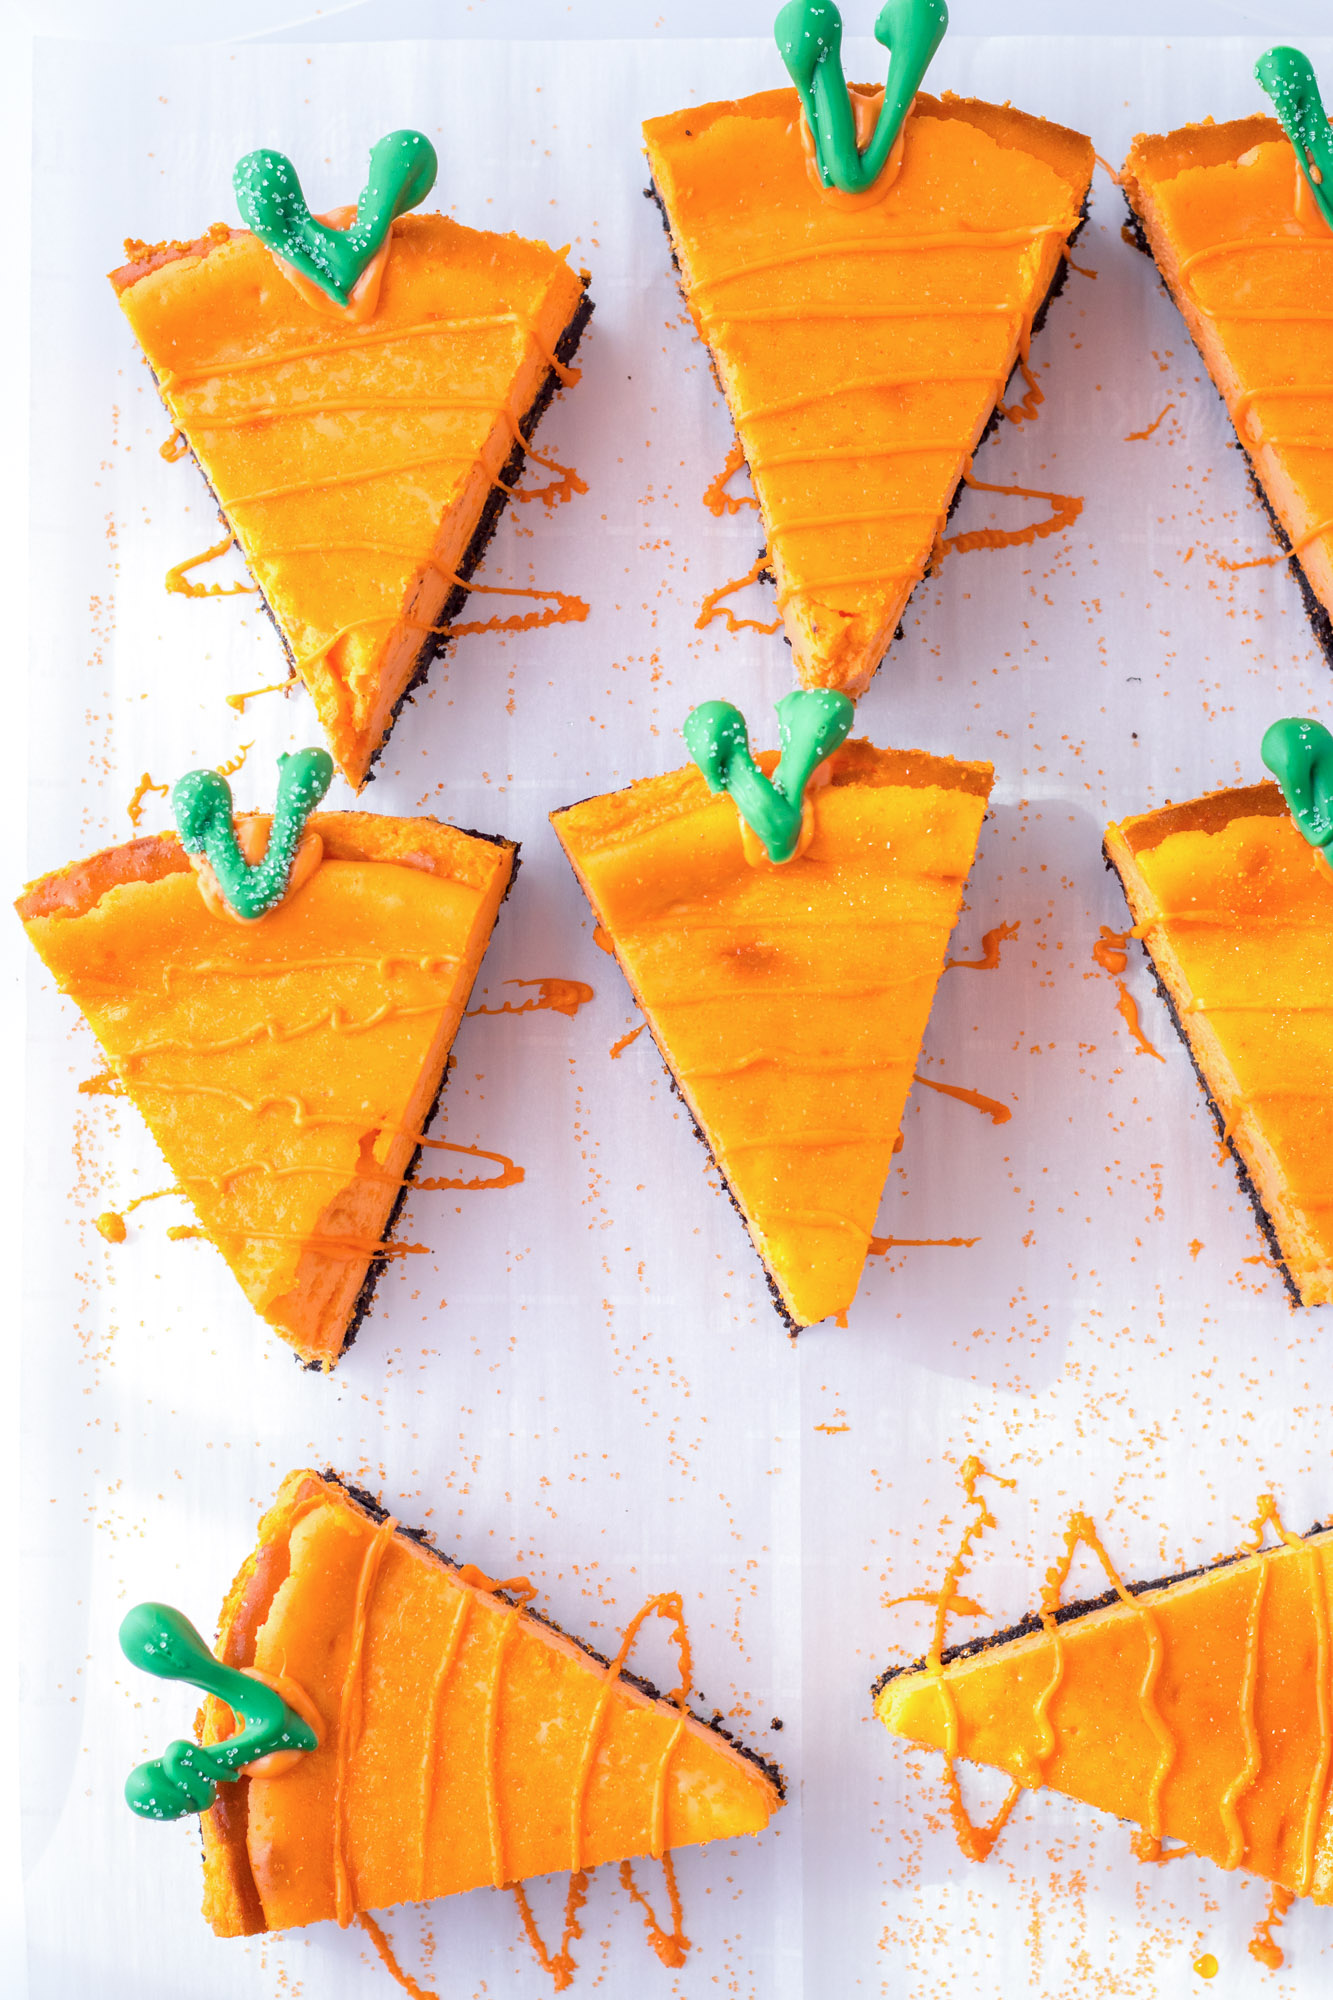
- In another microwave-safe bowl, melt the orange candy melts 30 seconds at a time until melted stirring every 30 seconds. Scoop the orange melted candy into a small ziptop bag and cut the bottom tip of the bag off making a smaller hole this time. Place the cheesecake slices on parchment paper and drizzle the orange over the cheesecake in a zig-zag motion. (Optional, sprinkle with sprinkles instantly after drizzling the orange melts)
- Squeeze a little amount in the middle at the top of the cheesecake, grab a stem (break off any excess candy drizzle), and place it on the candy melt dot. Let sit until all candy melt drizzles are hard and serve.
Tips For Making Baked Cheesecake
- To ensure a smooth and creamy cheesecake, it is important to use ingredients that are at room temperature before blending them together. If the ingredients are not at the same temperature, you may end up with a filling that has lumps or an uneven texture.
- It’s important to avoid overmixing the cheesecake filling, even though it’s essential to ensure that all the ingredients are thoroughly combined. Overmixing the filling can cause it to crack during the baking process.
- If the cheesecake starts to brown too much at the top, just tent it with foil to protect it from browning.
- Properly cooling the cheesecake is crucial for avoiding cracks. It’s important to follow the instructions for allowing the cheesecake to cool while it’s still inside the oven. This slow and gradual cooling process can help you achieve a smooth and crack-free cheesecake.
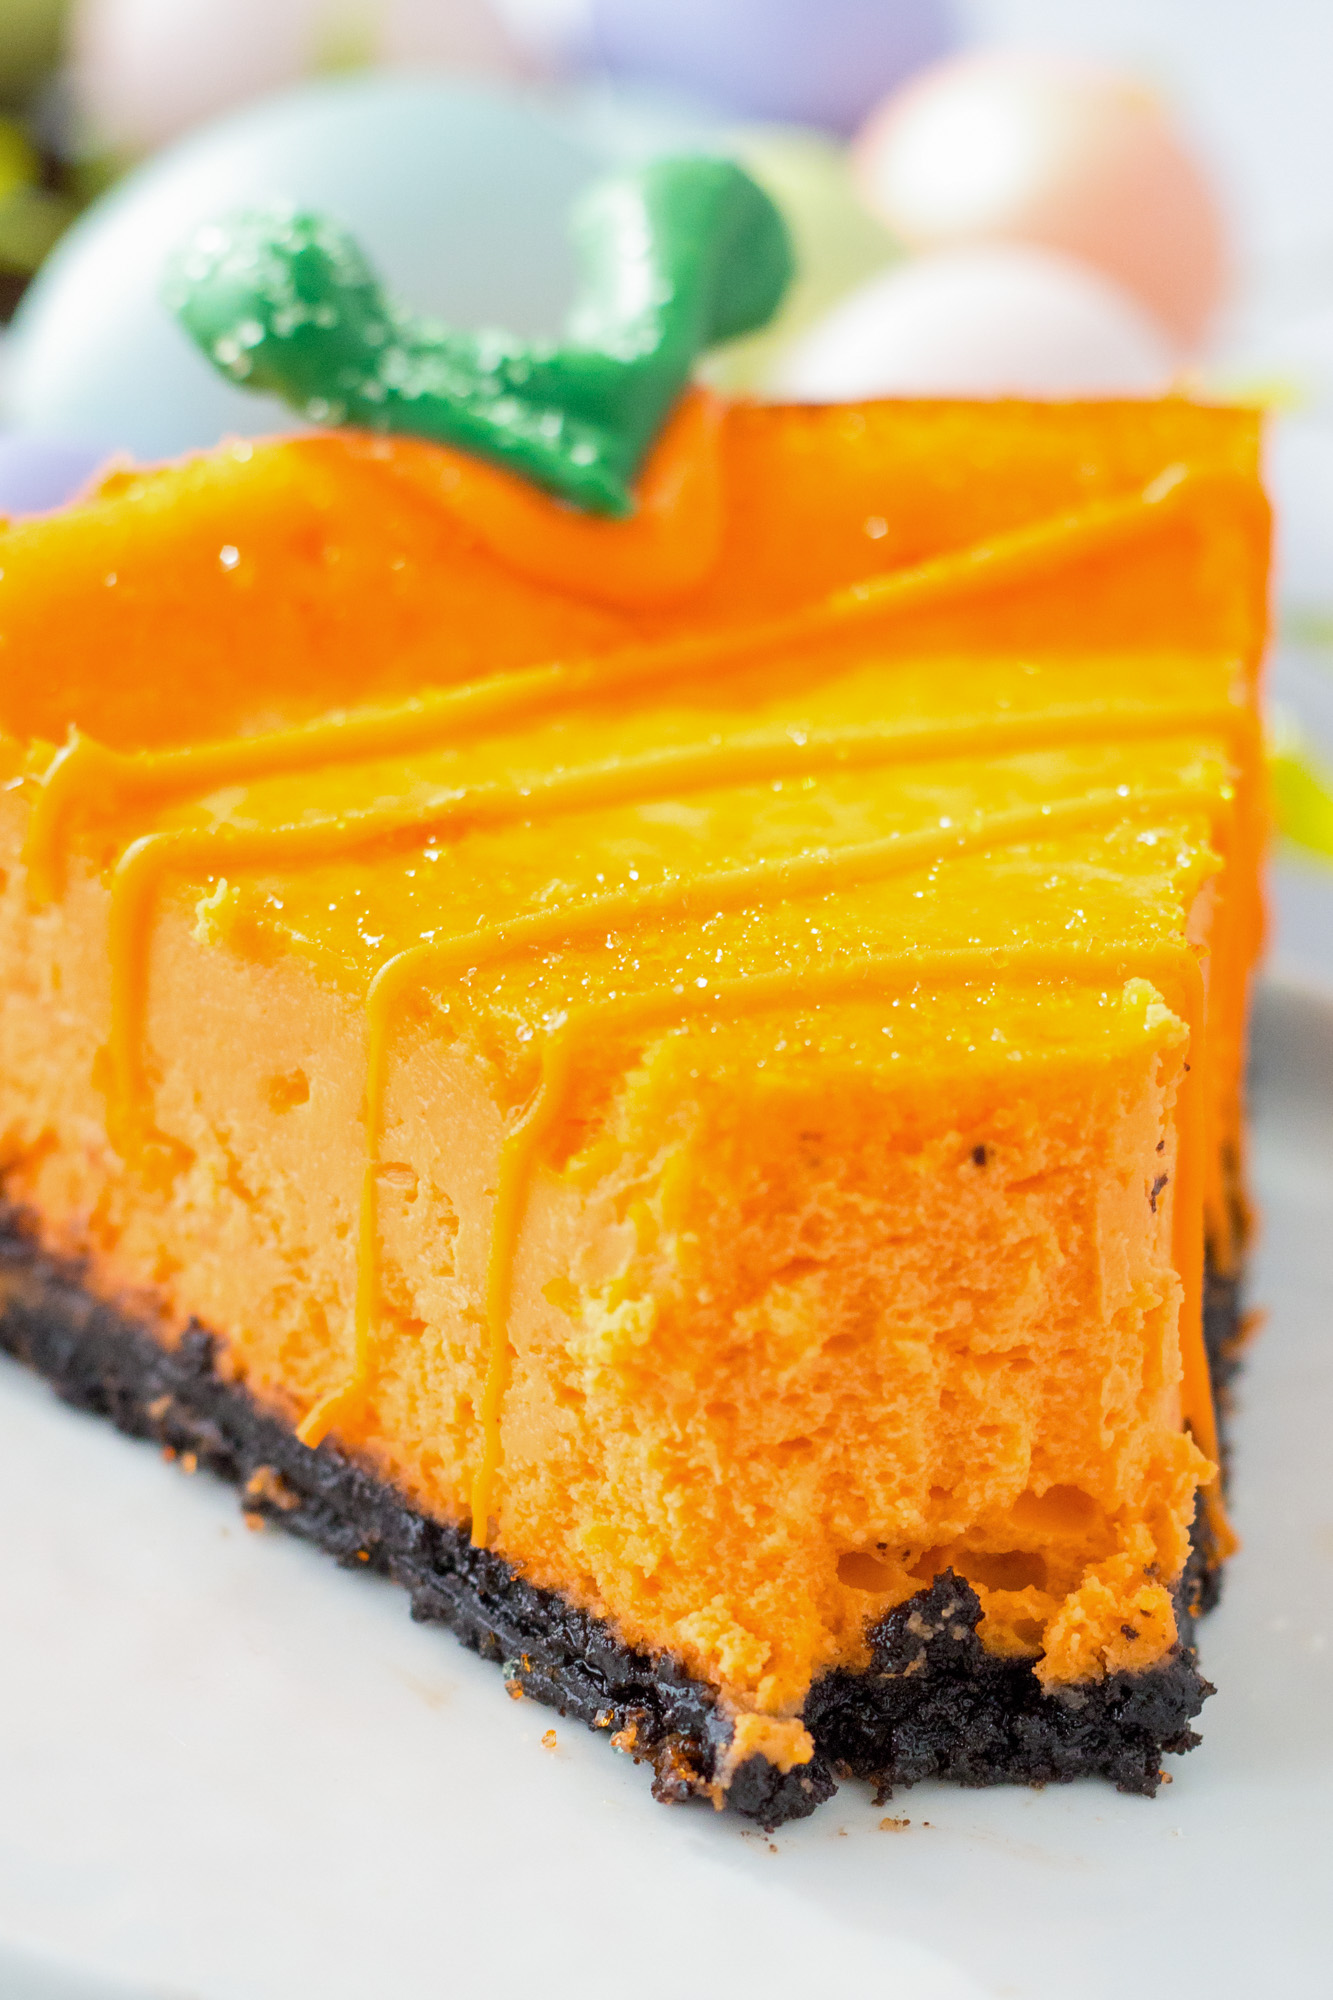
This Easter carrot-shaped cheesecake recipe is a fun and festive way to celebrate the holiday! To ensure a creamy and smooth cheesecake, make sure that you read my tips and tricks before you start.
Once baked, follow the instructions for slow and gradual cooling to avoid cracks. Then, decorate the cheesecake to look like a carrot. This cheesecake is sure to impress your guests and make for a delicious Easter dessert!
Did you make this? Be sure to leave a review below and tag me on Facebook, Instagram, or Pinterest!
Easter Carrot Cheesecake
Equipment
- 8 inch springform pan or 9 inch
Ingredients
- 1 ½ cups Oreo crumbs
- ⅓ cup unsalted butter melted
- 4 8oz packages cream cheese softened
- 1 cup granulated sugar
- 1 teaspoon vanilla extract
- 4 large eggs at room temperature
- Orange food coloring
- 1 cup orange candy melts
- 1 cup green candy melts
- Green and orange sugar sprinkles optional
Instructions
- Preheat the oven to 325°F/160°C (275°F/140°C fan oven), and line an 8-inch or 9-inch springform pan with parchment paper.
- In a large bowl, combine the Oreo cookie crumbs with melted butter then press the mixture into the prepared springform pan.
- In another large bowl combine cream cheese, sugar, and vanilla and beat with a hand mixer until smooth and creamy but do not overwhip.
- Add the eggs, and orange food coloring, and mix again until the eggs are well incorporated in the mixture.
- Pour the mixture over the Oreo crust, and bake for 55 minutes. The cheesecake is done when the edges are completely set but the center is still jiggly. Switch off the oven, slightly open the oven door, and allow the cheesecake to cool down in the oven for 1 hour.
- Transfer the cheesecake to the fridge, and chill for 5 more hours or until it's completely cooled.
- Remove from the fridge, and loosen up the edges of the cheesecake from the pan with a knife, and then remove from pan and slice with a knife (run it under warm water and dry it, this will help you get neat slices). Slice into 8 servings.
- In a microwave-safe bowl melt the green candy melts 30 seconds at a time until melted, stirring every 30 seconds.
- Scoop the green melted candy into a small ziptop bag or a piping bag and cut the bottom tip of the bag off. On a tray lined with parchment paper, begin piping the stems on the paper, as many V’s as you’d like. (make a few extra in case some of them break),
- In another microwave safe bowl, melt the orange candy melts 30 second at a time until melted stirring every 30 seconds.
- Scoop the orange melted candy into a small ziptop bag and cut the bottom tip of the bag off making a smaller hole this time.
- Place the cheesecake slices on parchment paper and drizzle the orange over the cheesecake in a zig zag motion. (Optional, sprinkle with sprinkles instantly after drizzling the orange melts)
- Squeeze a little amount in the middle at the top of the cheese cake, grab a stem (break off any excess candy drizzle) and place on the candy melt dot.
- Let sit until all candy melt drizzles are hard and serve.
Notes
- To ensure a smooth and creamy cheesecake, it is important to use ingredients that are at room temperature before blending them together. If the ingredients are not at the same temperature, you may end up with a filling that has lumps or an uneven texture.
- It’s important to avoid overmixing the cheesecake filling, even though it’s essential to ensure that all the ingredients are thoroughly combined. Overmixing the filling can cause it to crack during the baking process.
- If the cheesecake starts to brown too much at the top, just tent it with foil to protect it from browning.
- Properly cooling the cheesecake is crucial for avoiding cracks. It’s important to follow the instructions for allowing the cheesecake to cool while it’s still inside the oven. This slow and gradual cooling process can help you achieve a smooth and crack-free cheesecake.
- Store the leftovers in a sealed container in the fridge for up to 5 days. This cheesecake also freezes very well.
Nutrition
This website provides approximate nutrition information for convenience and as a courtesy only. Nutrition data is gathered primarily from the USDA Food Composition Database, whenever available, or otherwise other online calculators.
did you make this recipe?
Make sure to follow on Pinterest @nourishplate and on Instagram @nourishplate


Leave a Review!